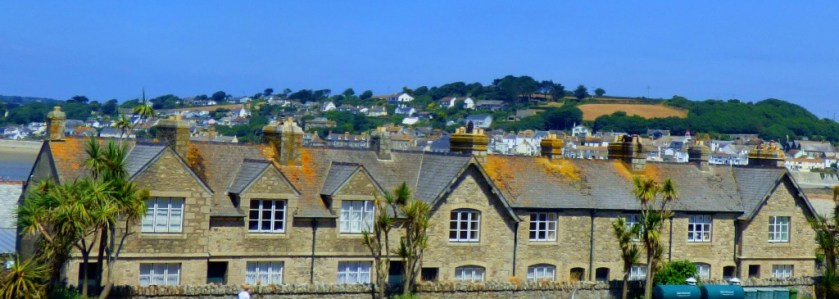
A Massively Successful Auction

An account of yesterday’s splendidly successful auction.

INTRODUCTION

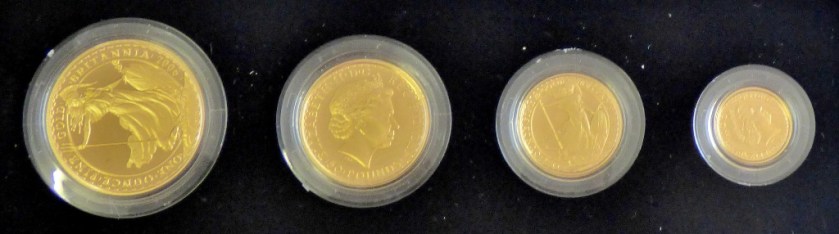
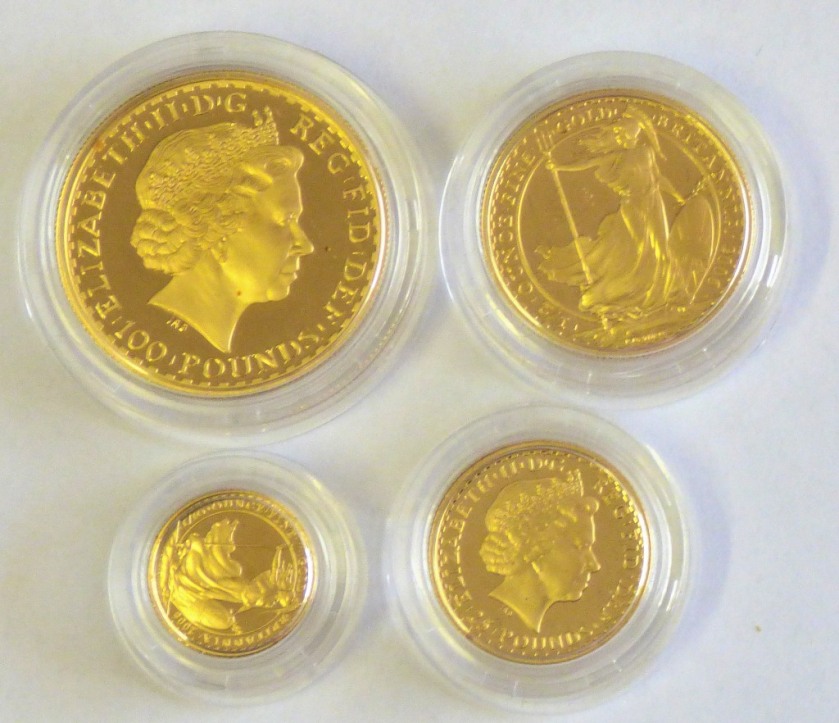
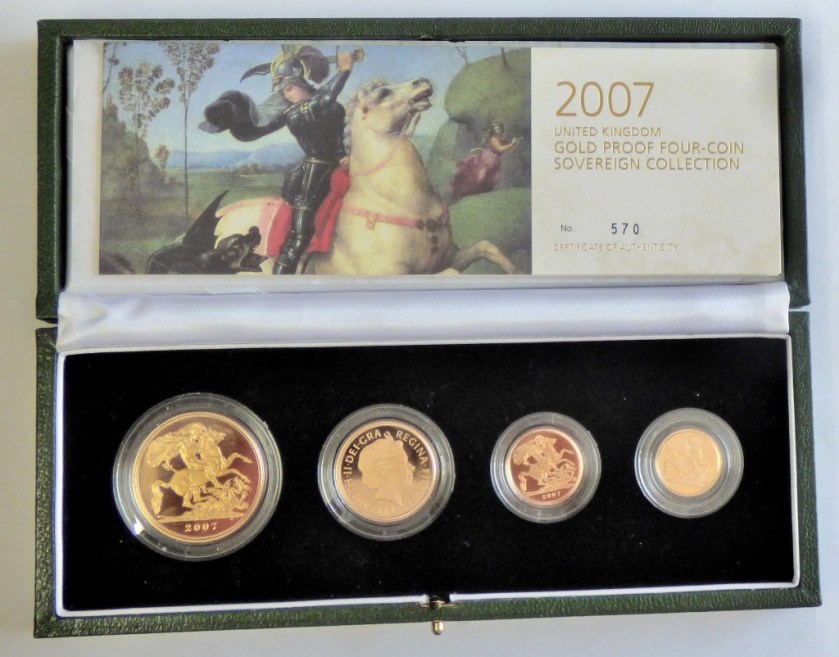
On Wednesday James and Sons had a small but very important auction featuring gold coins and proof sets. We were anticipating a very considerable success, because we knew that there were bids of sufficient size on every lot that everything would sell, and we also knew that some of the items had a very large number of watchers online (one had no fewer than 17). The rest of this post tells the story of a truly amazing auction.

TUESDAY – FINAL PREPARATIONS

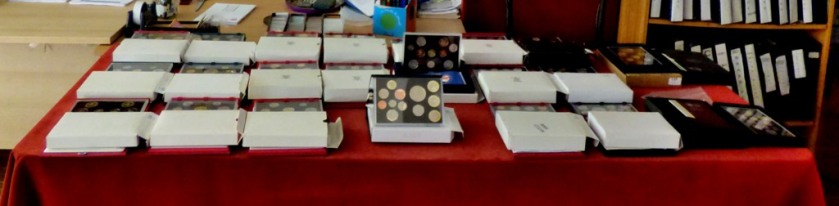
In view of the high value of the gold the only items that were set out on display were as many of the proof sets as I could lay out on one large table. I also made sure that the IT was all fully functional, as the last thing we wanted was for a glitch to affect this auction. I was able to enjoy the NAS West Norfolk Steak Night at The Globe later that evening in the knowledge that all had gone as smoothly as it could have (I restricted myself to a modest two pints of Ringwood Fortyniner in view of the importance of the following day). 

WEDNESDAY – A DAY OF TRIUMPHS

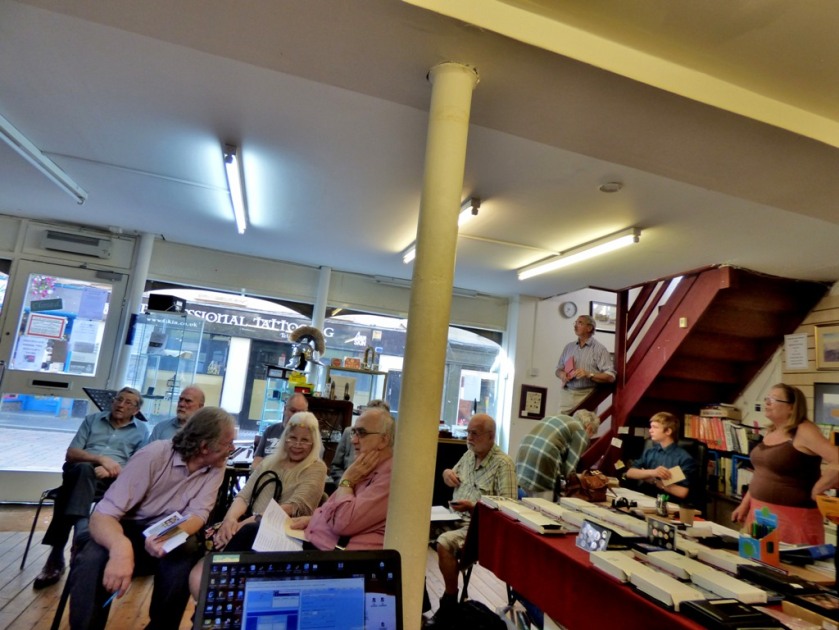
I awoke a few minutes before my alarm was due to go off (not uncommon with me – the alarm is more insurance policy than necessity) and left my flat precisely as intended at 6:45, ensuring that there was no chance of missing the bus. Arriving at the shop, I unlocked, deactivated the alarm, then relocked the door as in view of what was in the shop I did not want customers coming in while I was there on my own. I then began to set up for the day. The auctioneer arrived not very long after me, and I was able to complete the setup, verify that everything was working and take some photographs. Before nine o’clock customers started arriving, and by 9:30 it was standing room only in the shop, as no fewer than 16 potential room bidders were present, in addition to over 60 online bidders and not a few who had put commission bids in in advance of the sale.

P1190889
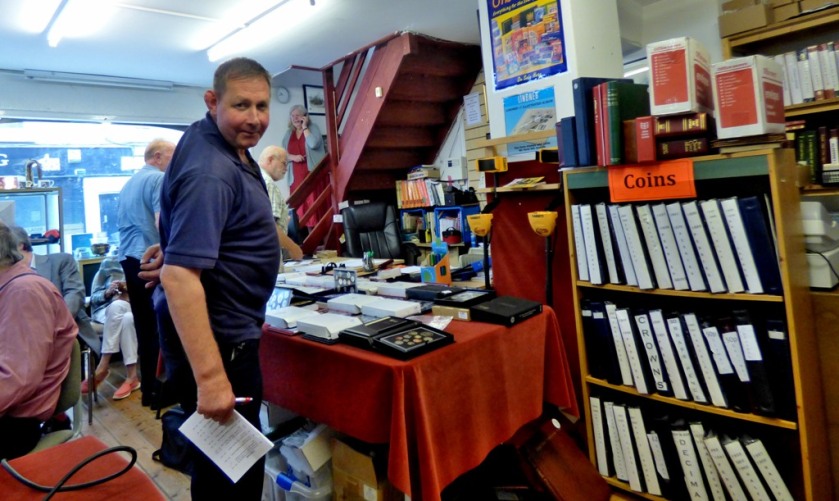
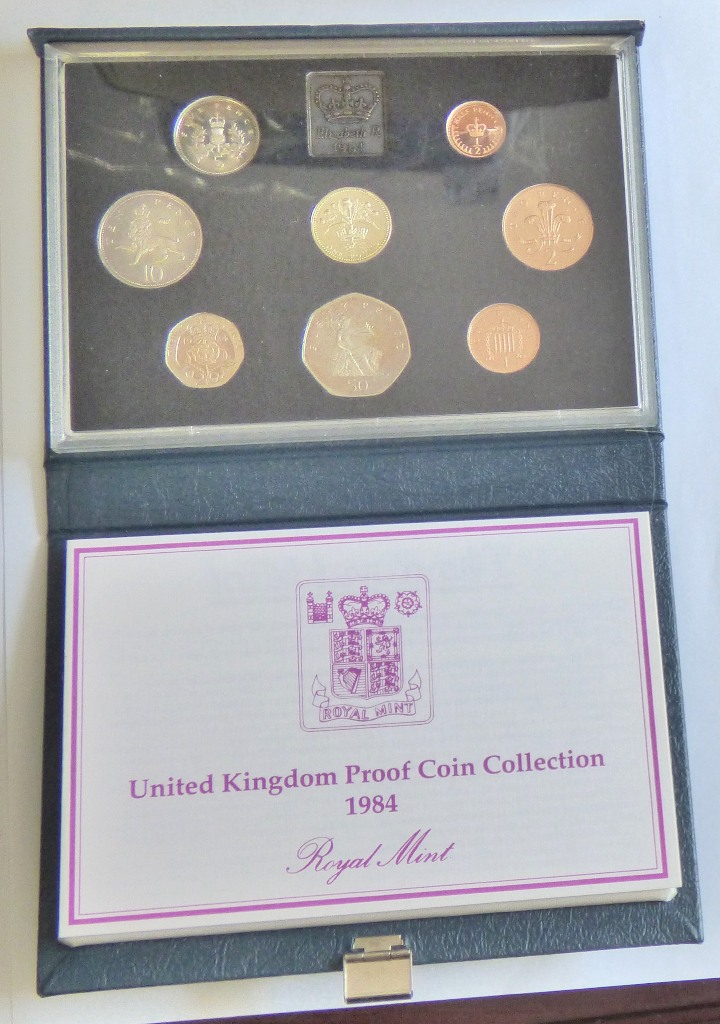
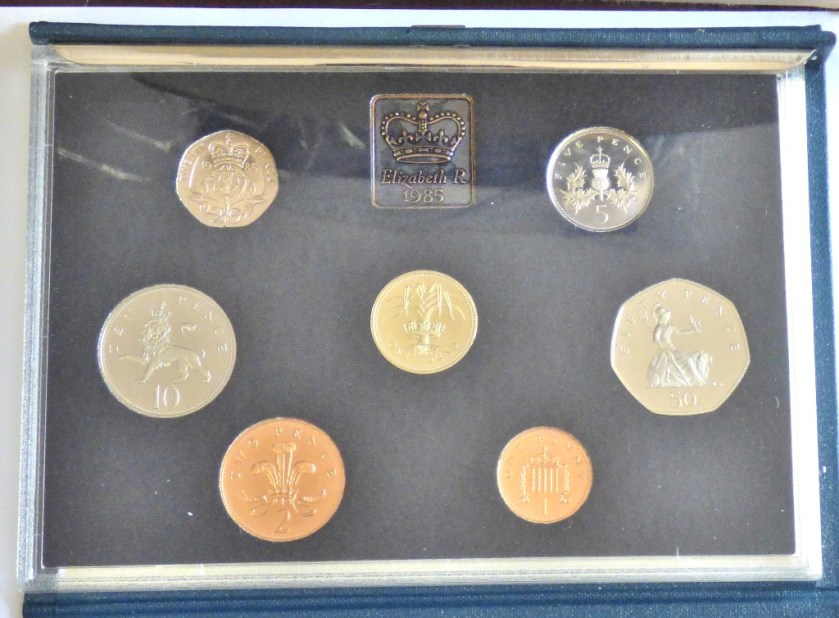
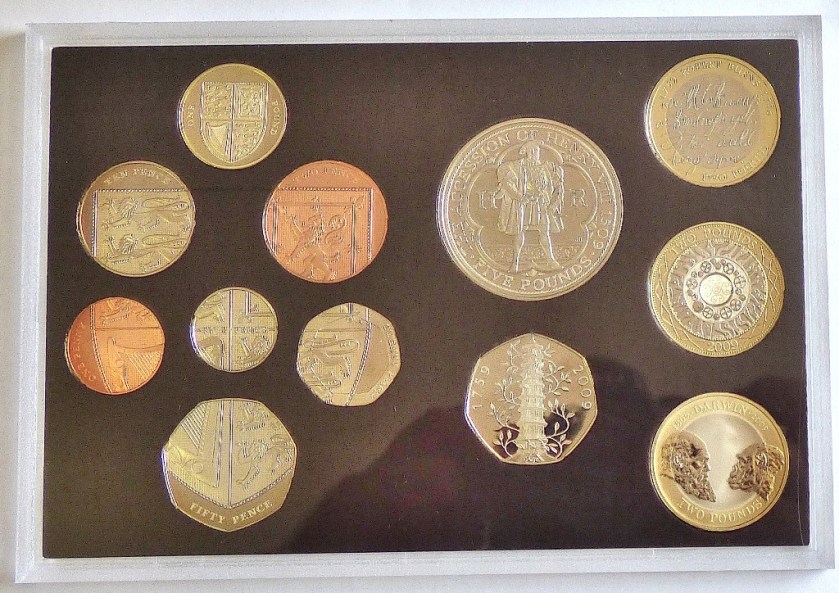
The proof set display, with lot 135 front centre
P1190886
One of the two significant coins from lot 139…
P1190887
…and the other
P1190888
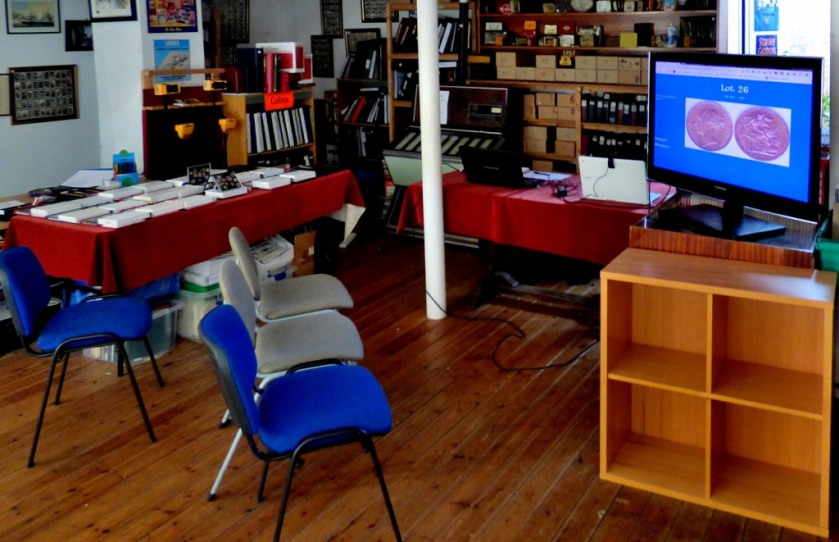
The setup before anyone else had arrived.
P1190892
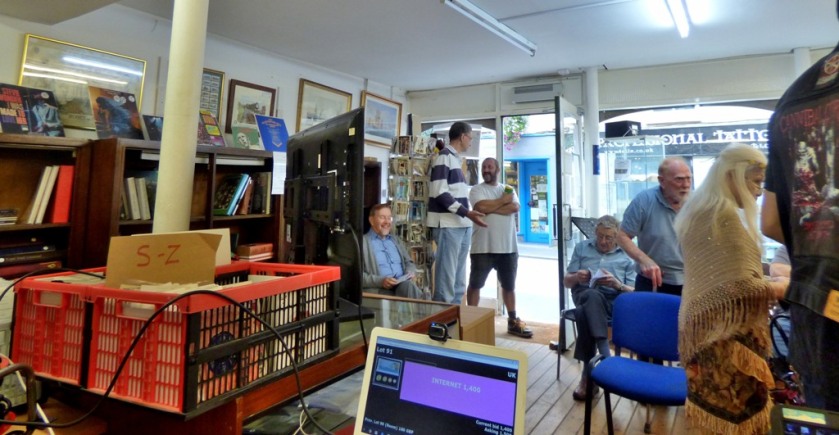
Potential room bidders (three pics)

P1190893P1190894

P1190891
Lot 139 on the big screen.

THE AUCTION STARTS

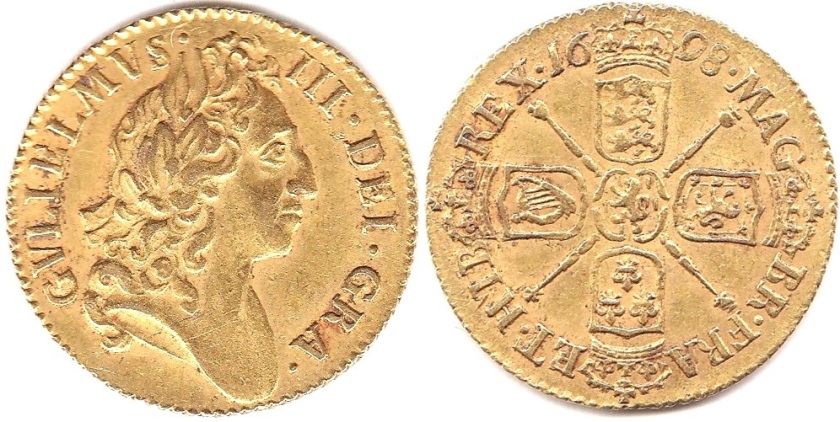
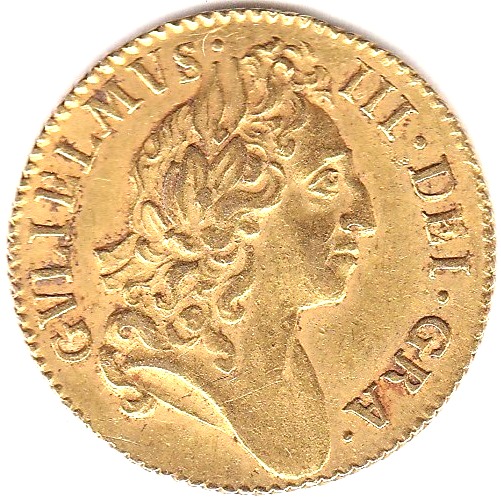
The first five lots were 1974 Krugerrands which were expected to make approximately £800 each and did exactly that. Then came lot 6, the James II Guinea which was one of two items that had been the subject of a query the previous day as a result of which it had extra images above the regular image gallery for such an item. Estimated at £500-750 the interest it had attracted saw the final hammer price reach exactly £1,000.

6
The first three images constitute my regular image gallery for a single coin.

6-a6-b

6-c
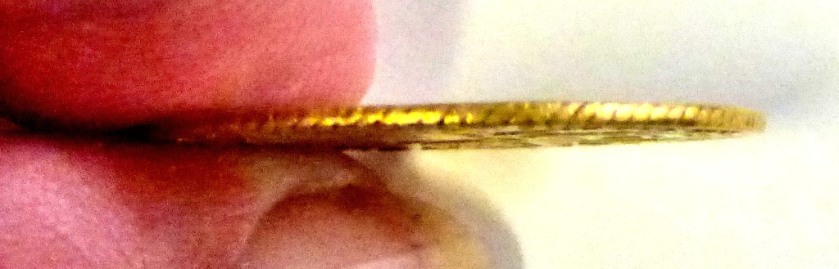
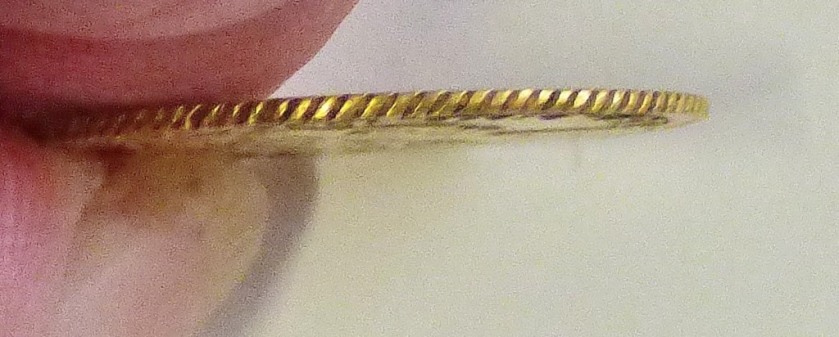
One of the questions asked about this coin related to the edge, and to help back up my own comments on the edge of this coin I took two photographs that between showed it in its entirety.

6-d

Lot 7 was a William III Half Guinea, which in relative terms fared even better since with an estimate of £300-500 it actually went for £900!

77-b7-a7-c7-d

Lots 8 to 24 inclusive were half sovereigns, and all sold well, most going for around the £100 mark. Lots 25 to 90 incluisve were…

SOVEREIGNS FROM VICTORIA THROUGH ELIZABETH II

These we knew would sell respectably, because a major and long standing client whose job is to sell gold items had put in commission bids of £180 a time on the whole lot, confirming our auctioneers valuation was on the mark. Most of the sovereigns actually sold for more than that, £190 being a common figure and a few of them going to and in some cases beyond £200. Then came…

LOTS 91-5 – THE HUGE SUCCESSES

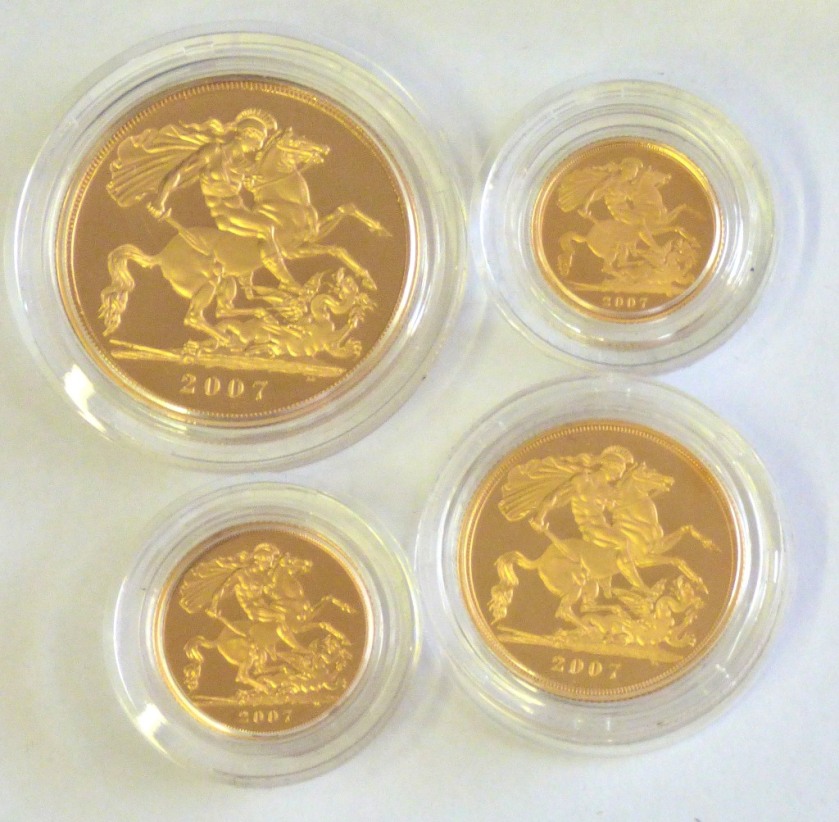
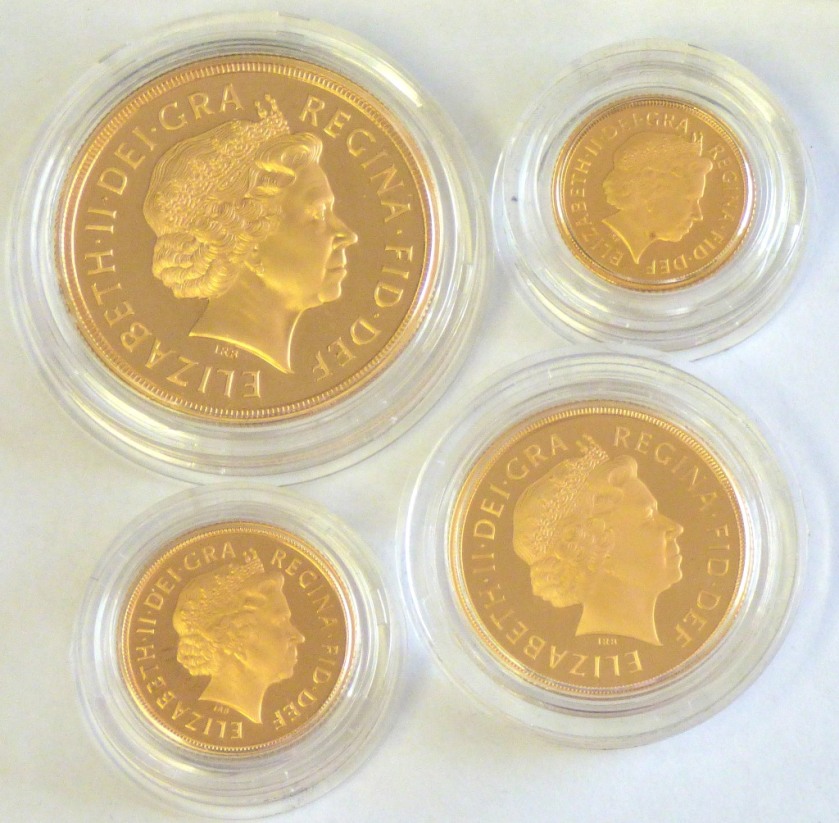
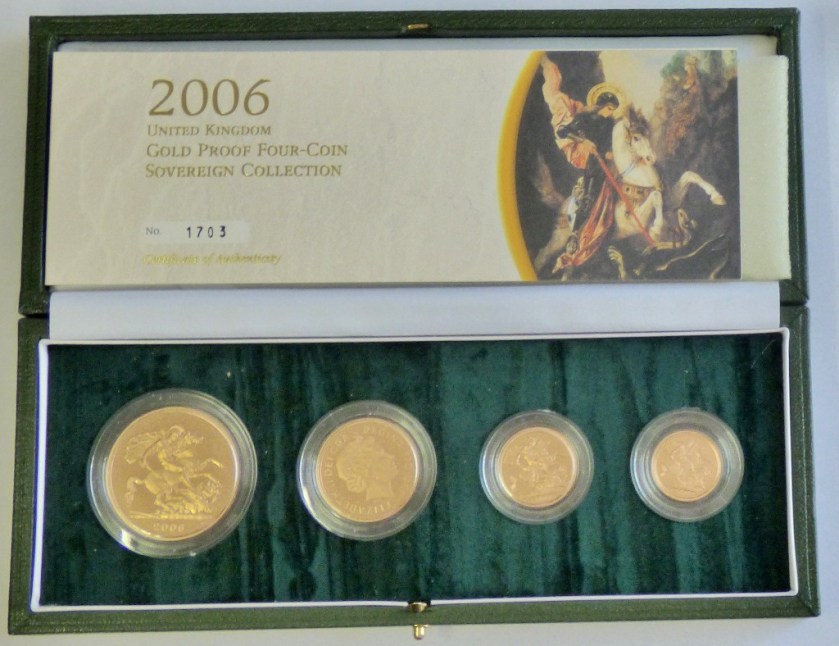
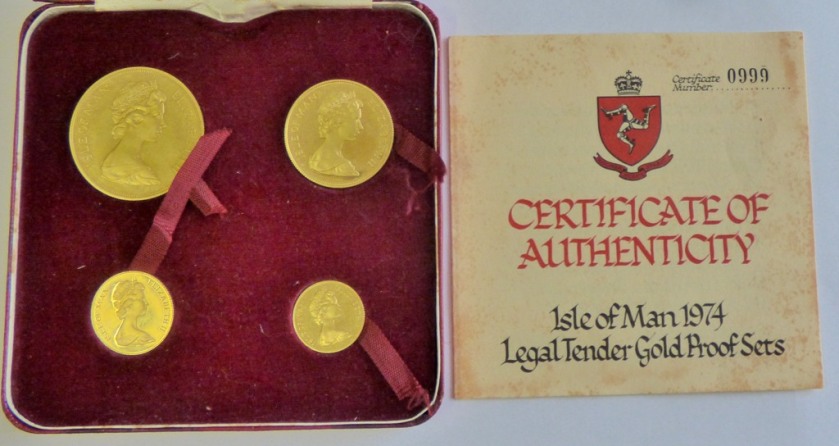
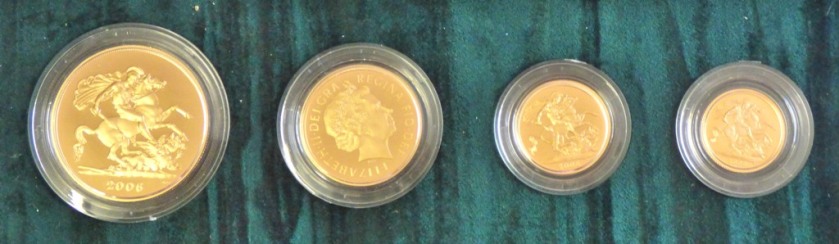
The first four of these lots were high value gold proof sets which we were expecting to be on or around the four figure mark. Actually, and barely believable they went for £1,600, £2,000, £2,000 and £1,600 respectively!!

9191-a91-c91-d91-e9292-a92-c92-d92-e9393-a93-b9494-a94-b

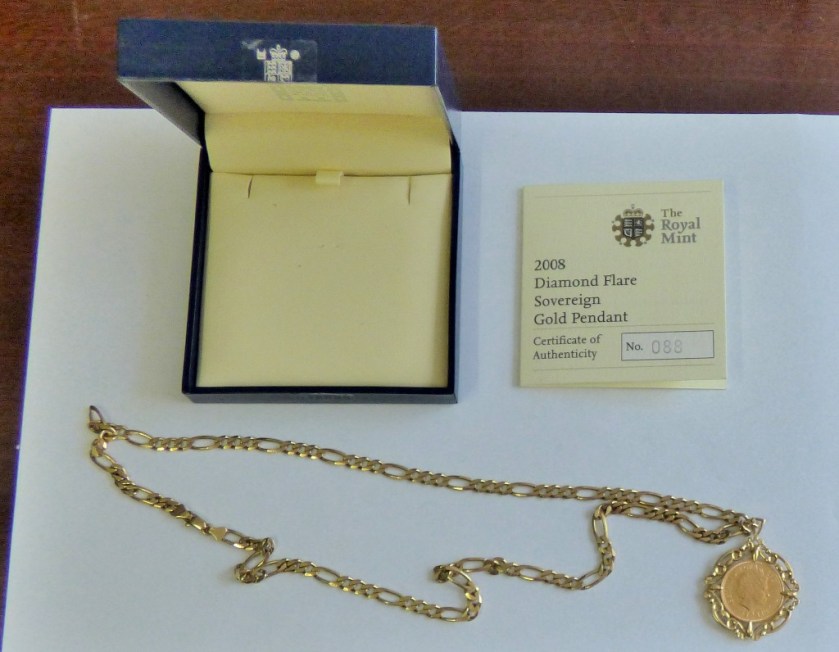
Lot 95 was a sovereign in a gold mount with a gold chain and 8 1mm diamonds (in otherwords a very fancy necklace). Estimate at £300-400 it eventually sold for £550.

9595-a

After these it was time for…

THE REGULAR PROOF SETS

Of course after what gone before the proof sets were a little bit “after the Lord Mayor’s show”, but there were still a handful of highlights to come.

LOTS 113 AND 114

These were respectively a Scottish and Welsh proof set (hence the split colouring of the heading) each expected to make £8-12. The Scottish set went for £20 and the Welsh for £18

113113-a113-b114-a114

These were a mere curtain raiser for…

LOT 121

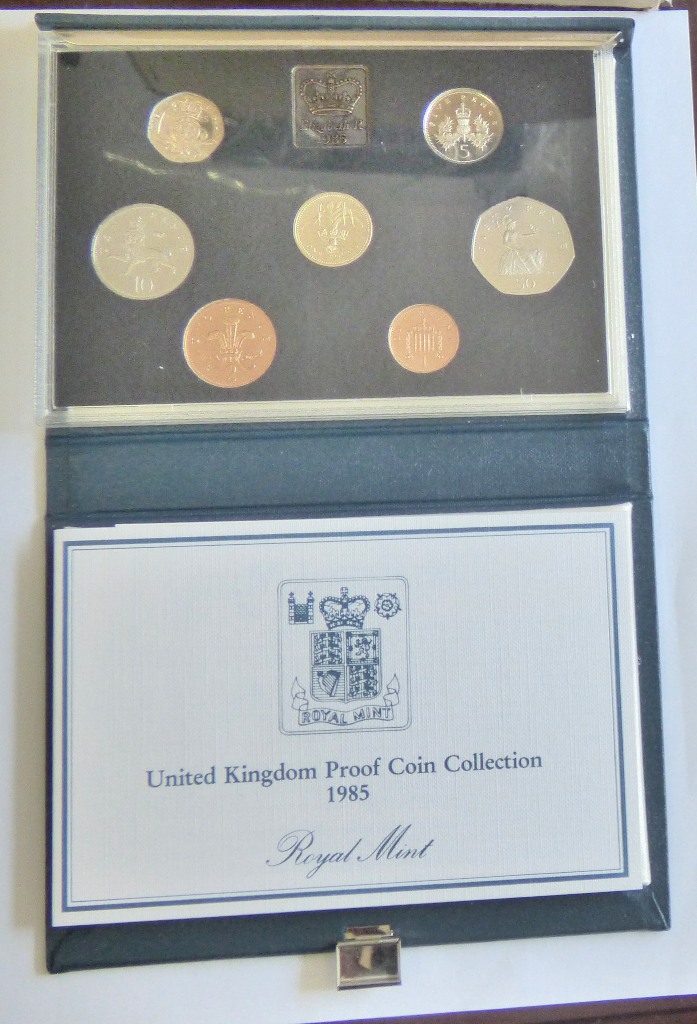
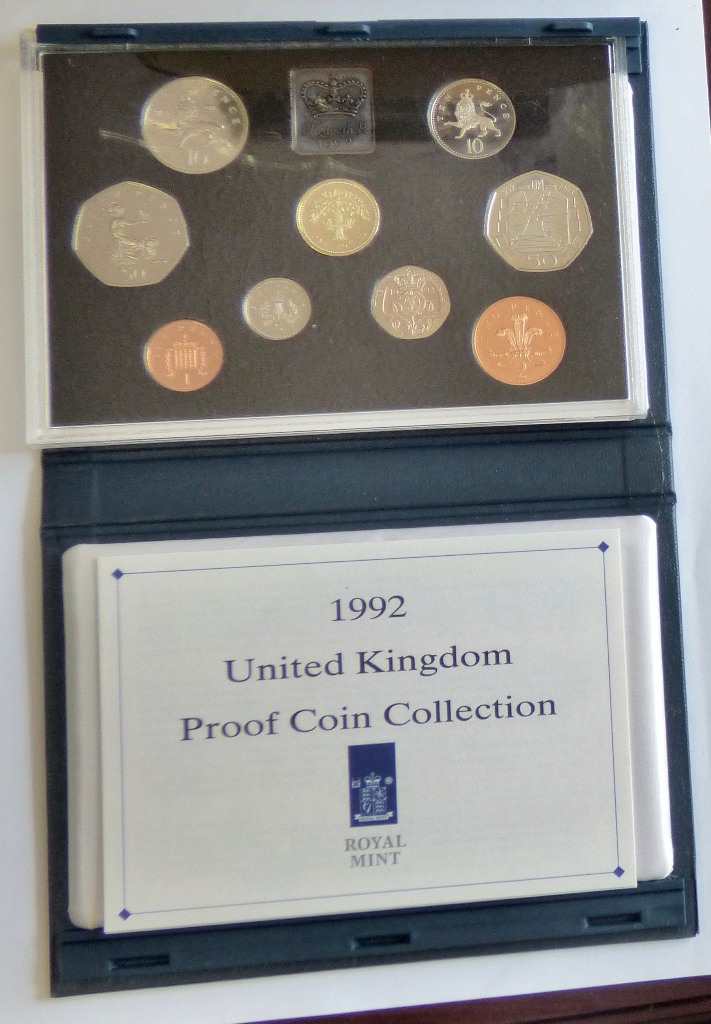
A 1992 proof set featuring an EEC 50p coin the rarity of which turned a £10-15 estimate into a £50 hammer price!

121

The next big success was…

LOT 128

This 1999 proof set featuring a Diana Princess of Wales £5, a bimetallic rugby £2 and Scottish coins from £1 down to 1p had an estimate of £15-20 and ended up going for £32.

128

Then came two successive monster successes with…

LOTS 135 and 136

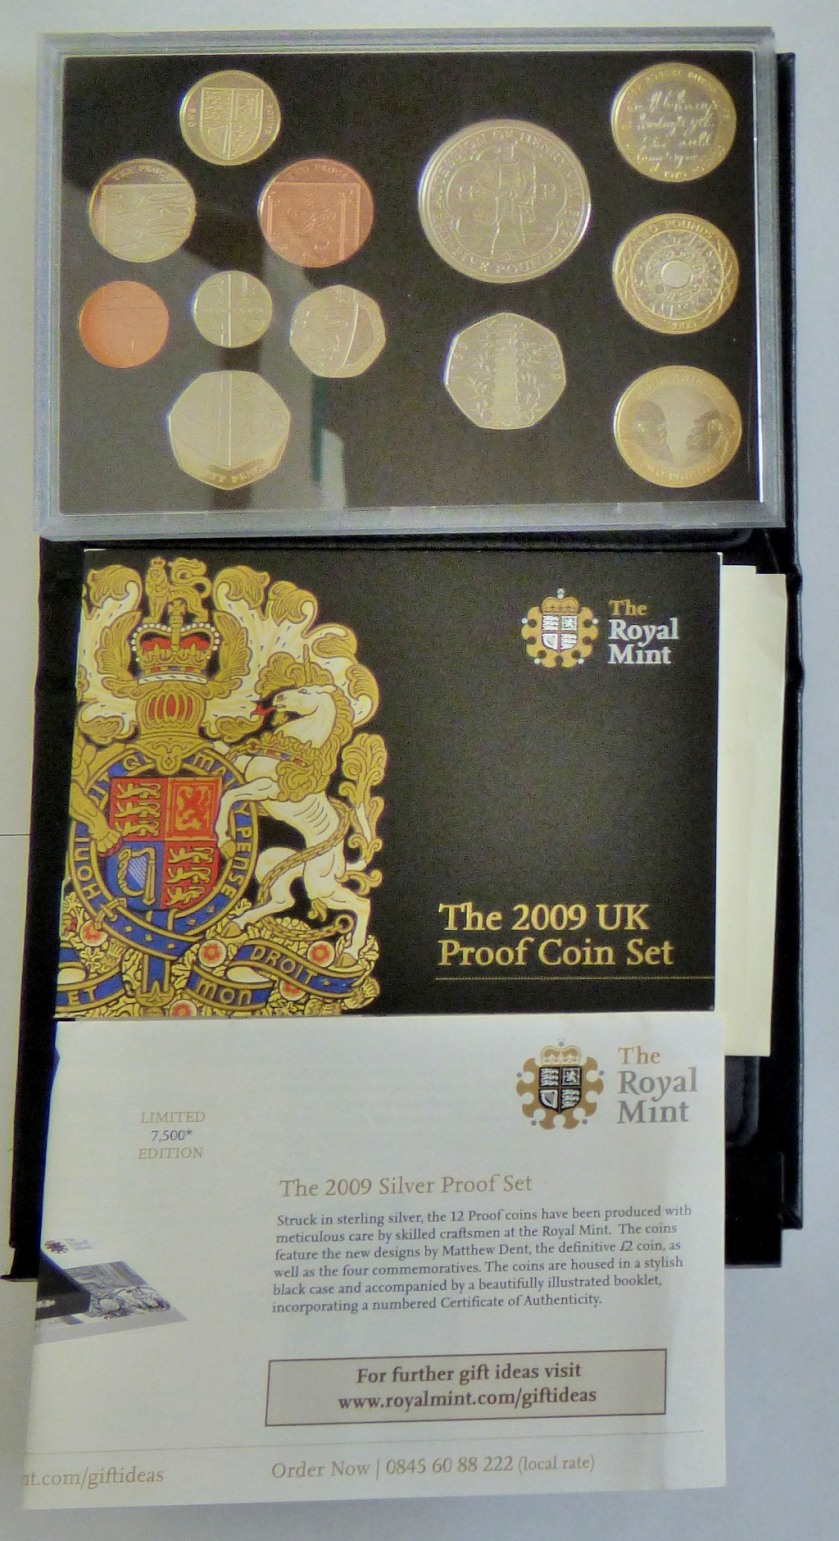
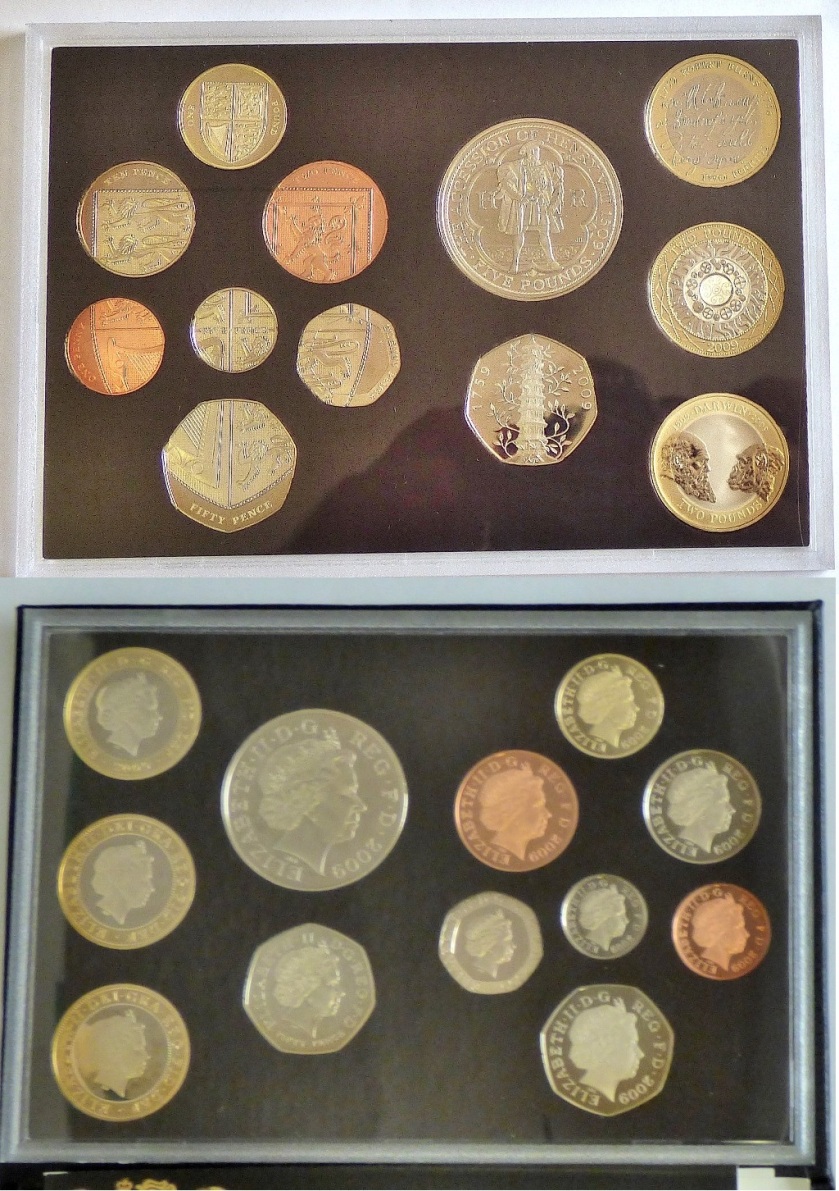
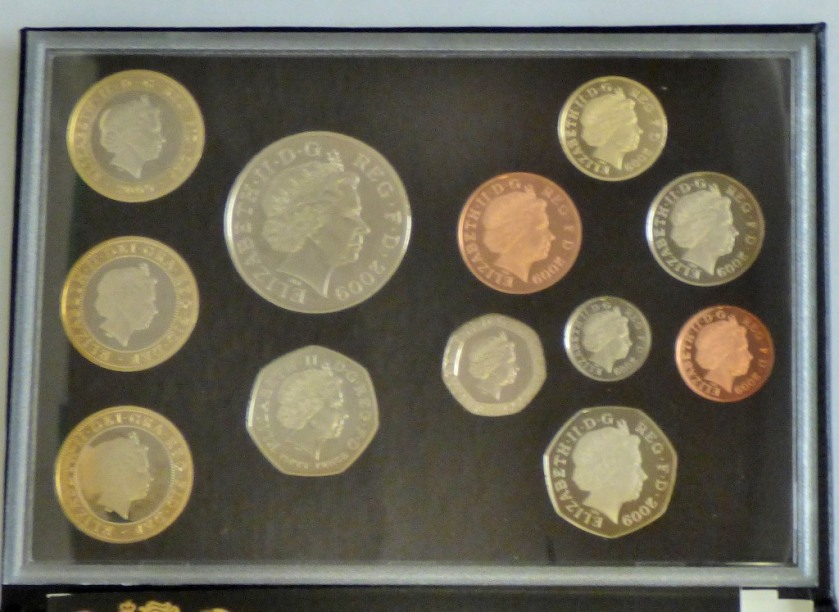
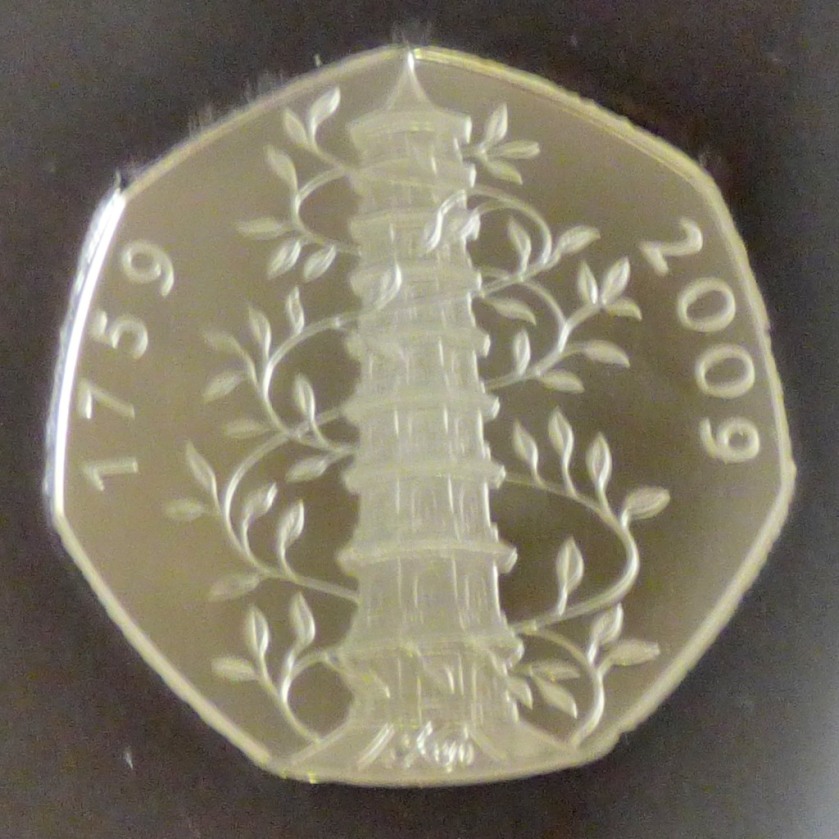
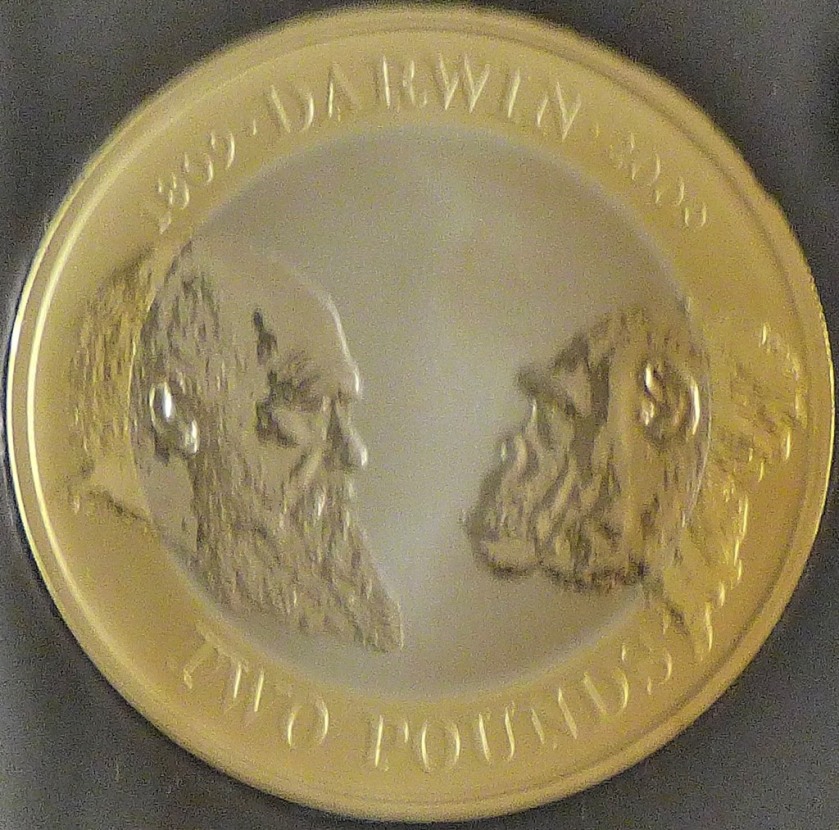
Lot 135, a 2009 proof set, featuring as it did the highly prized Kew Gardens 50p, the Henry VIII £5, and the Darwin and Burns £2 coins was estimated at £100-120 but ended up going for £220!

135135-a135-b135-c

135-d
A close up of this one was mandatory.
135-e
I also deemed the Darwin £2 worthy of a close-up

135-f

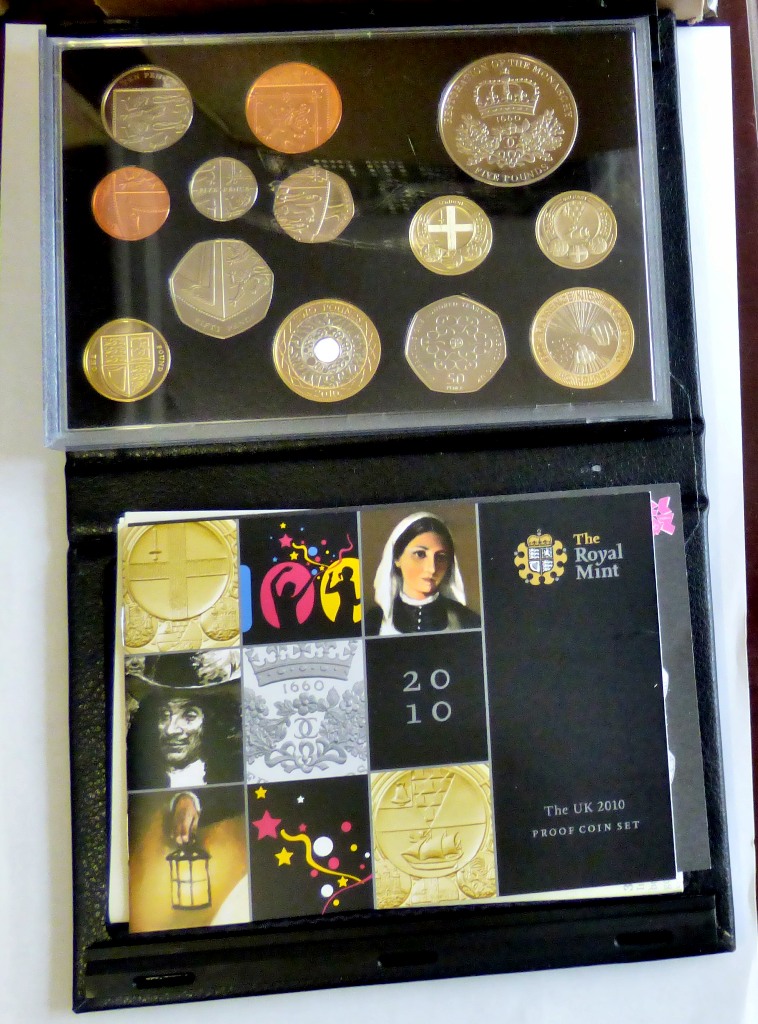
Lot 136 was a 2010 proof set featuring a Restoration of the Monarchy £5 (350th anniversary thereof), A Florence Nightingale £2, a London £1 and a Girl Guiding 50p. Estimated at £20-25 it sold for £100!!

136

Not long later came…

LOT 139 – A BITTERSWEET IMAGER’S TRIUMPH

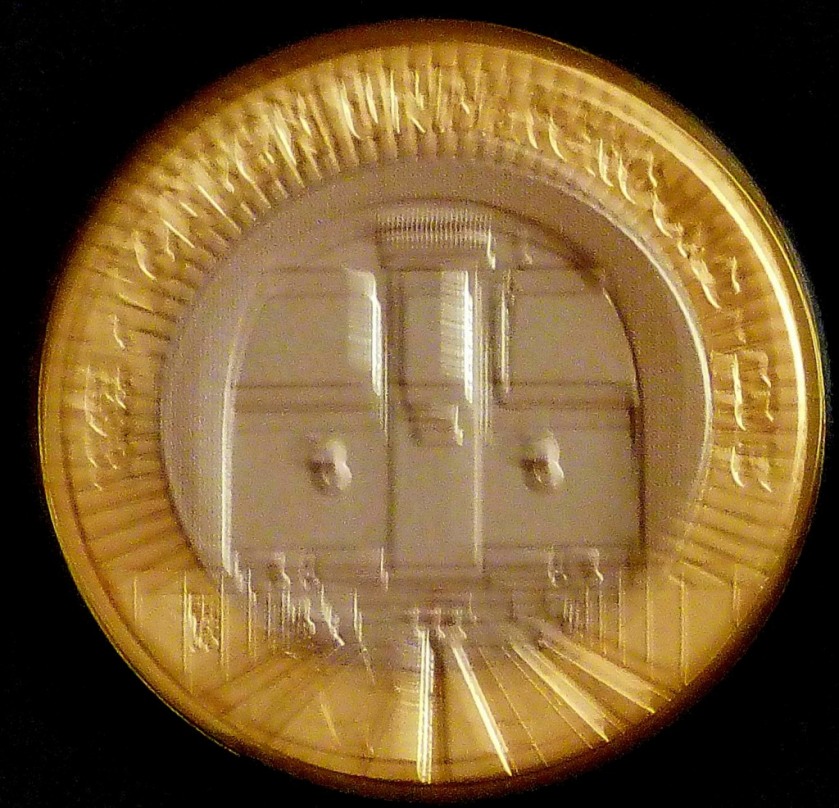
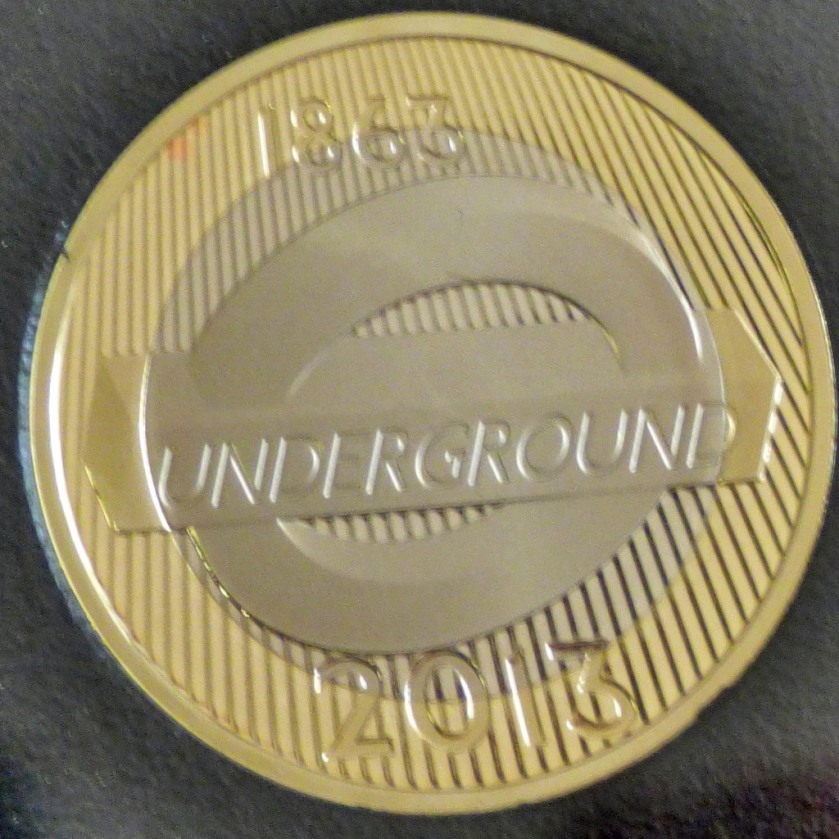
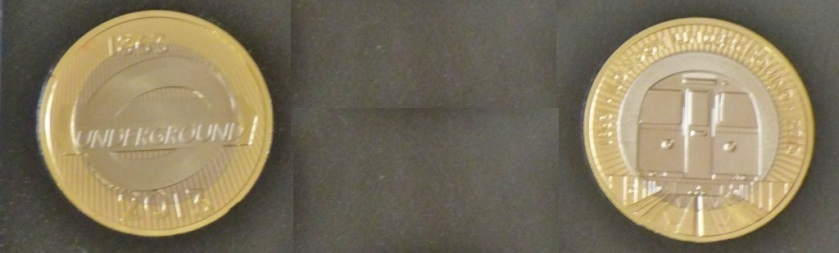
This London Underground 150th anniversary proof set had been badly misdescribed, with one of the £2 coins mentioned as featuring trains, and the roundel coin not even mentioned, but the imager’s efforts more than compensated for this. Estimated at £25-30 it attracted sufficient interest to push the final price up to £52 (and inter alia out of the imager’s reach, hence the heading of this section).

139
Lot 139 in all it’s glory.
139-c
The ’roundel’ coin which is fairly rare.
139-b
The other London Underground 150th anniversary coin, which is much less rare.

139-a

That was the last of the yearly proof sets, but there were still a few lots to go, and two of them provided noteworthy results.

LOT 148 – A SENEGALESE STUNNER

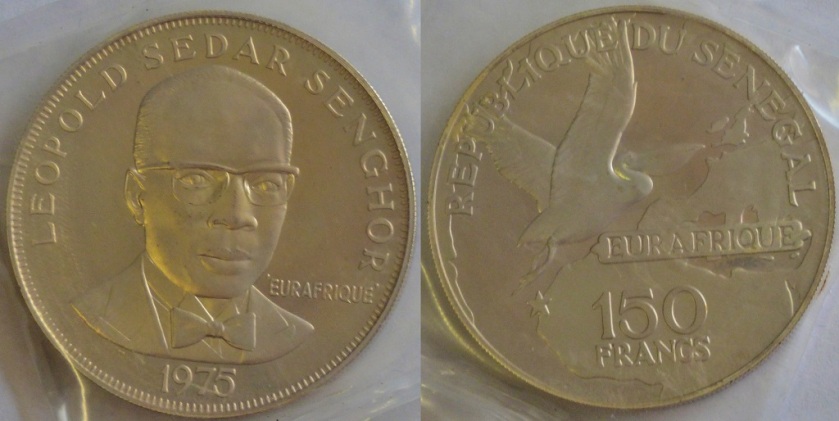
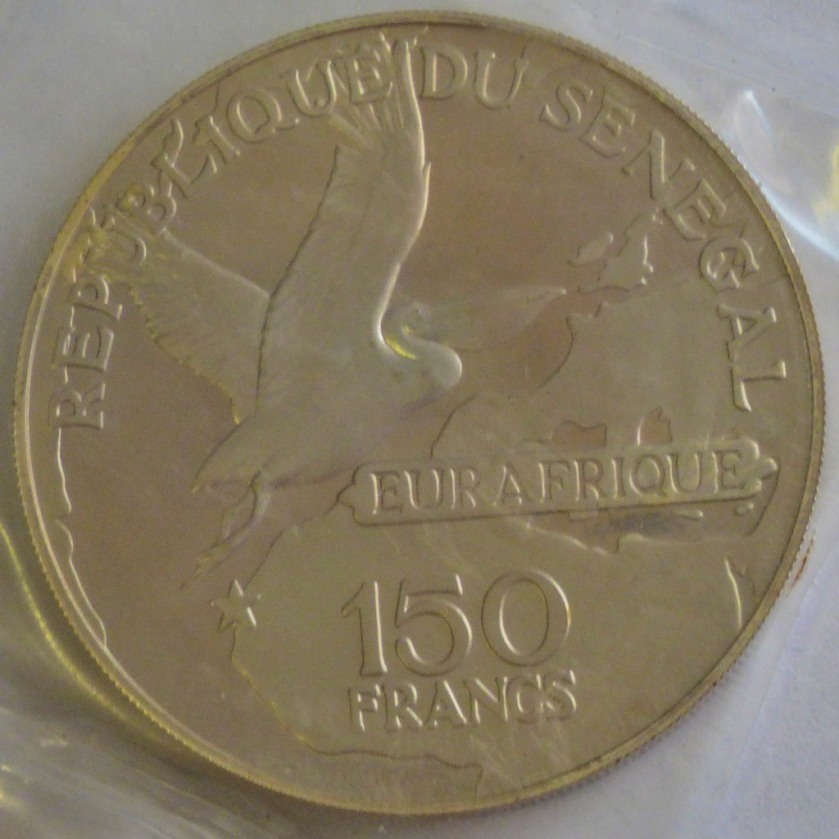
This 1975 Senegal Triple Crown, solid sterling silver, Euroafrique 150 franc coin, boxed and with a certificate was estimated at £15-20, but a lively bidding battle pushed the final price up to £48.

148148-a148-b148-c

Finally, came…

A STRONG FINISH

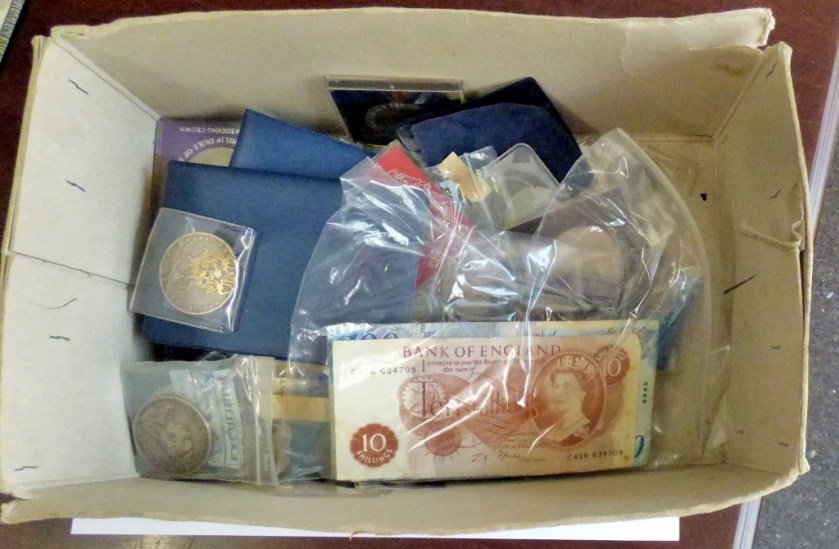
Lot 151, the final lot in this small sale,  was an accumulation box containing a few good bits and some ordinary stuff.  Estimated at £40-50 it ended up going for £95.

151

Once the auction setup had been dismantled and the last room bidders had gone it was time for me to attend to other matters. You can view a catalogue for the general collector’s auction we have next Wednesday here.

THURSDAY – PUTTING TOGETHER A PRESS RELEASE ABOUT THIS AUCTION

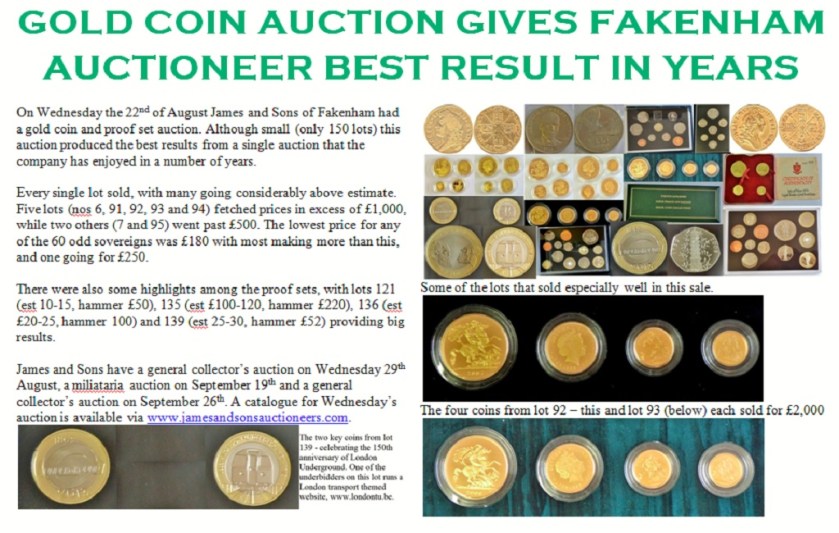
Yesterday morning I produced a PR piece about the success of this sale, going big on the images as well. I conclude this piece with a link and a screenshot:

GOLD COIN AUCTION GIVES FAKENHAM AUCTIONEER BEST RESULT IN YEARSPRimage


A Grockle’s Eye View of Cornwall 12: Homeward Bound

Bringing my series on my visit to Cornwall to a close.

INTRODUCTION

All good things come to an end, even this series of blog posts, and with this post we do indeed reach the end of my account of my visit to Cornwall. 

THE JOURNEY HOME

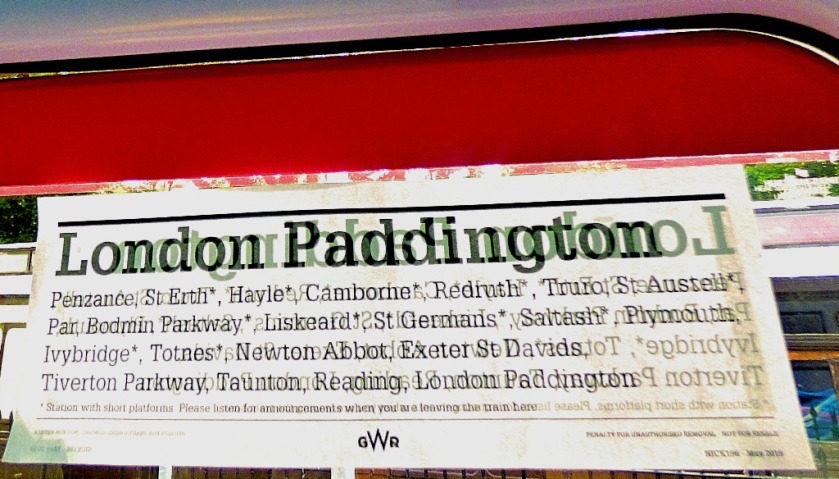
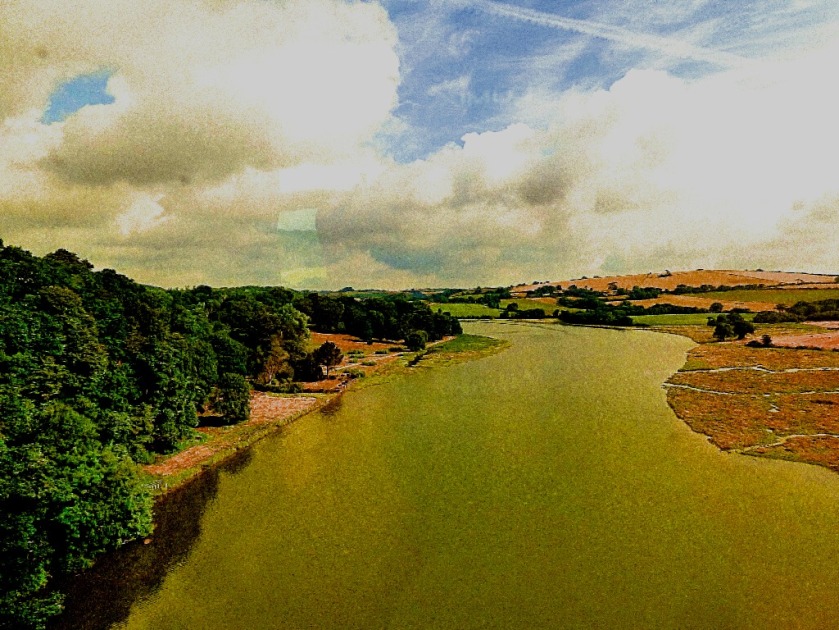
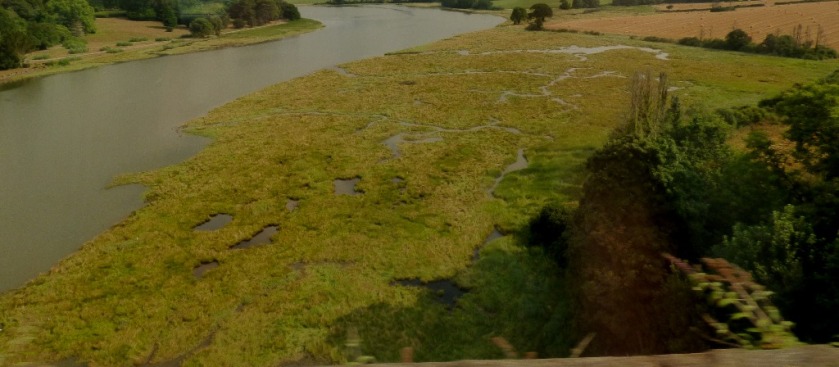
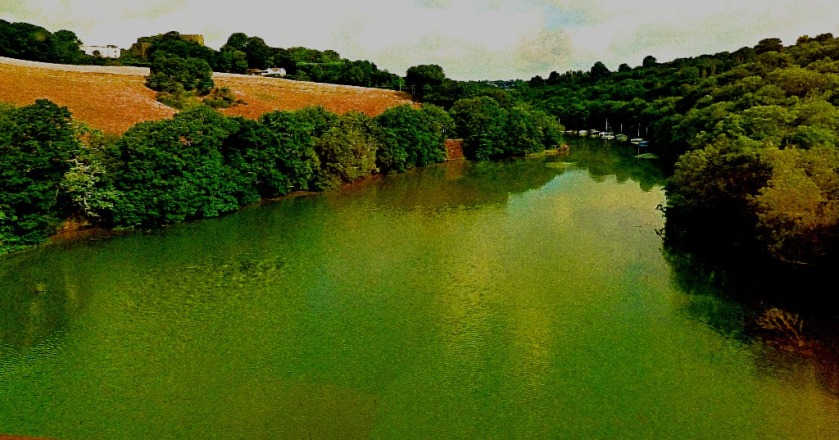
With my train due to leave St Germans at 9:27AM on Monday July 16th we had decided that a departure from Fort Picklecombe at 8:30AM was warranted due to the fact that I had a reserved seat on that train, which was going all the way to London, and would have been in the region of £100 down had I missed it. We arrived early at the station, and once the train arrived I found my seat easily enough, although as had happened on the journey down they had reversed the running order of the train and I was facing against the direction of travel instead of with it (trust me, for a photographer this is quite significant). Here are the last of the Cornish pictures…

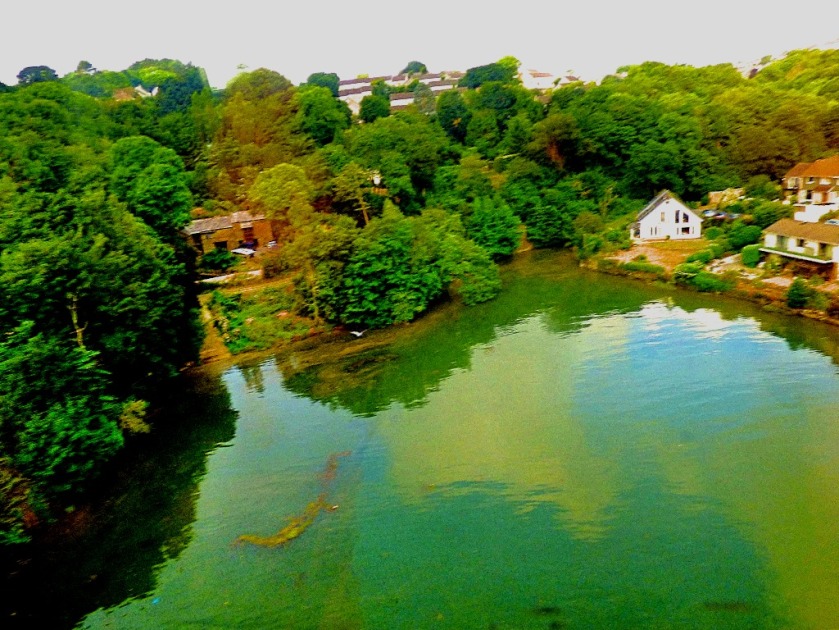
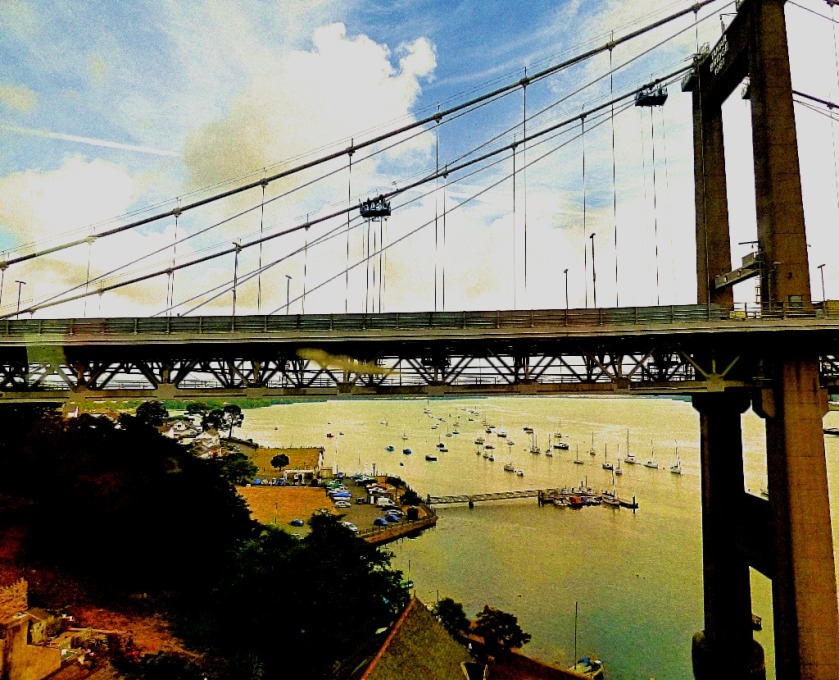
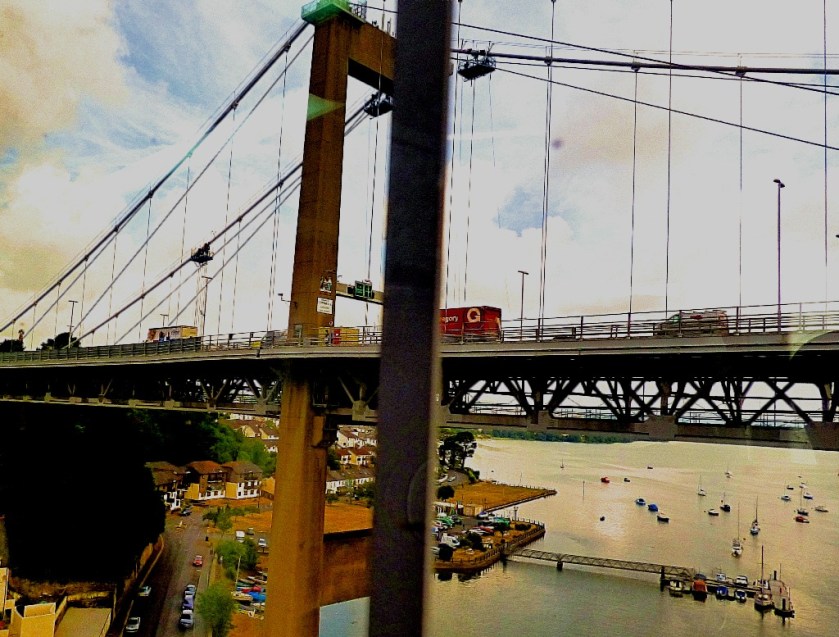
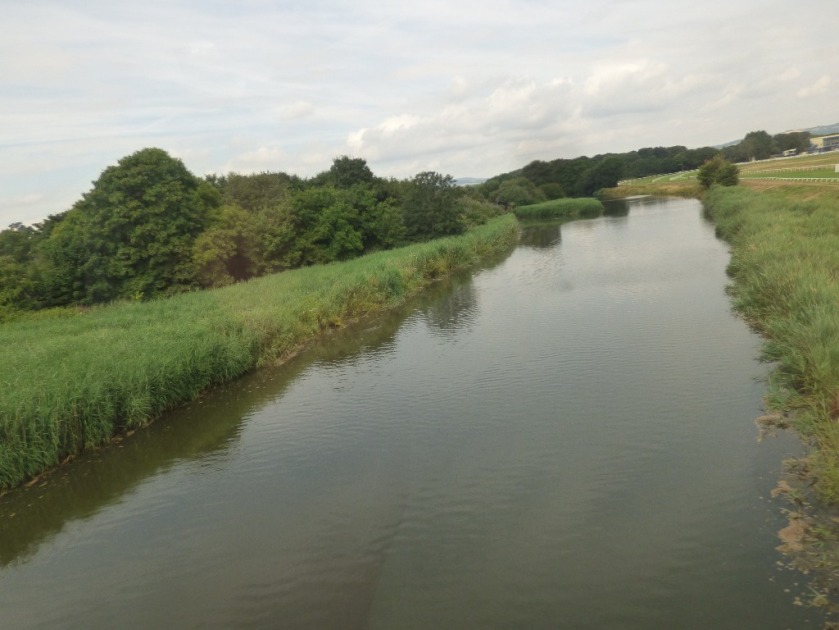
sea birdSt GermansScheduleRiverMarshy riverRiver with boardsYacht and buoyWaterside housesSaltash stationCrossing the Tamardetail from suspension bridgesuspension bridge and boatsTamar Bridge

The rest of this post takes place outside Cornwall. The train ran a trifle slow, arriving into Paddington sufficiently late to ensure that I would not make my intended connection at Kings Cross. However, the failings of Great Western were as nothing compared to those of Great Northern. The train arrived at Cambridge where it was supposed to divide in two as usual with four coaches going on to King’s Lynn and the rest going back to London, then a good couple of minutes later we got an announcement telling us that the split was not happening and that we needed to go to Platform 7. As a direct consequence of this mess up we then hit two red signals, at Waterbeach and again at Watlington, arriving into King’s Lynn much later than we should. This made it four successive journeys on Great Northern where the schedule had not been adhered to. Their failures appear to have got worse – just a few days ago I saw a special bus service running between King’s Lynn and Ely.

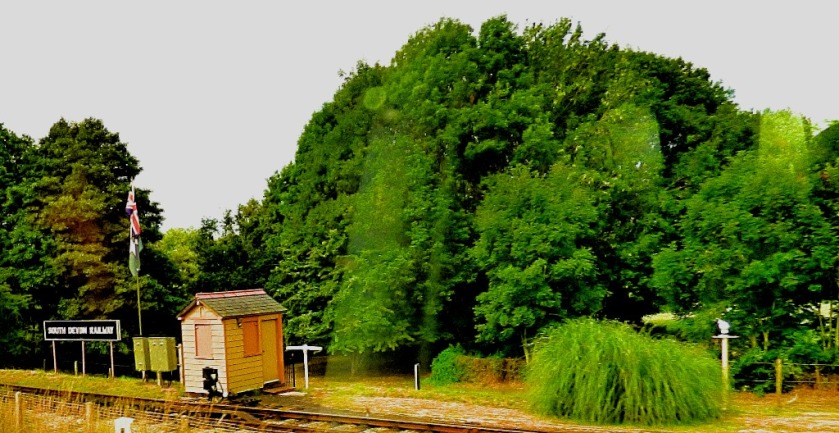
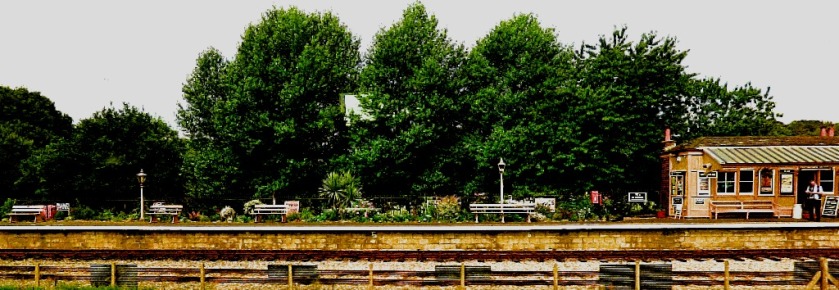
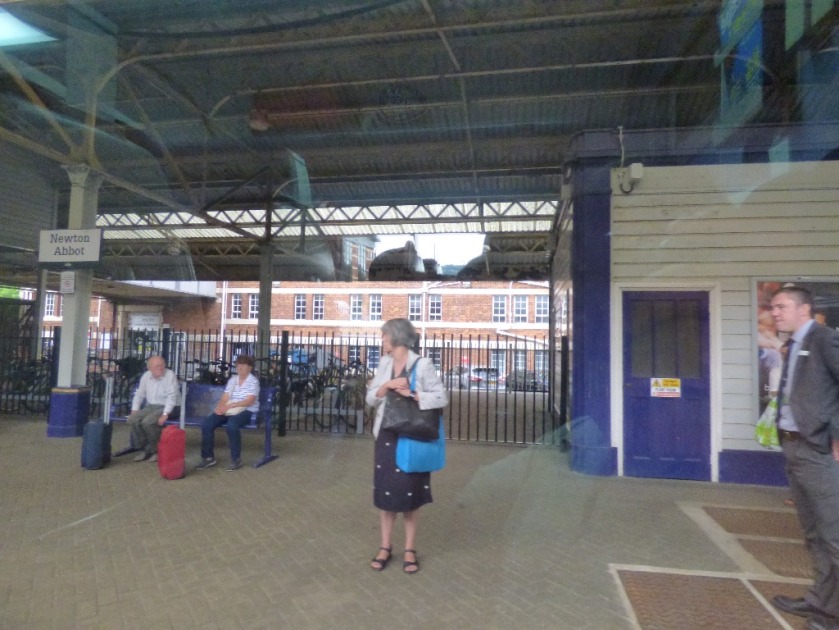
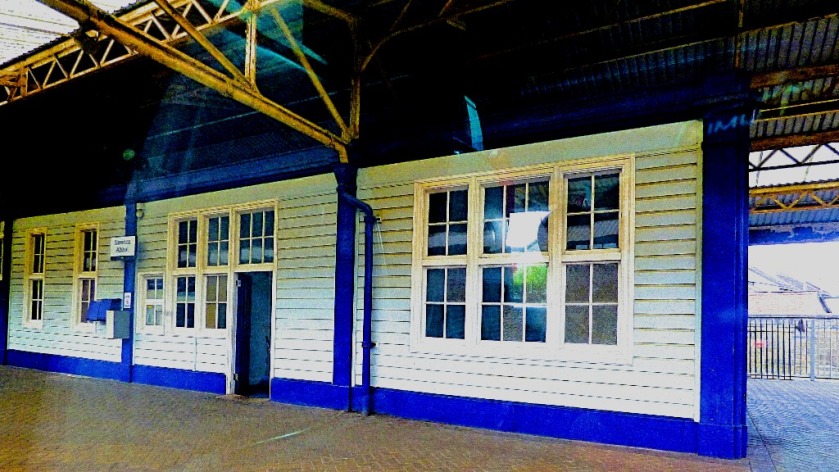
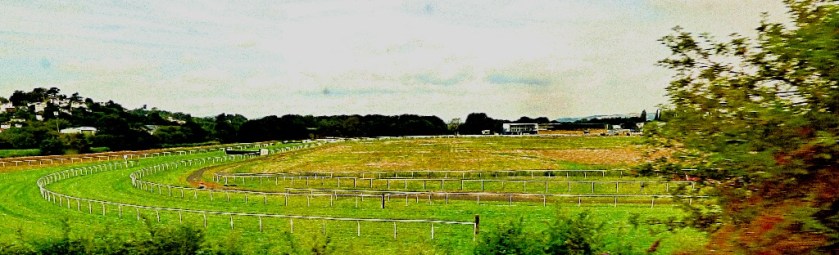
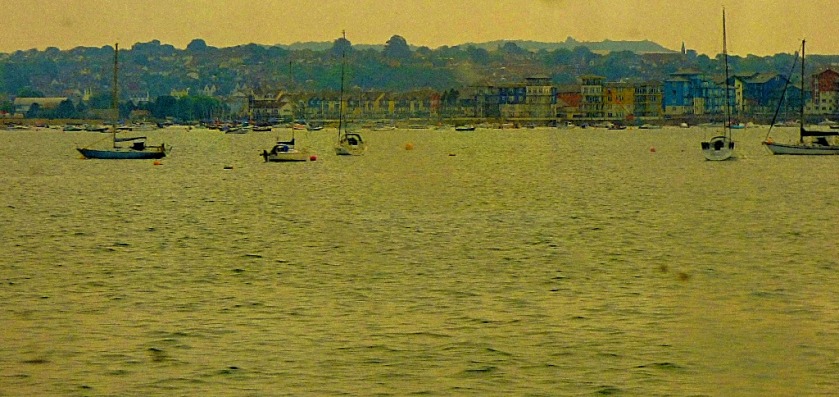
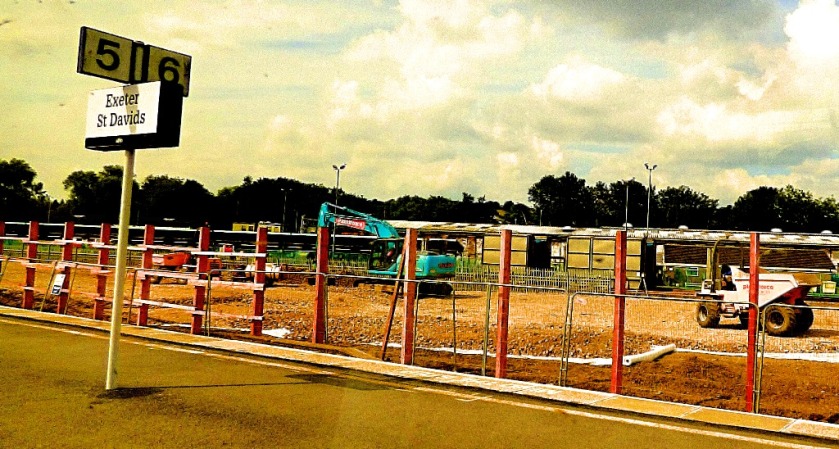
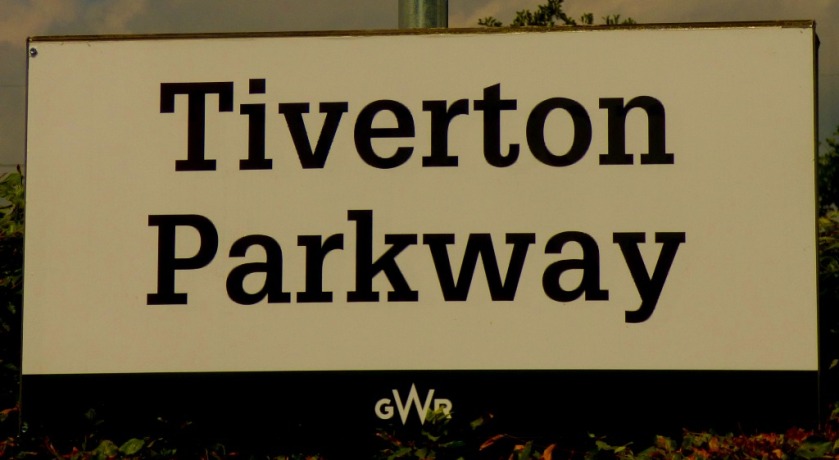
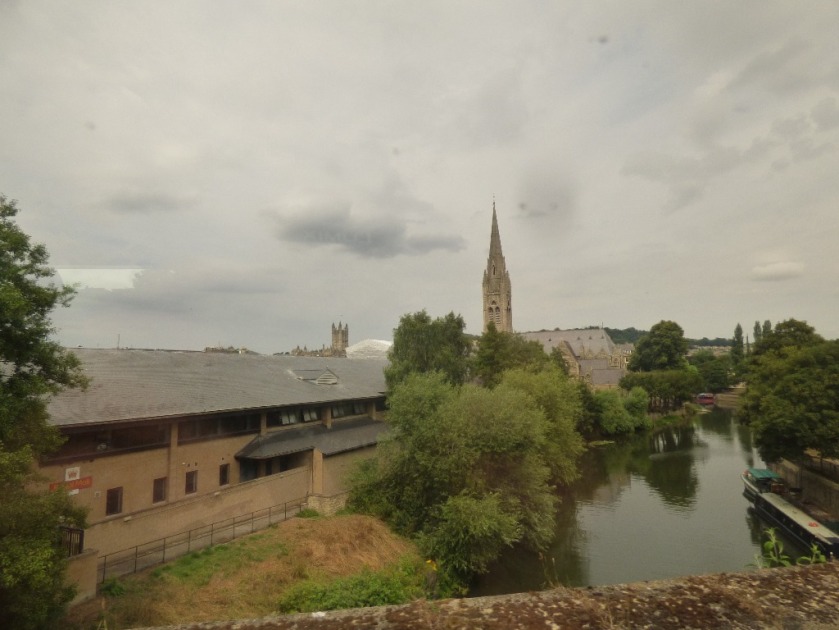
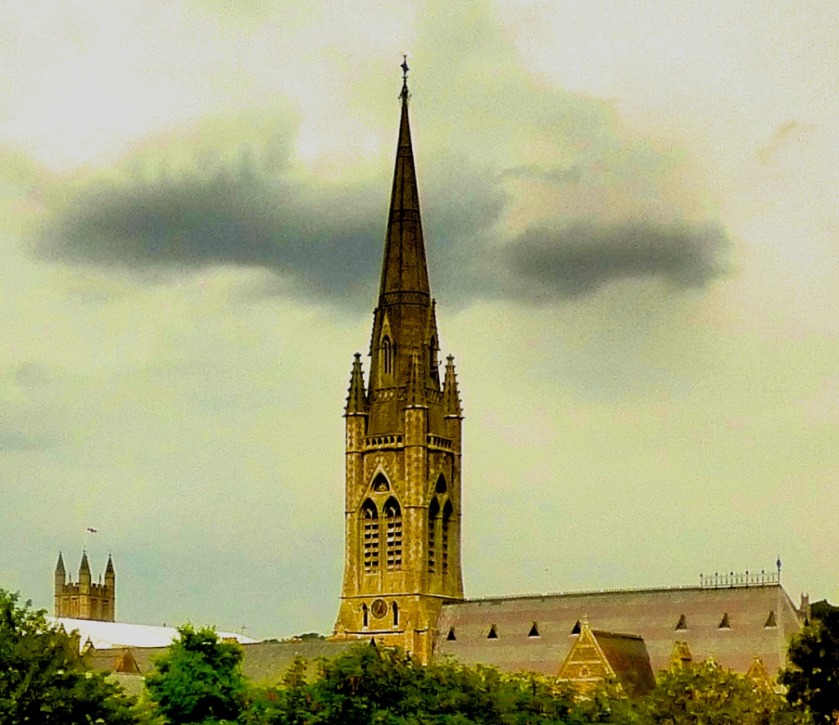
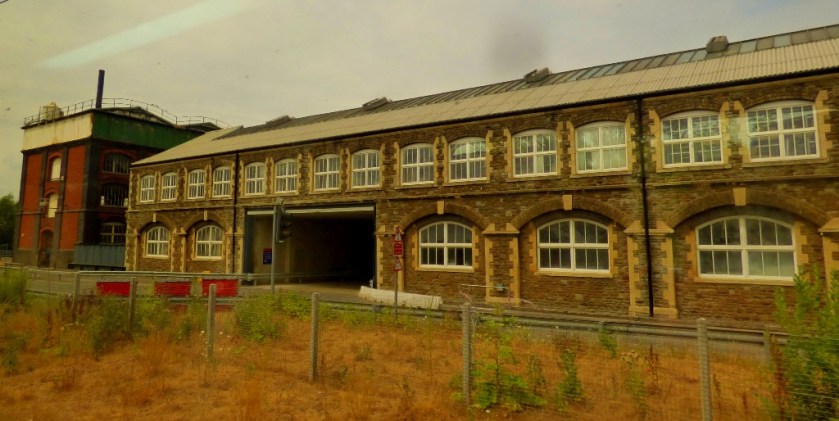
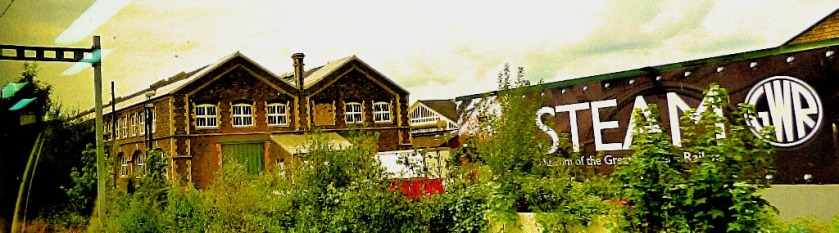
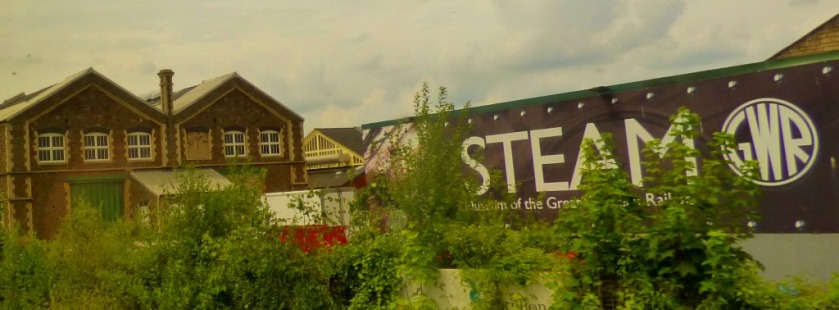
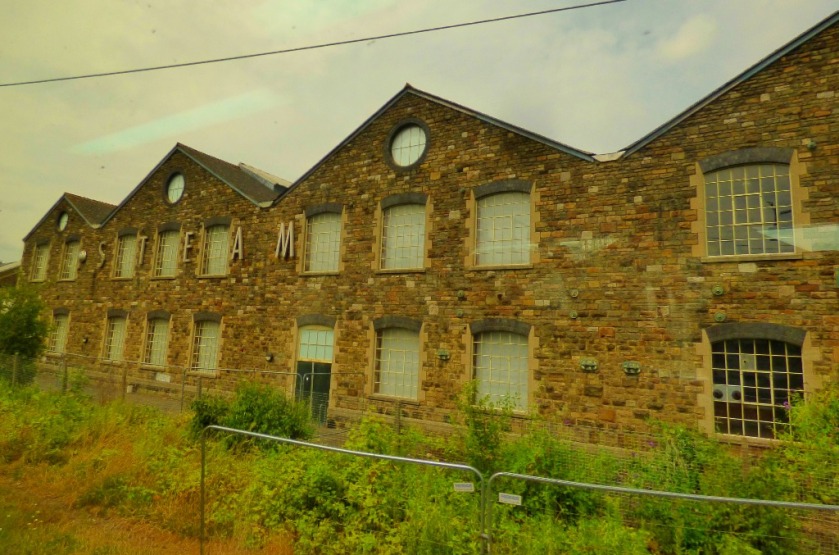
DevonportSouth Devon RailwayStationStation IIView from the trainNewton Abbot stationNewton AbbotNewton Abbot canopy and big buildingRiver near Newton AbbotRacecourselong bridgeLone boatAcross the waterAcross the water IIChurch towerAcross the water IIIBoats and buildingsBoats and hillsidesGrand HouseChurchButterflyriverside walksrural riverExeter St Davidstree and housesTiverton ParkwayTiverton Parkway IITauntonTrain, ExeterTrain, Bristol IIMetal curlicuesTrains, BristolBristol with trainsBristol Temple MeadsCleaning Britain's Railwaysbridge and pipebridge and pipe IIBath SpaBath Spa IIChurch tower IIBarge and churchBig churchcricket fieldRailway buildingGWR MuseumGWR Museum IISTEAM building

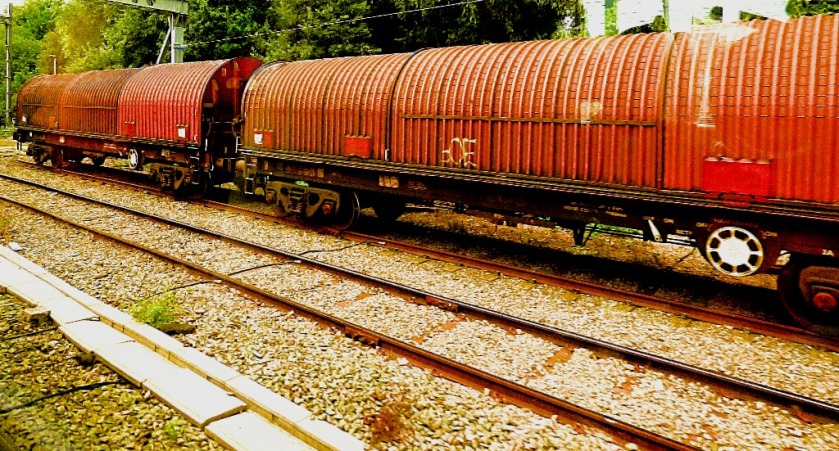
Tunnel trucks
These trucks look like tunnel segments on wheels.

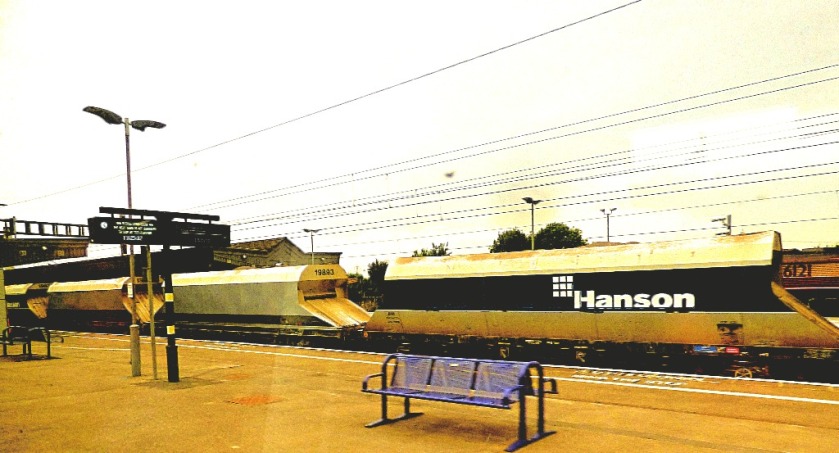
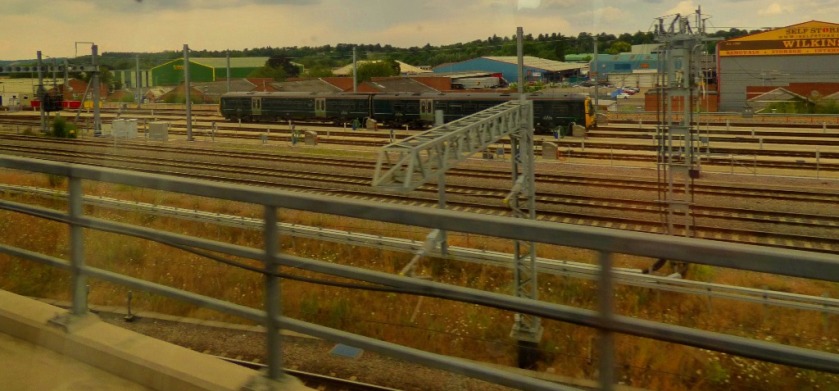
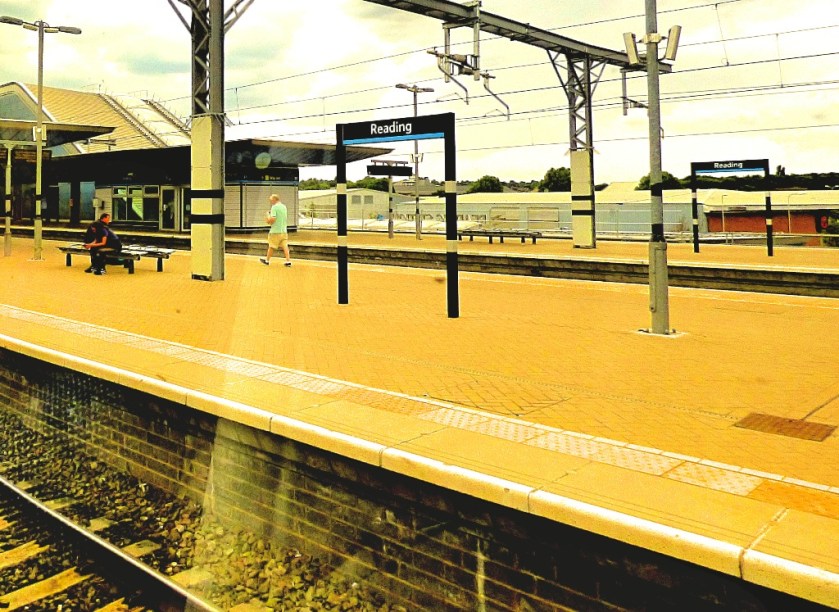
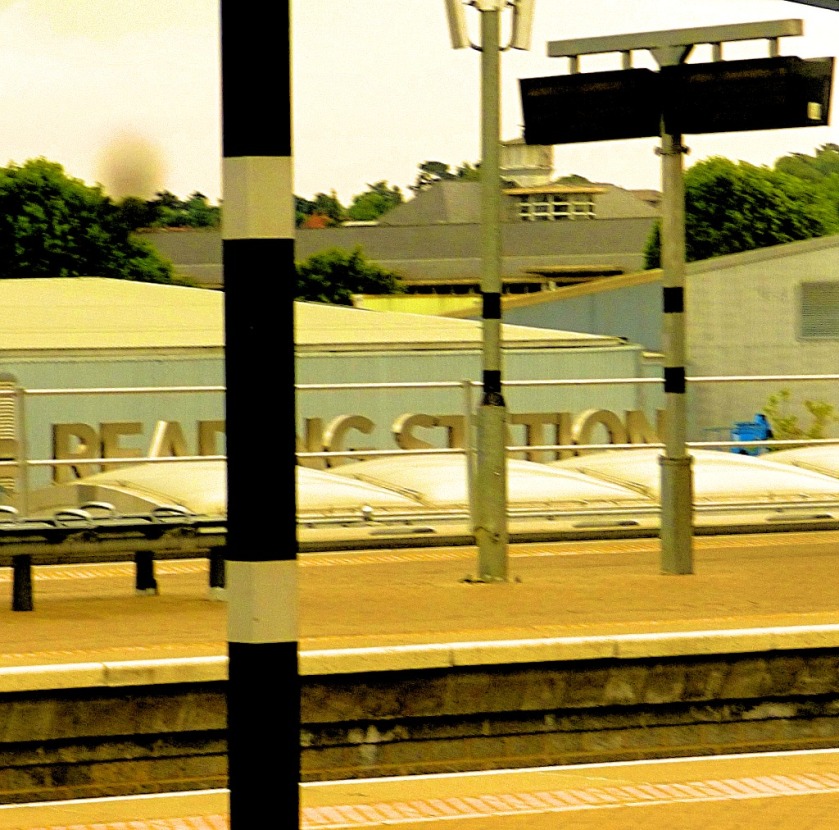
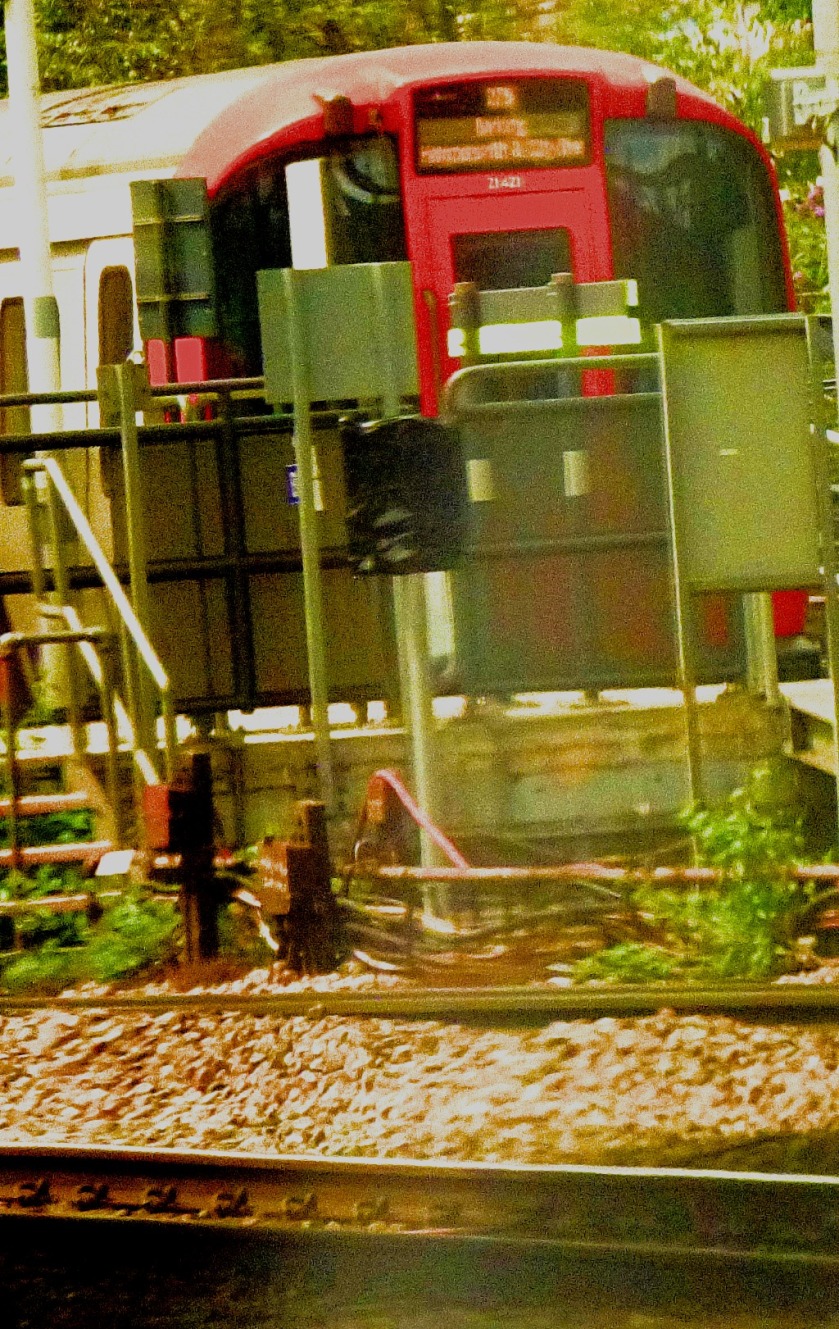
SwindonPlatform detailGoods trainsingle trainReadingReading Stationtrains near ReadingLondon Underground train

Royal Oak
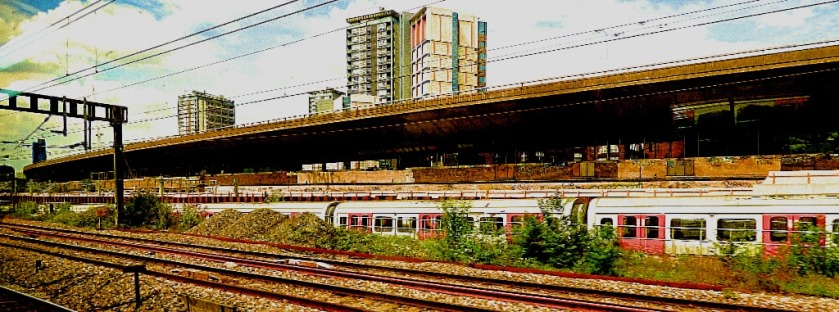
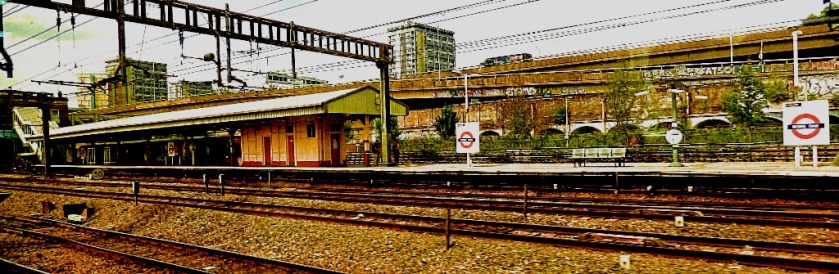
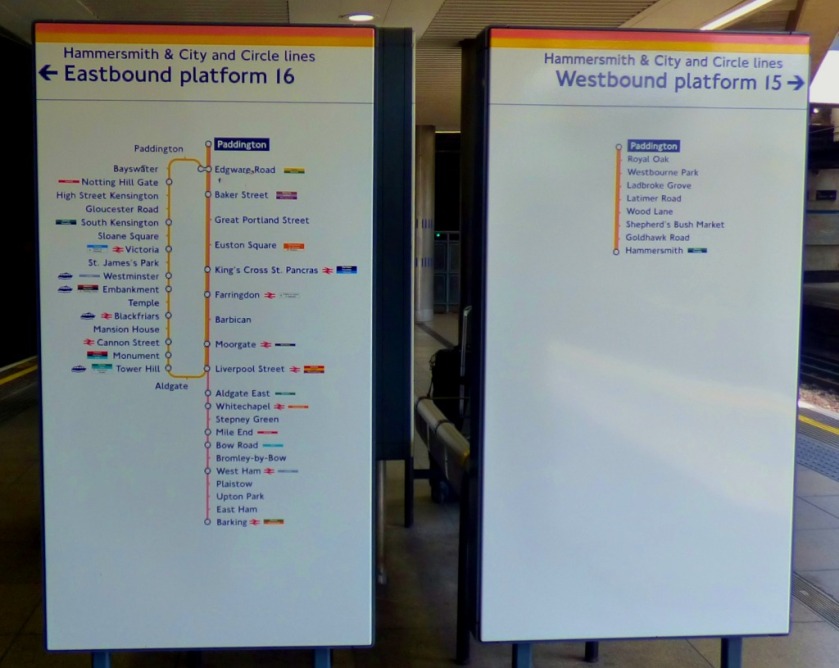
Westbourne Park, the penultimate Hammersmith & City line station west of Paddington – until quite recently local mainline train services stopped here as well. When the Metropolitan Railway opened in 1863 it used GWR rolling stock (broad guage in those days), and there were track connections between the two railways. This line to Hammersmith became part of the Metropolitan Railway in 1864, and between 1877 and 1910 services ran through to Richmond by way of a viaduct from Goldhawk Road the far end of which can still be obeserved at Ravenscourt Park. The last legacy of these connections is that today the Hammersmith and City platforms at Paddington are nos 15 and 16 of the main station.

Hammersmith and City line trainPaddington platforms

Interchange, Baker Street
The interchange from Circle and Hammersmith and City through to the four platforms that serve the Metropolitan line at this station (and escalators down another four platforms which serve the Bakerloo and Jubilee lines)

Screen


A Grockle’s Eye View of Cornwall 11: The End of the St Michaels Mount Day

Concluding my account of the day at St Michael’s Mount as we near the end of my series about my visit to Cornwall.

INTRODUCTION

Welcome to the latest installment in my series of posts about my recent visit to Cornwall. This post completes the day at St Michael’s Mount, leaving me with a post to do about the journey home and finally a page from which all the posts about this trip can be accessed. The fact that this will mean (including the page) 13 pieces relating to the trip bothers me not a jot – I have no more time for triskaidekaphobia than I do for any other ridiculous superstition.

WRAPPING UP ST MICHAEL’S MOUNT

Having finished our exploration of the mount itself it was time for lunch, which was excellent. The establishment at which we ate our lunch has a rule that alcoholic drinks can only be served if food is ordered at the same time, and according to their interpretation cream teas do not count as food, so on two occasions in the course of that meal we ordered portions of chips to go with drinks. Mention of cream teas (a speciality of the far west of England) brings me to a debate that rages unchecked: which goes on the scone first, the cream or the jam? The cream advocates argue that cream in this context is the equivalent of butter (and if it is Cornish clotted cream it is so thick that one can pretty much slice it like butter!), and that if you put the cream on first you do not get jam in it. I am not sure what the jam advocates base their case on.

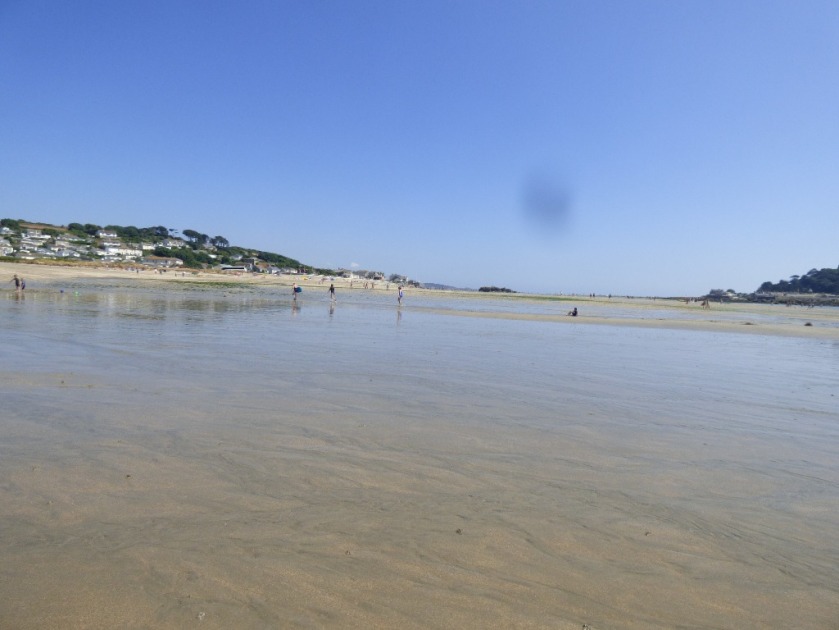
Lunch consumed it was time to head back to our parking place on the edge of Penzance. The tide was just starting to turn but was still a long way out, and unlike the Mont St Michel, on which the current setup of St Michael’s Mount is modelled the tide here comes in slowly (no danger of galloping horses being swallowed by an inrushing tide, as allegedly happened at Mont St Michel on one famous occasion), so we were still able to walk back across a vast expanse of beach to rejoin the official footpath just west of Marazion. I omitted to remove my socks and shoes for this part of the journey, and they ended up thoroughly soaked, although by the end of the walk they had dried out again (without the sea breeze the heat would have been fiendish).

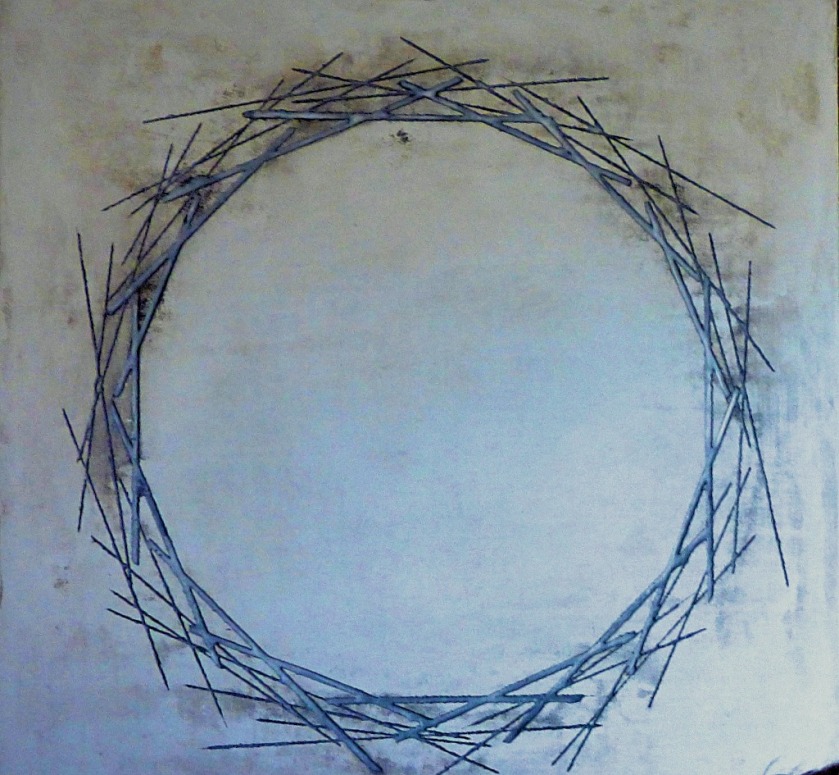
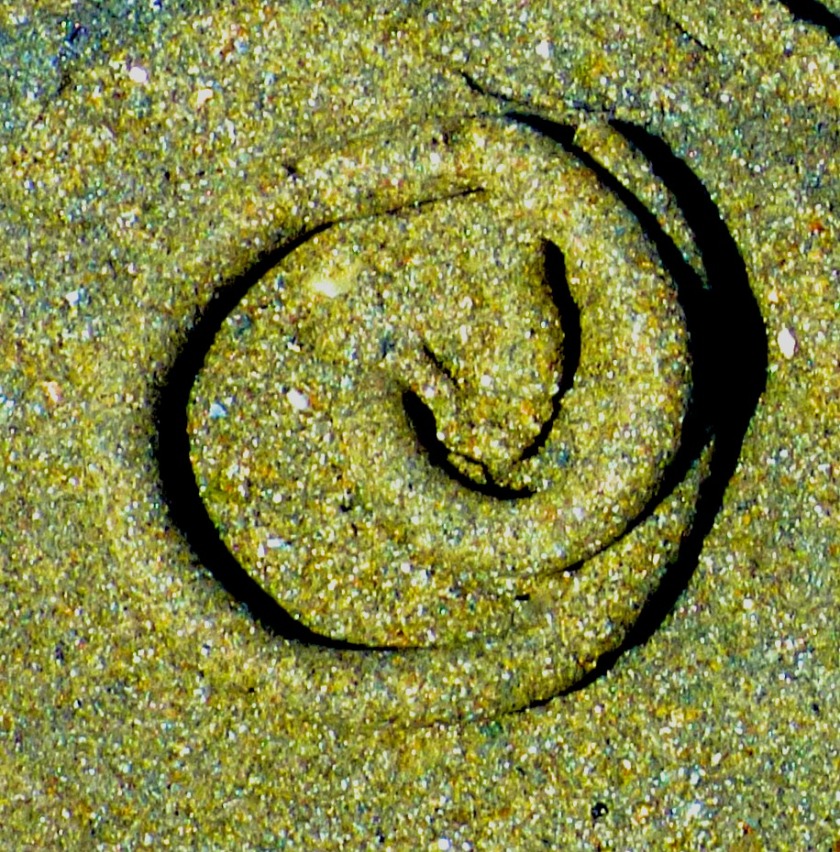
Mathematical Pic
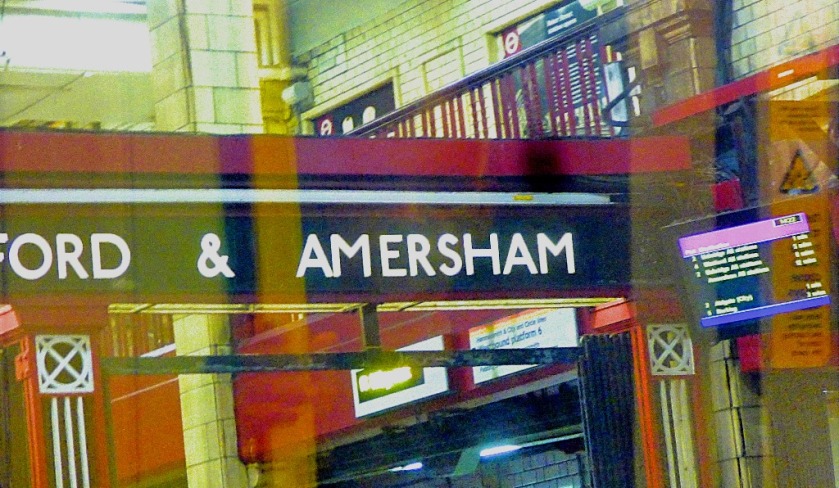
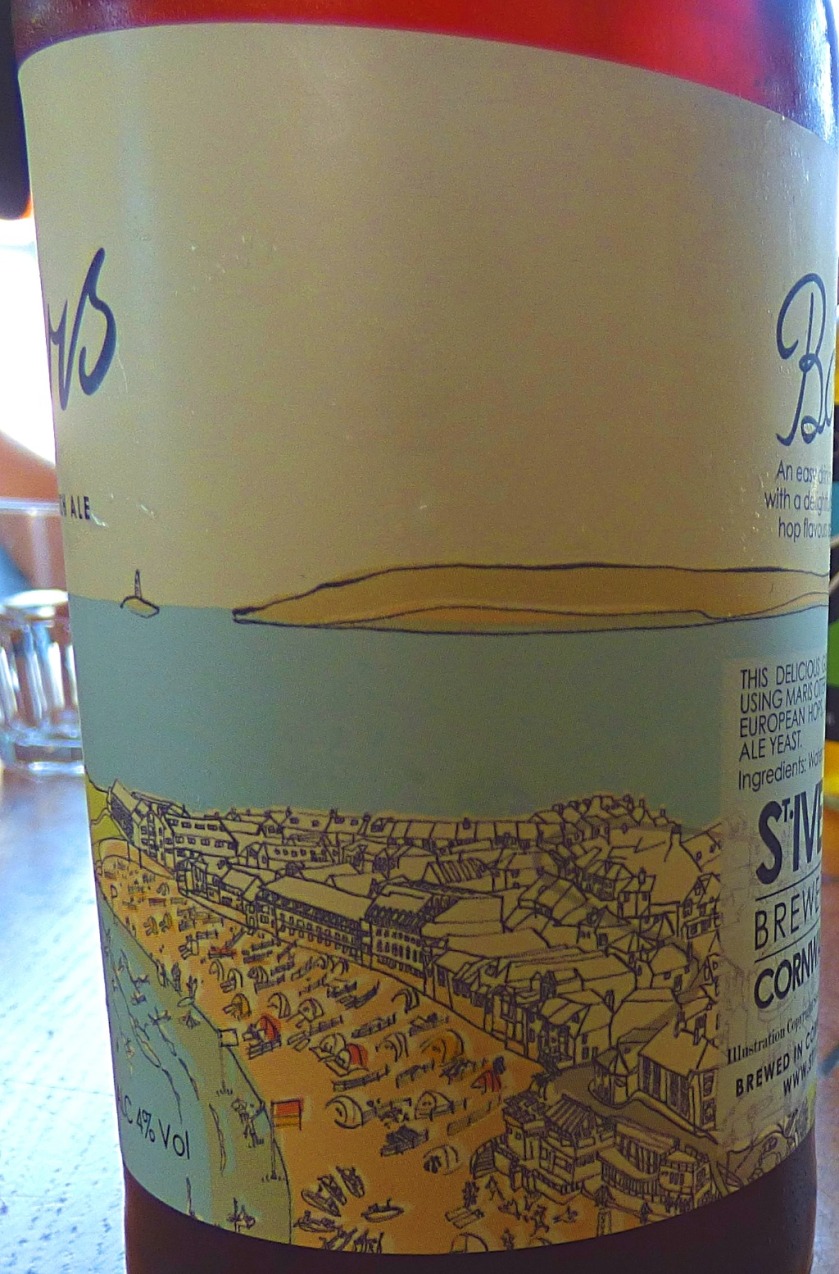
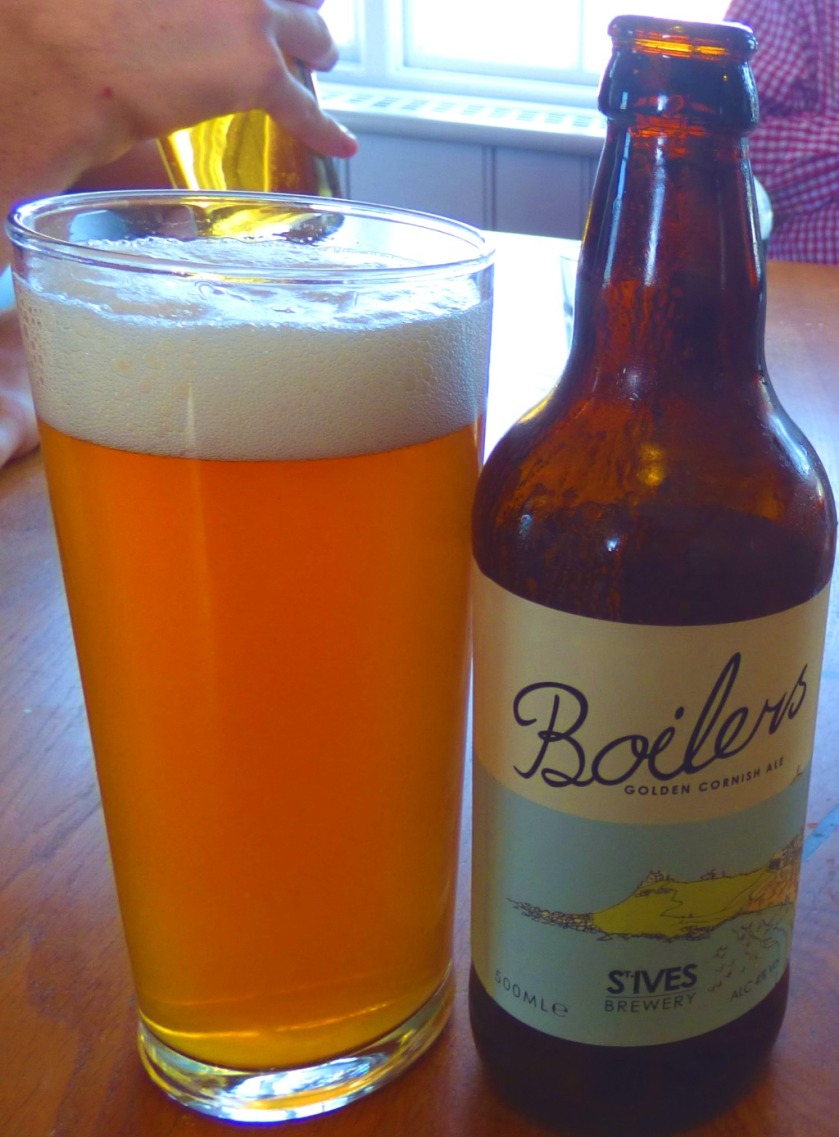
The first few photos here, including these mathematical pictures are from lunch

Mathematical picsMathematical Pic IIMetal pictureThrough the windowCornish beer ICornish Beer IICornish Beer IIIBoilersdetail from bottleDetail from bottle IIPaintingLooking towards the mainland

Sea birds
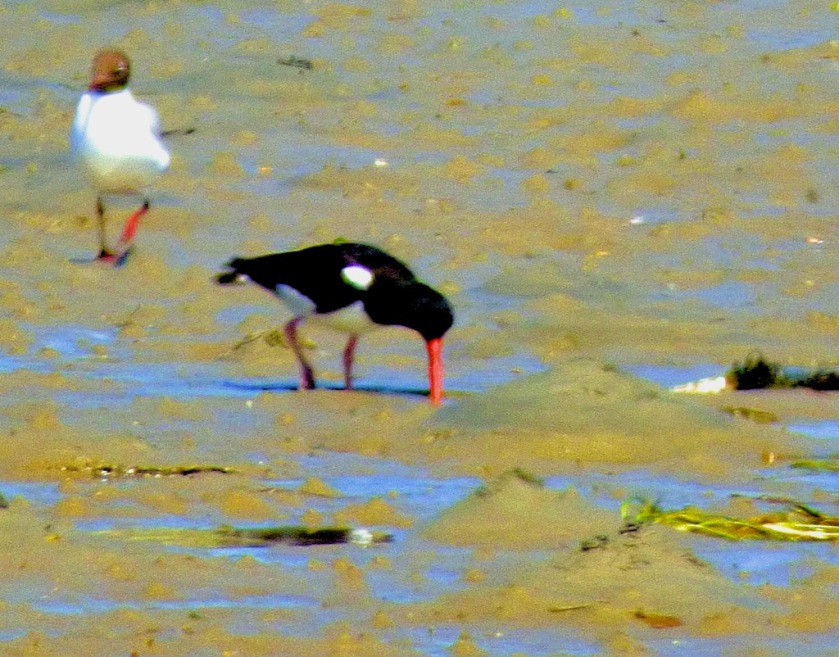
Just before recrossing the causeway to the mainland, we saw these birds – the one with the red bill used for digging would have been having a bonanza – there were huge numbers of worm casts in the sand.
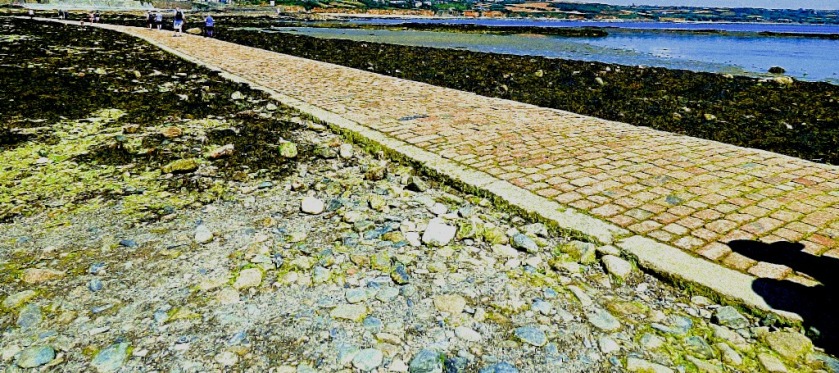
Causeway close-up II
The causeway from close up

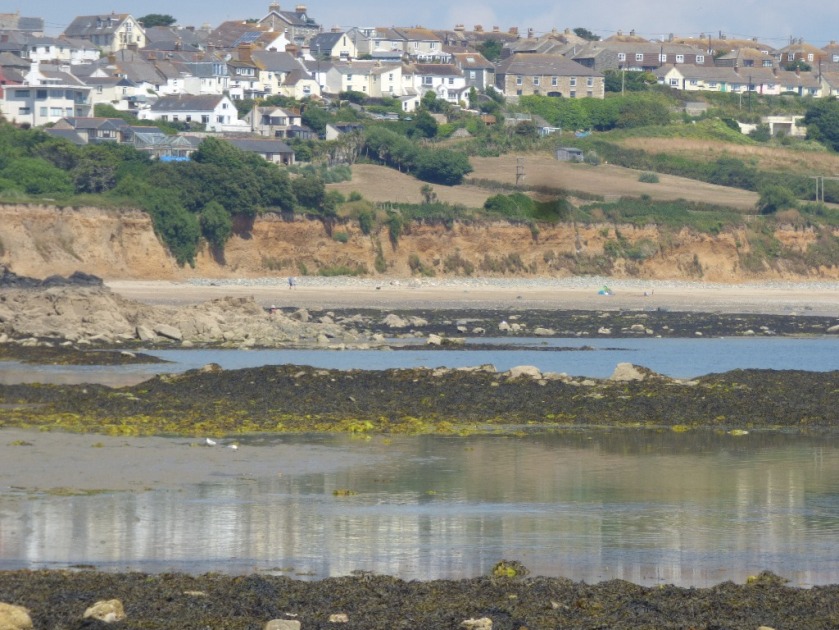
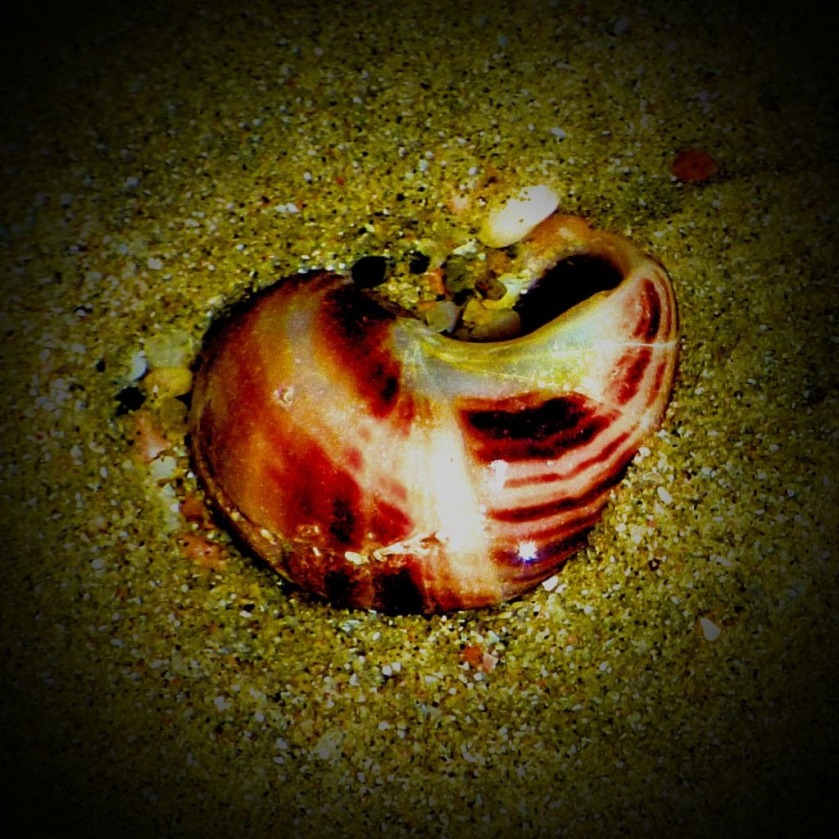
Worm castReturning to MarazionLooking WestGWR works, near PenzanceBeach viewShell

Farewell to St Michaels Mount
A farewell shot of the mount

St Michael's Mount panorama

Chough
A shore dwelling corvid, the Chough

A Grockle’s Eye View of Cornwall 10: The Map Room at St Michael’s Mount

Continuing my account of my visit to Cornwall. Today we look at the map room at St Michael’s Mount.

INTRODUCTION

Welcome to the latest post in my series about my visit to Cornwall. As part of my coverage of a day at St Michael’s Mount I am devoting a whole post to the map collection there.

A Collection of Antique Maps

For a cartophile such as me this section of the visit was particularly good fun…

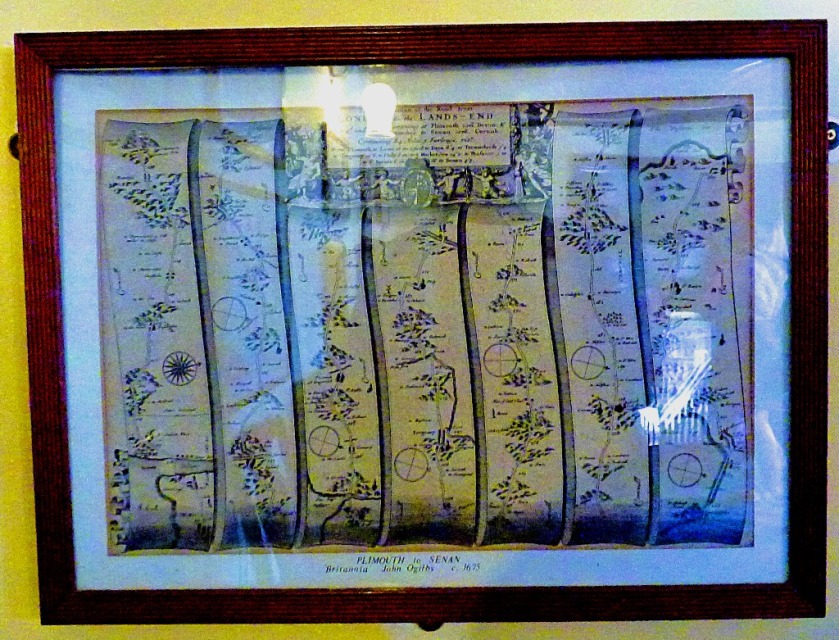
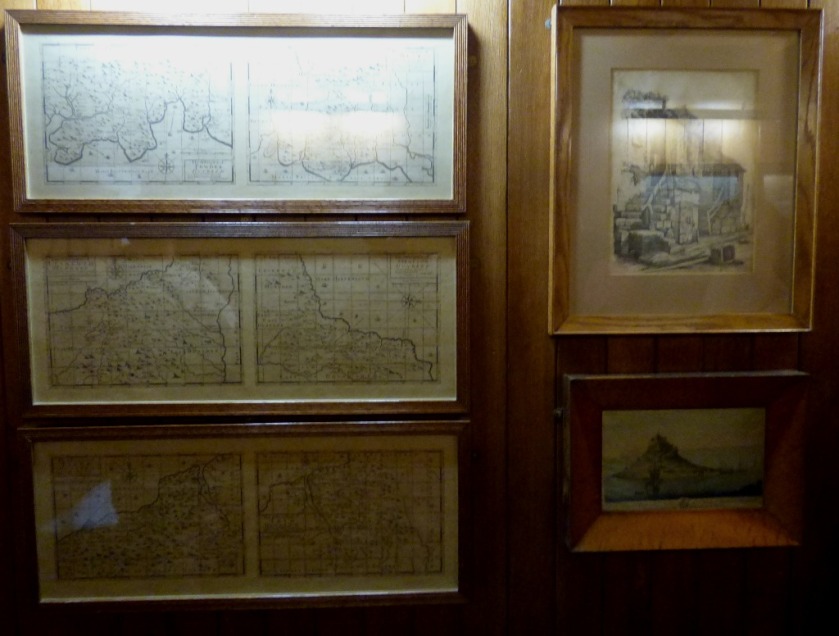
Plymouth to Senan
In the days before googlemaps this is what a walking route looked like!

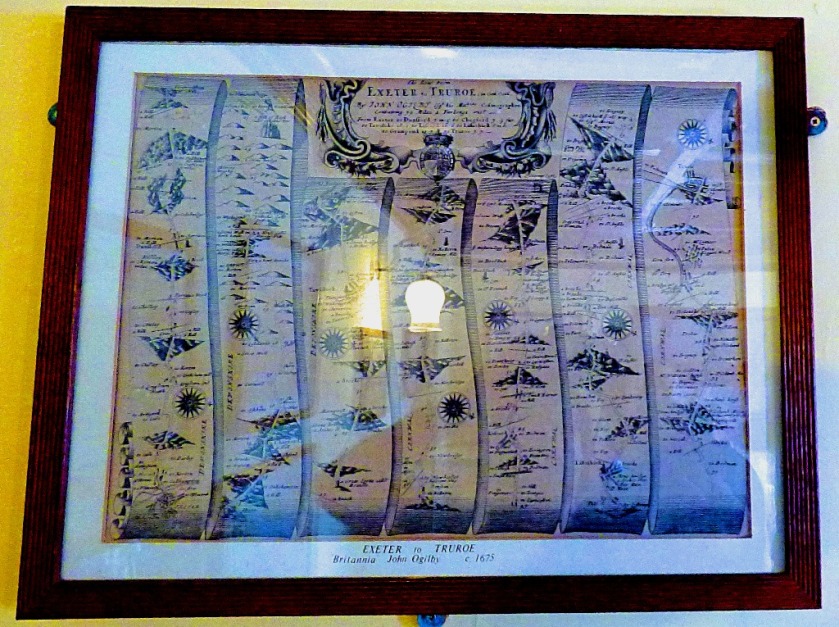
Exeter to TruroeWilliam Holes - Devon and Cornwall

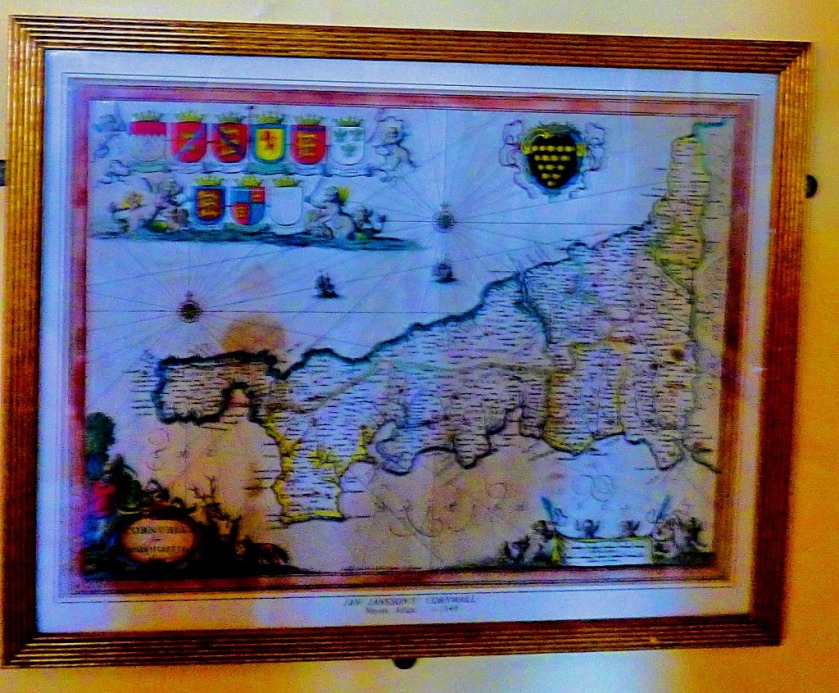
Jan Janssons Cornwall
At one time the Dutch were trailblazers when it came to cartography.

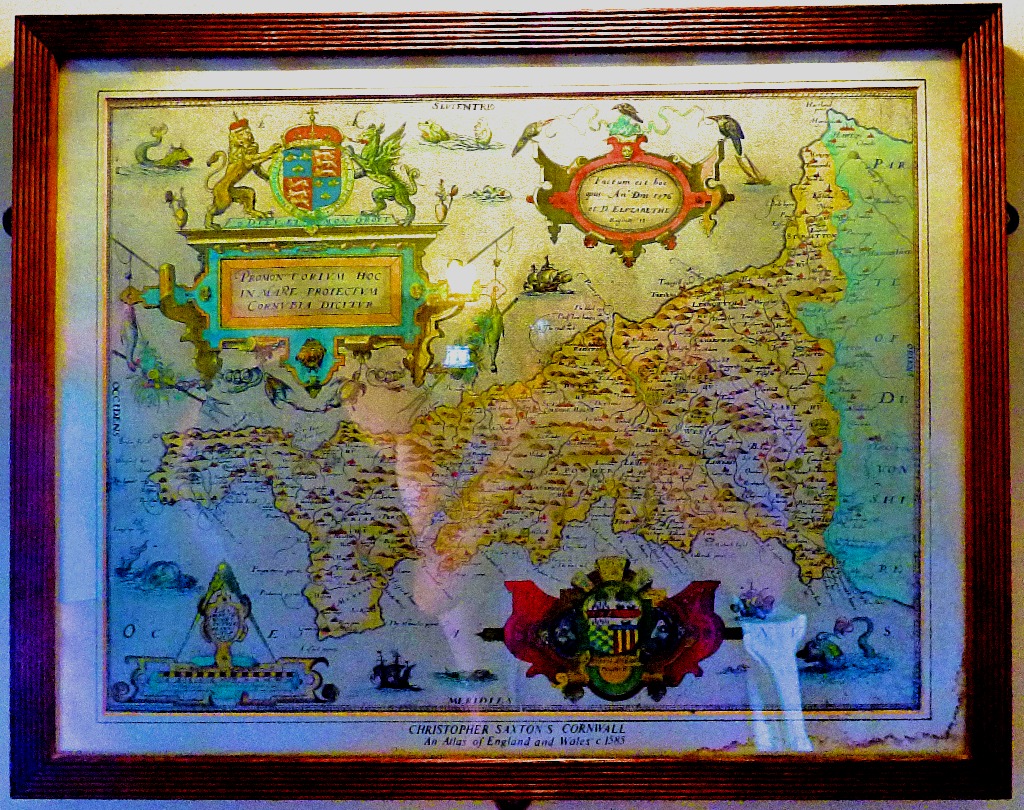
two antique maps of CornwallJames Pigot's CornwallModelFour antique maps of CornwallNicolas Sansons West of England MapThe Isles of ScillyChristopher Saxton's CornwallMounts BayMap room mantelshelfMounts Bay IIThree views of cornish buildingsduoDuo IICottage PicSextetSextet II

Falmouth
Falmouth – one of the people who have noticed my posts about cornwall is thecornishbird, whose offerings include this about Falmouth: https://cornishbirdblog.com/2018/07/14/things-to-do-in-falmouth/

sextet IIIThree maps in one frameCornwall and Devonshiresix maps, two pictures

A Grockle’s Eye View of Cornwall 9: The Top of St Michael’s Mount and the Descent

Continuing my account of a visit to St Michael’s Mount.

INTRODUCTION

This is the third to last post about the day at St Michael’s Mount, and the ninth in my series about my summer visit to Cornwall. The next post will be all about the vast collection of antique maps that are on show here, and then a final post about the last stages of the day. I then have the journey home to cover to complete the series.

THE REMAINDER OF THE SUMMIT

At the end of the previous post in this series were about to head indoors for the second time in our exploration of St Michael’s Mount…

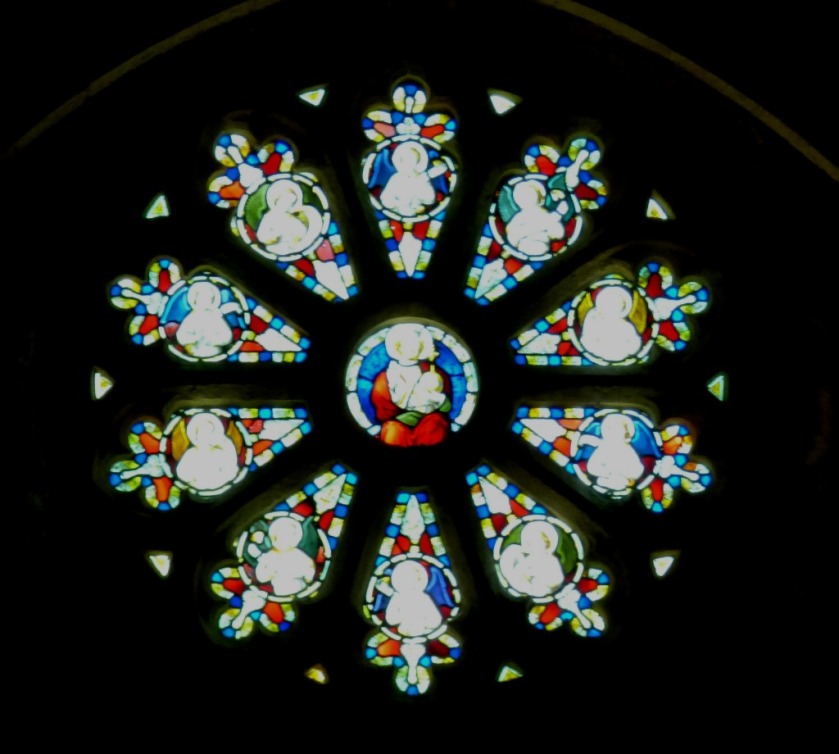
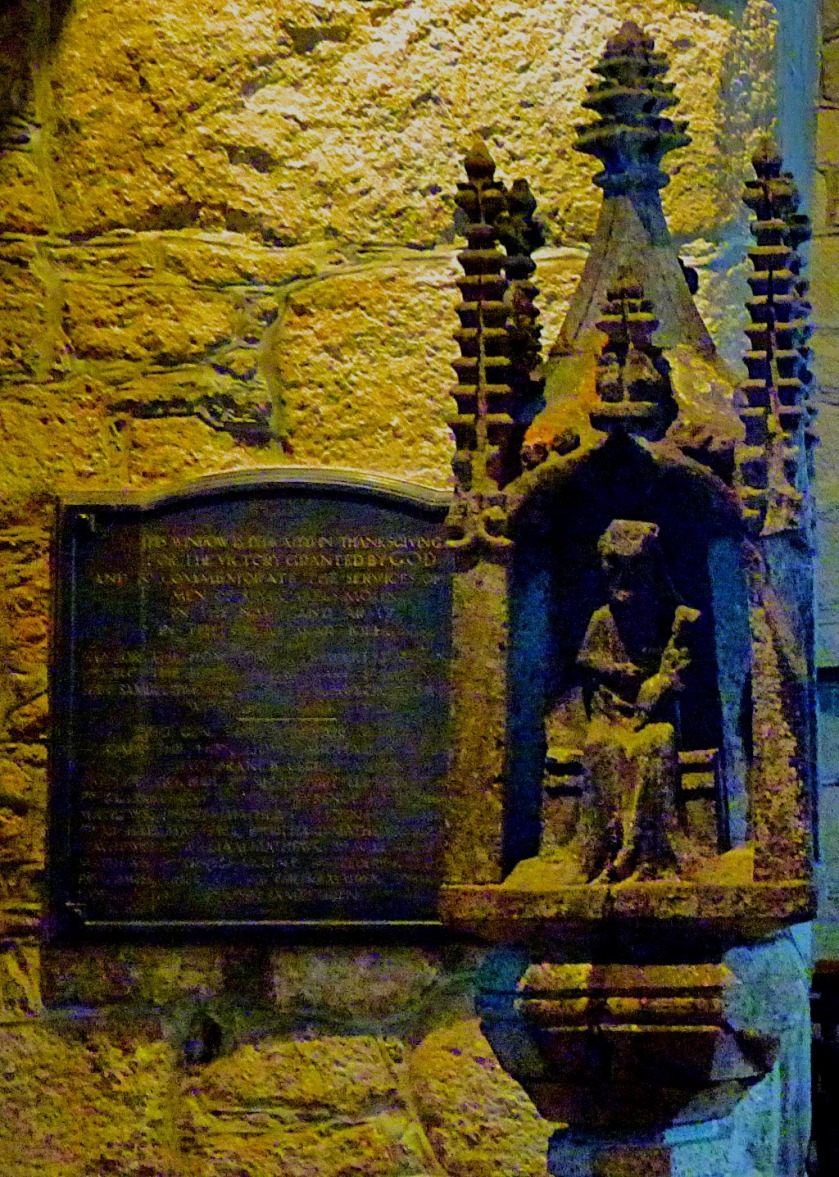
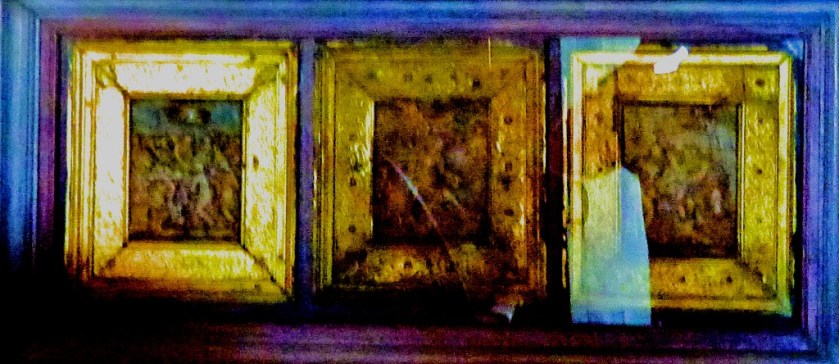
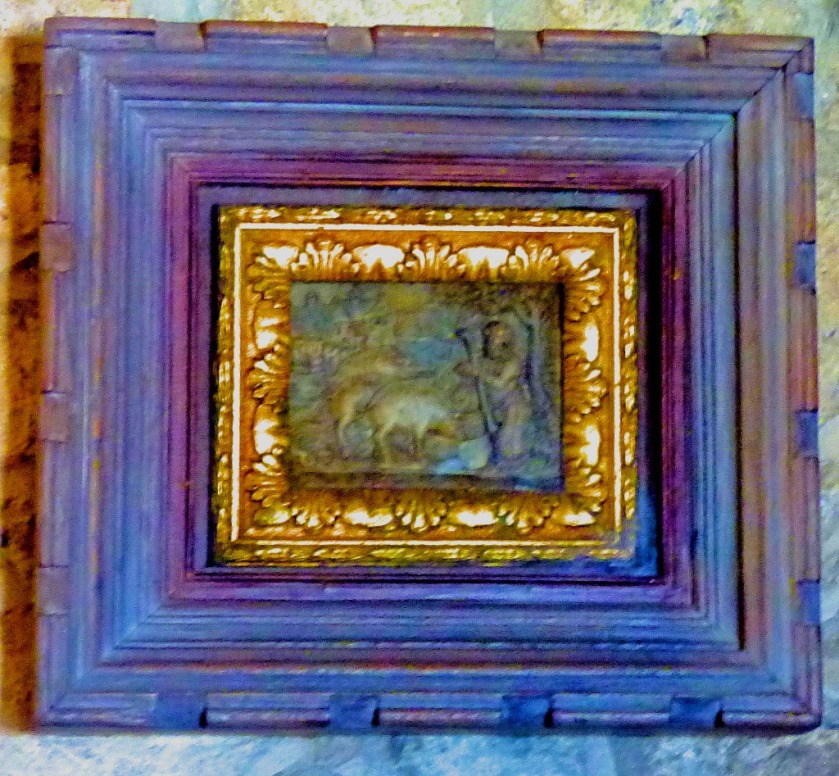
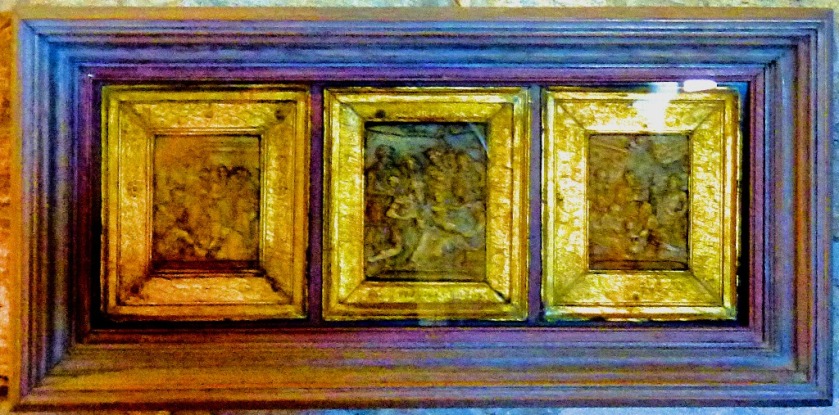
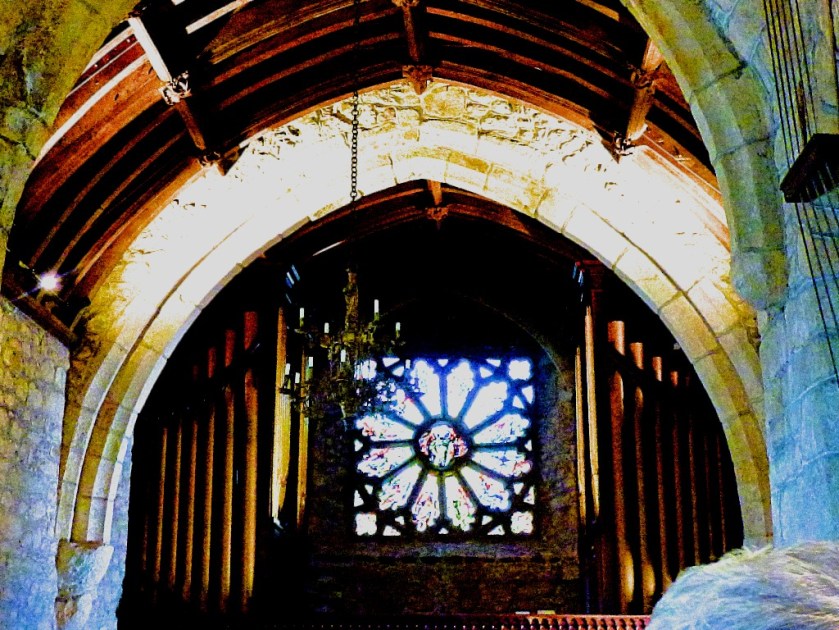
The mainlandStained glass VIIRoseCarving and stone inscriptionTrio of miniaturesShepherdEagle and windowangelthree in one frameSeptetRose II

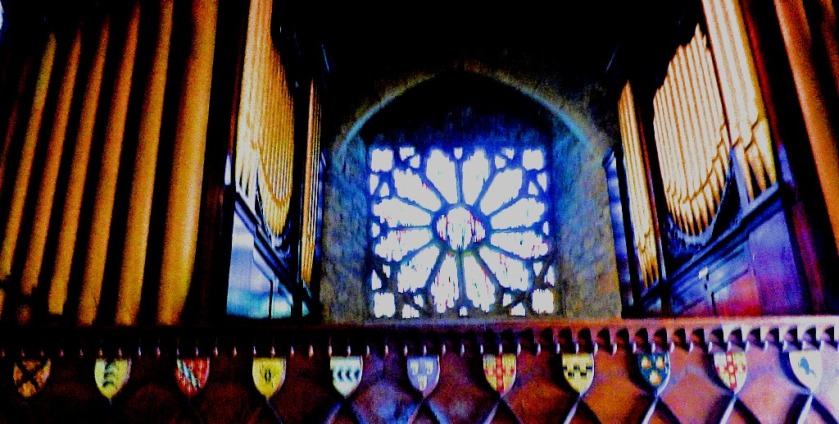
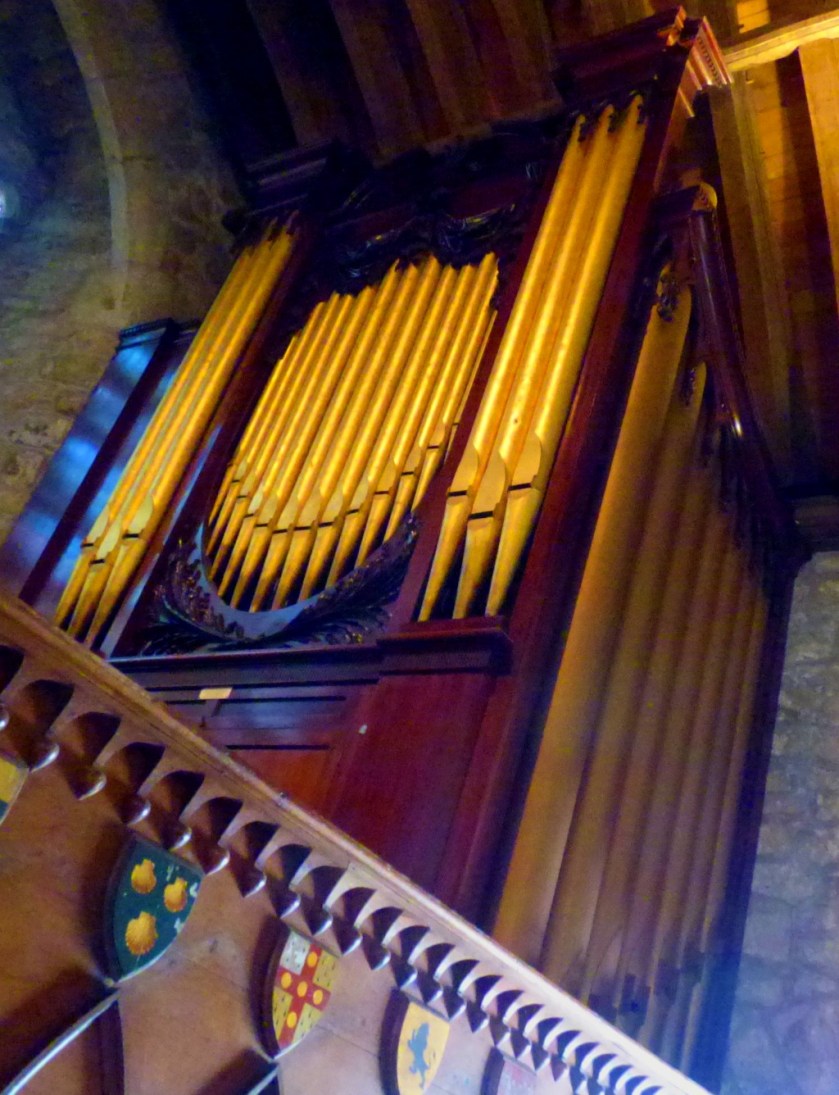
Organ
This organ looks splendid.

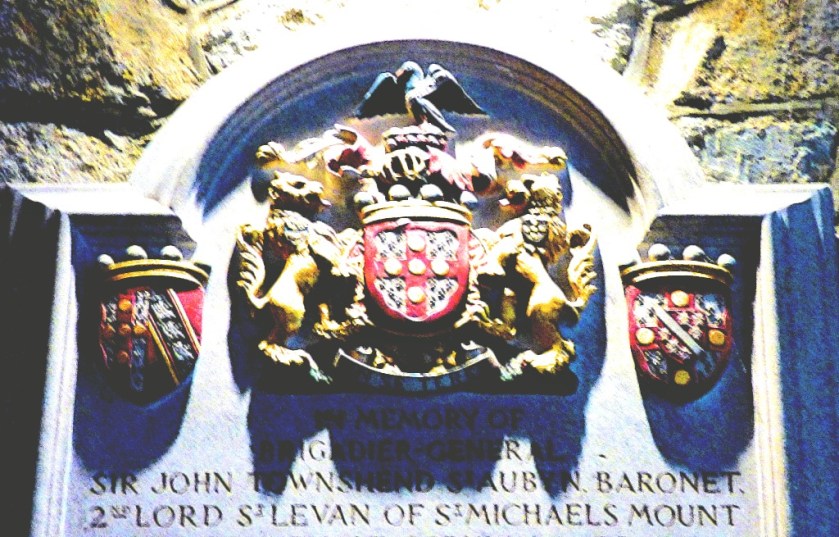
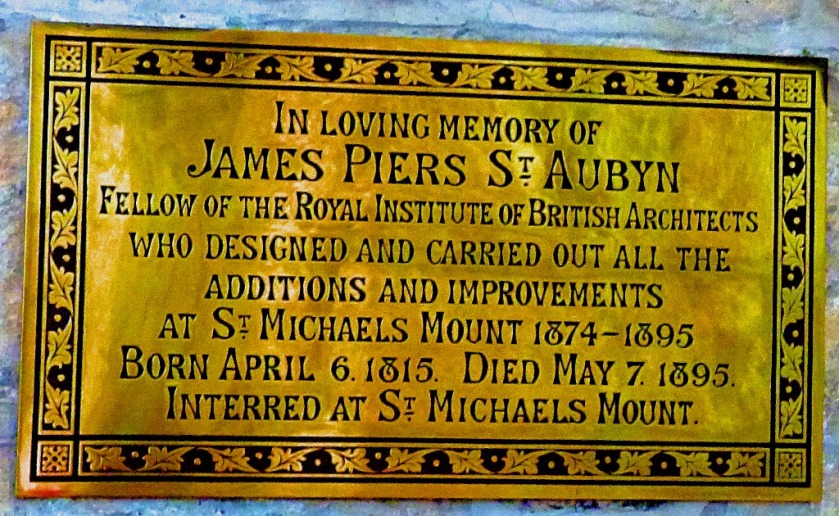
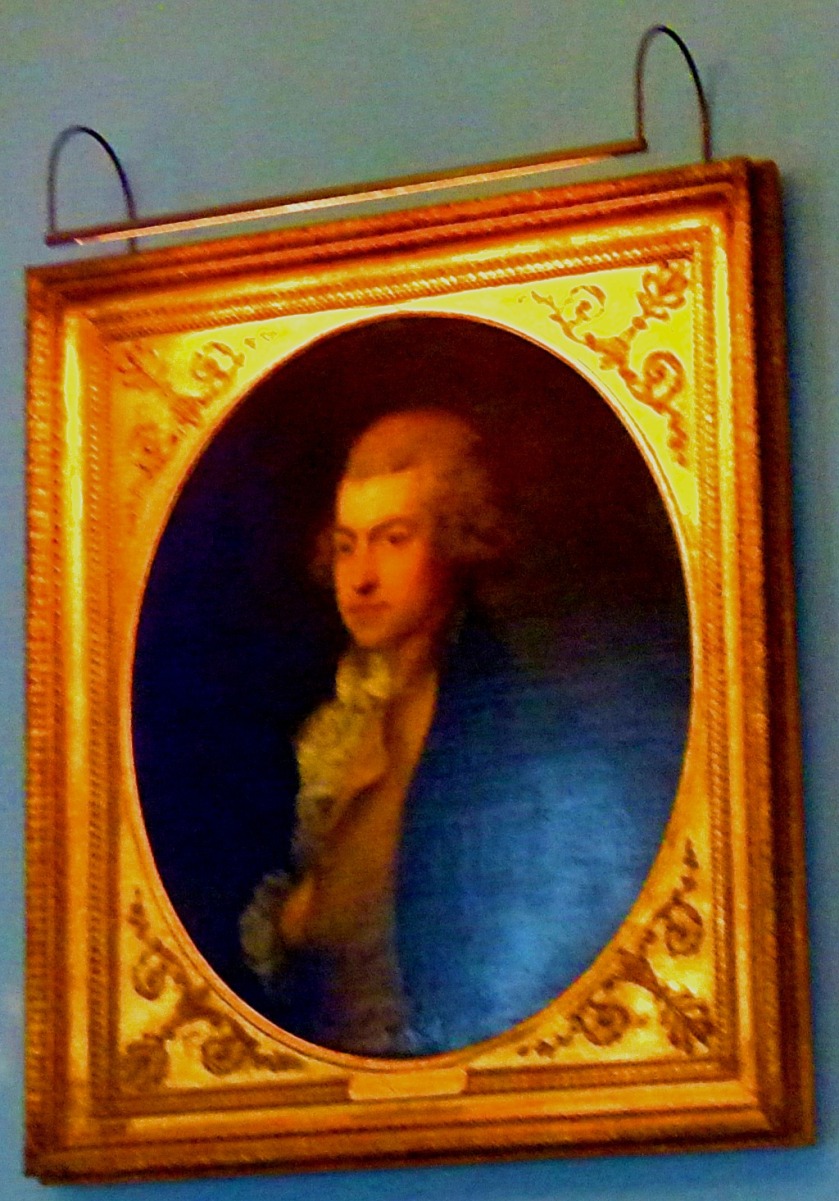
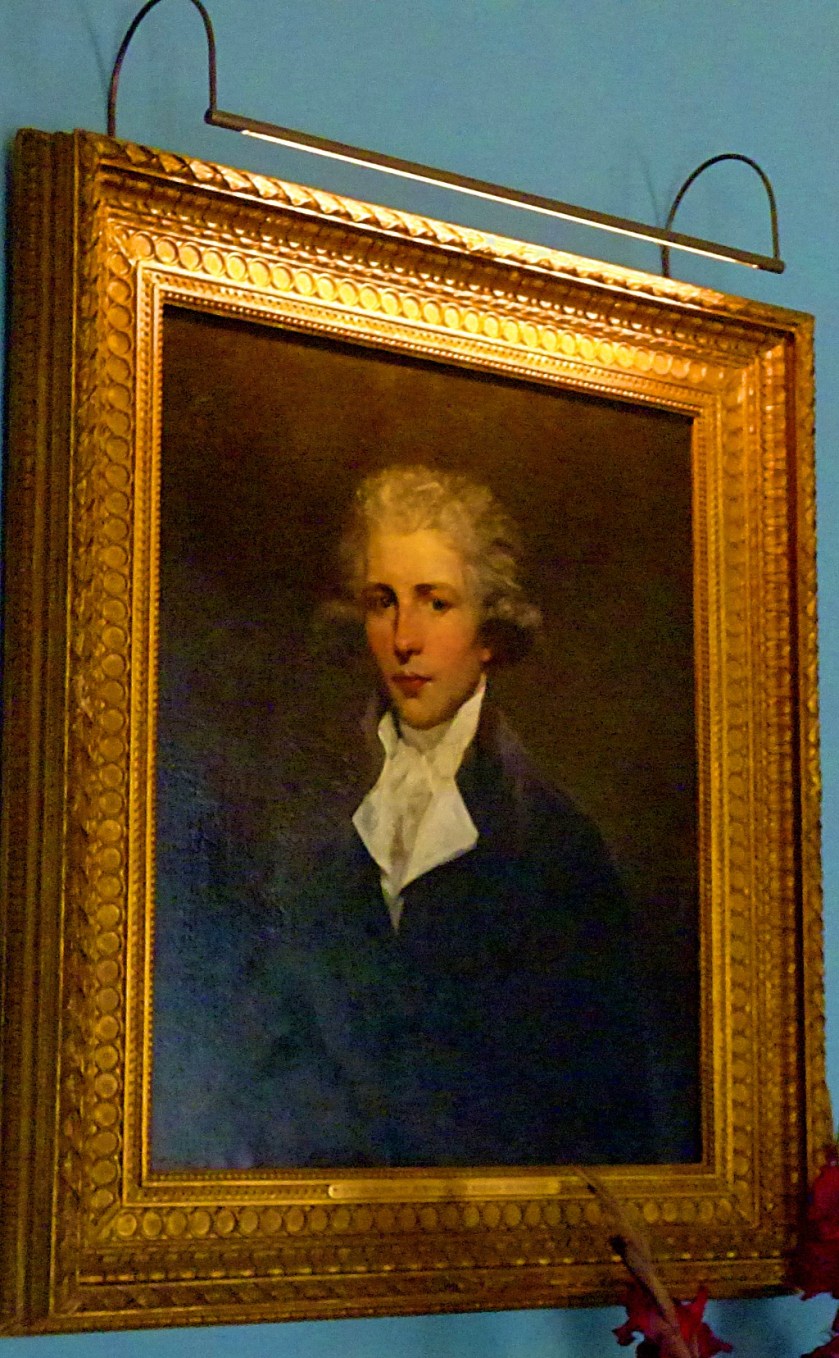
Organ close-up 1Organ close-up 2DedicationAngel and windowMemorial and windowMemorials and windowPainting and windowTrio and window panelsText and windowThe second Lord St LevanArchitectOrgan and windowLiving roomPortrait XPortrait XIMantel clockbusts and windowCupid

At this point we entered the map room. As an appetiser for the next post I offer one picture from there…

Christopher Saxton's Cornwall

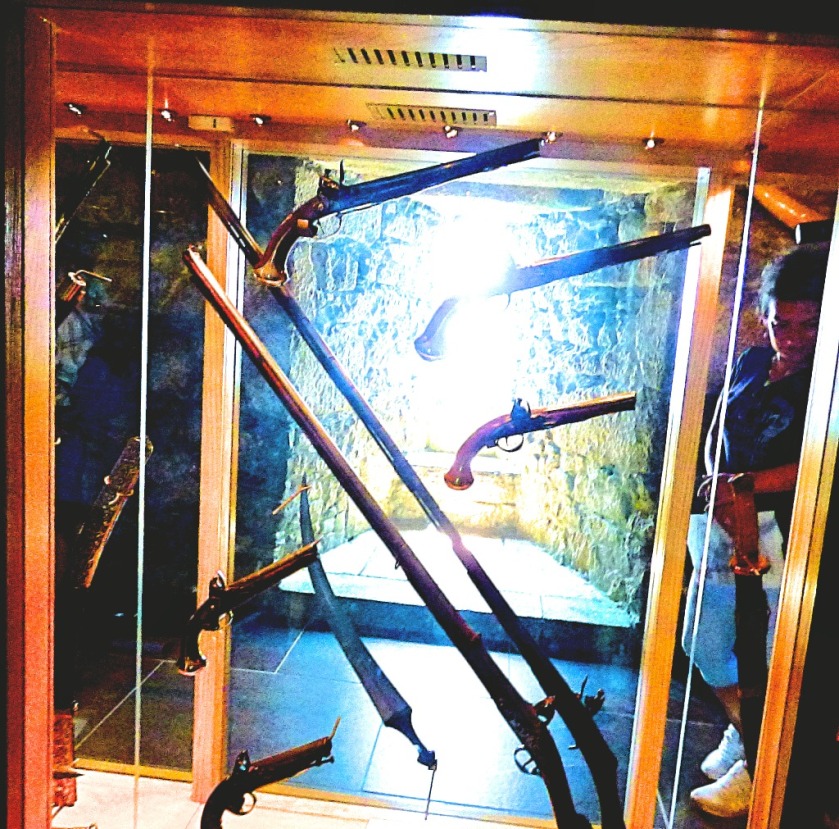
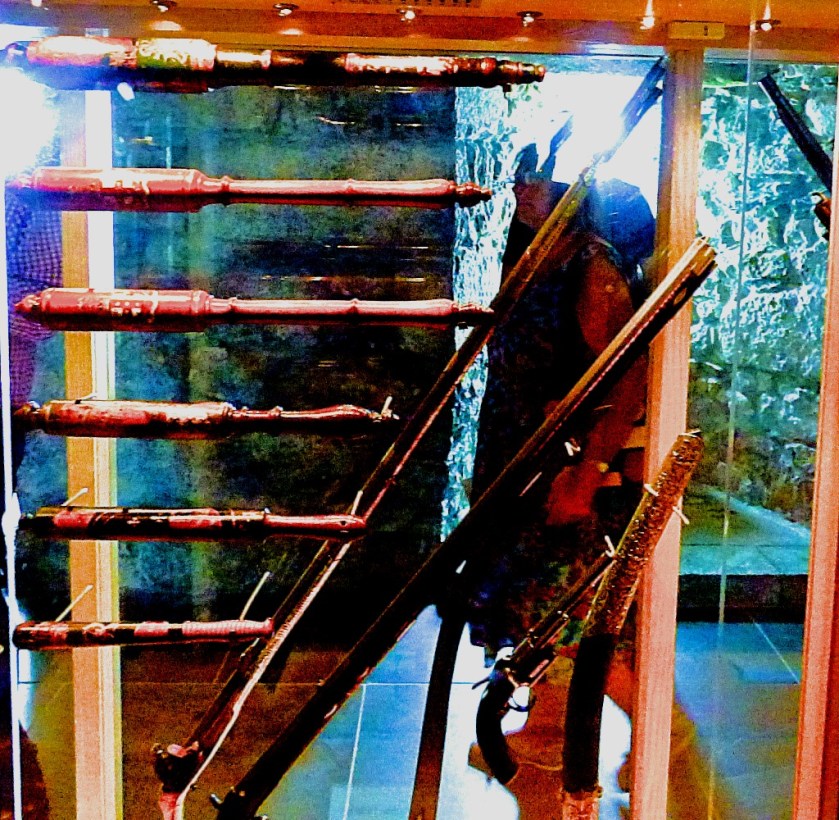
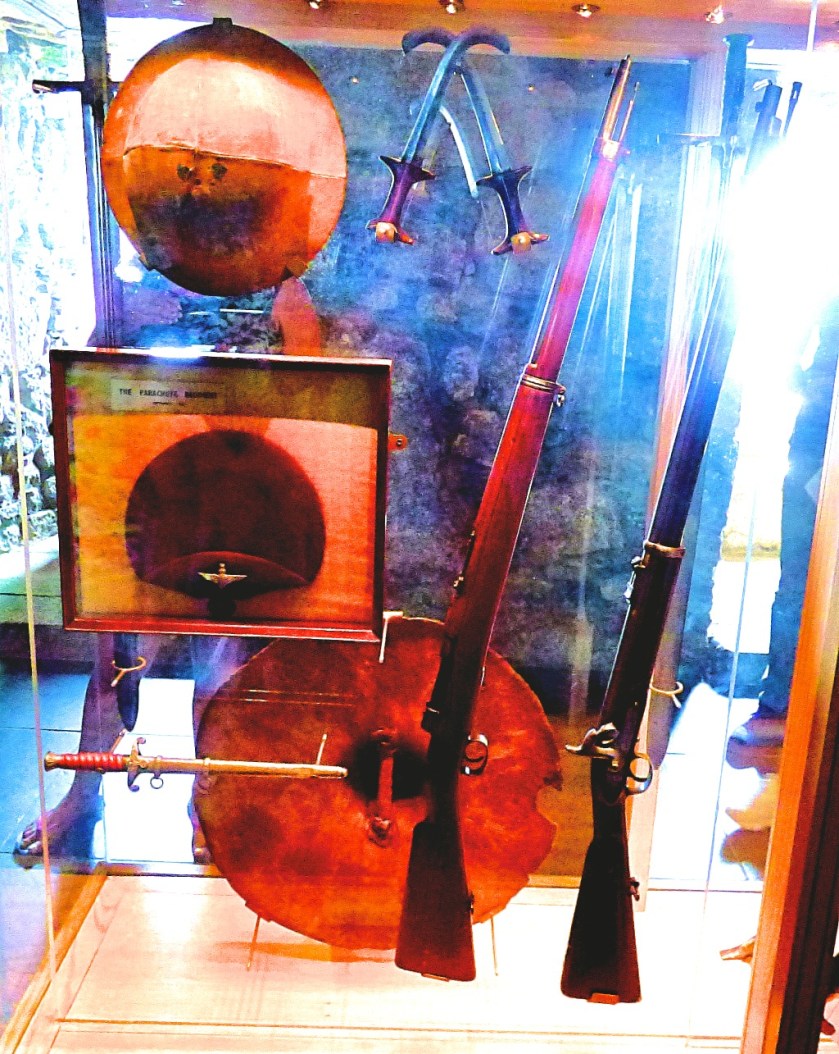
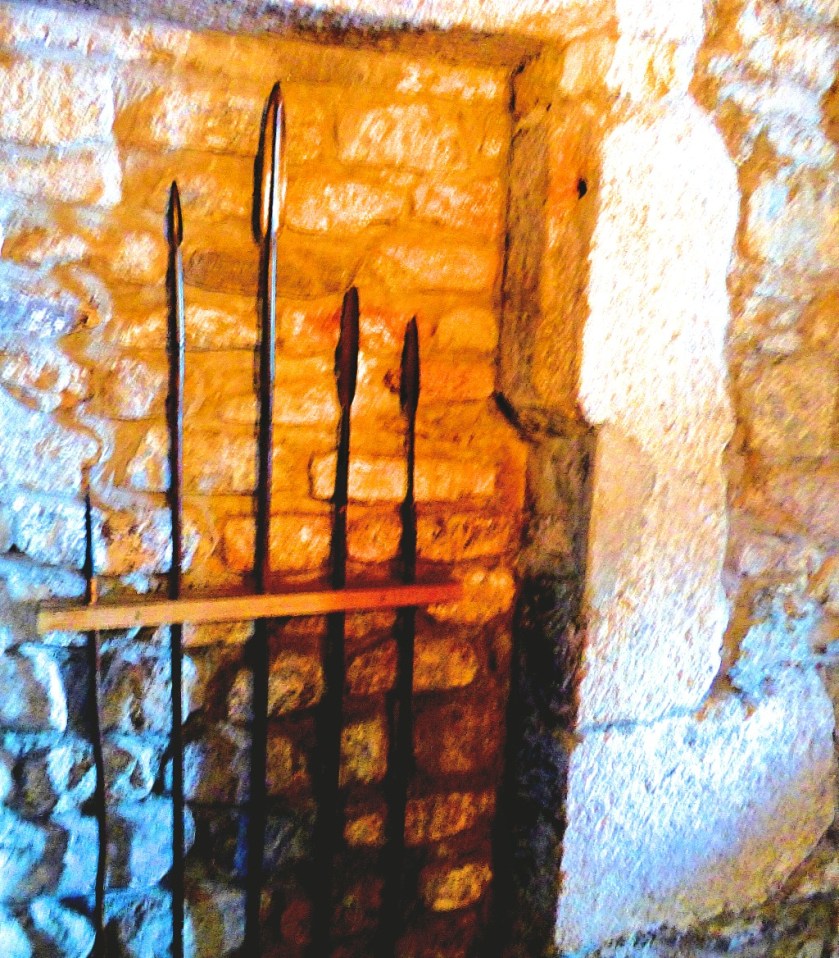
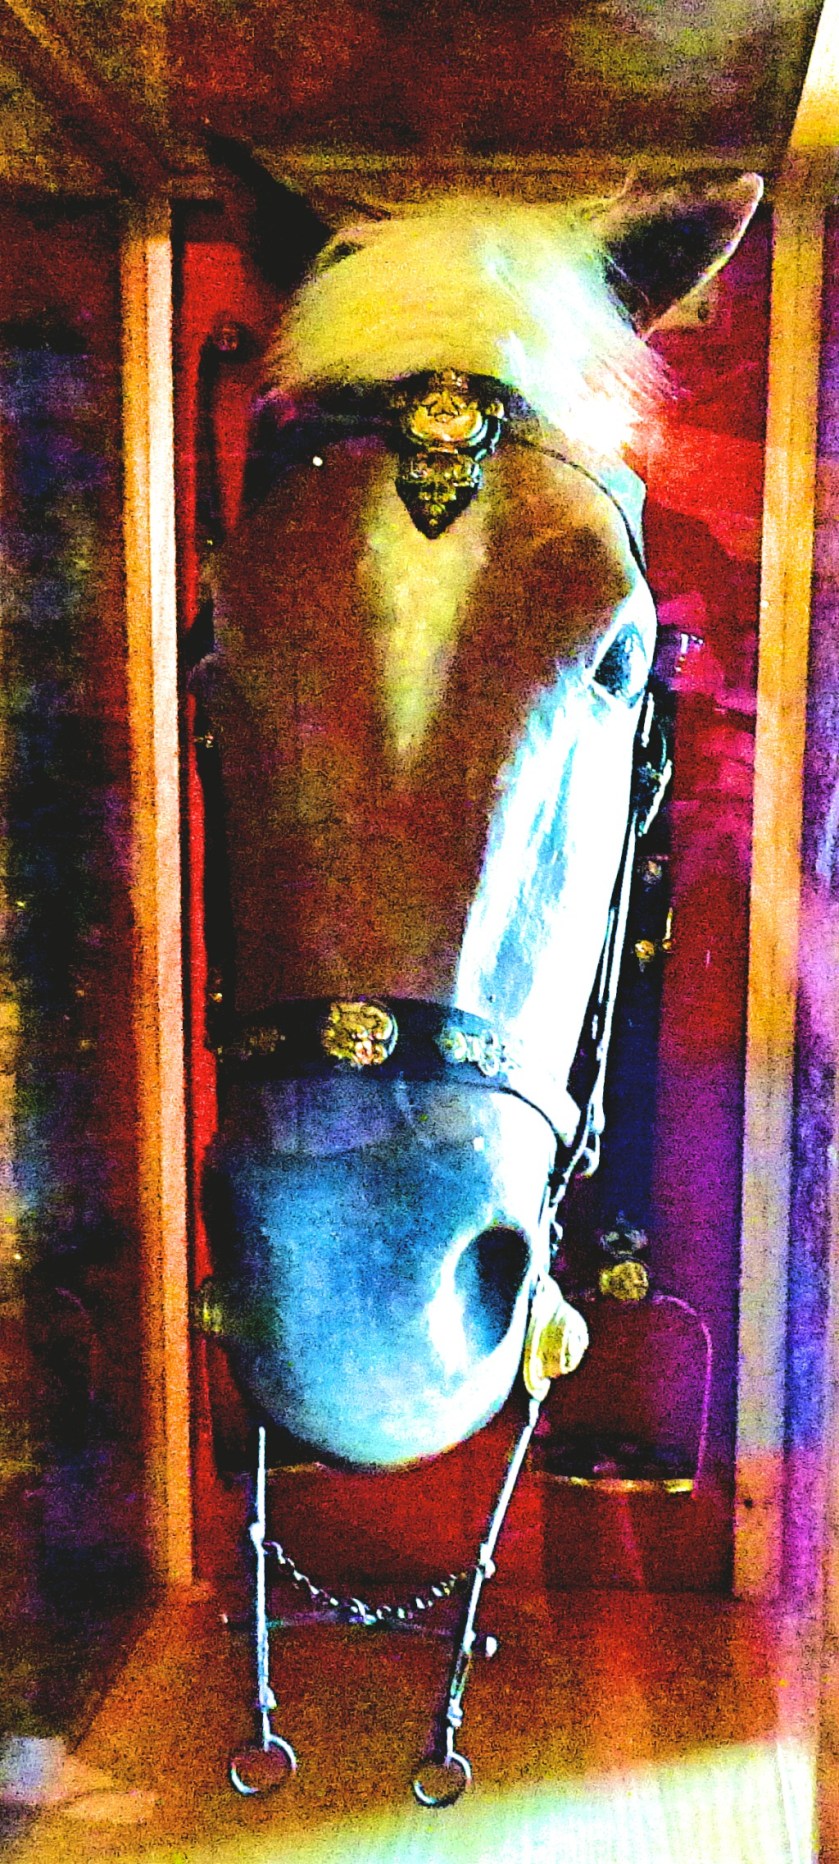
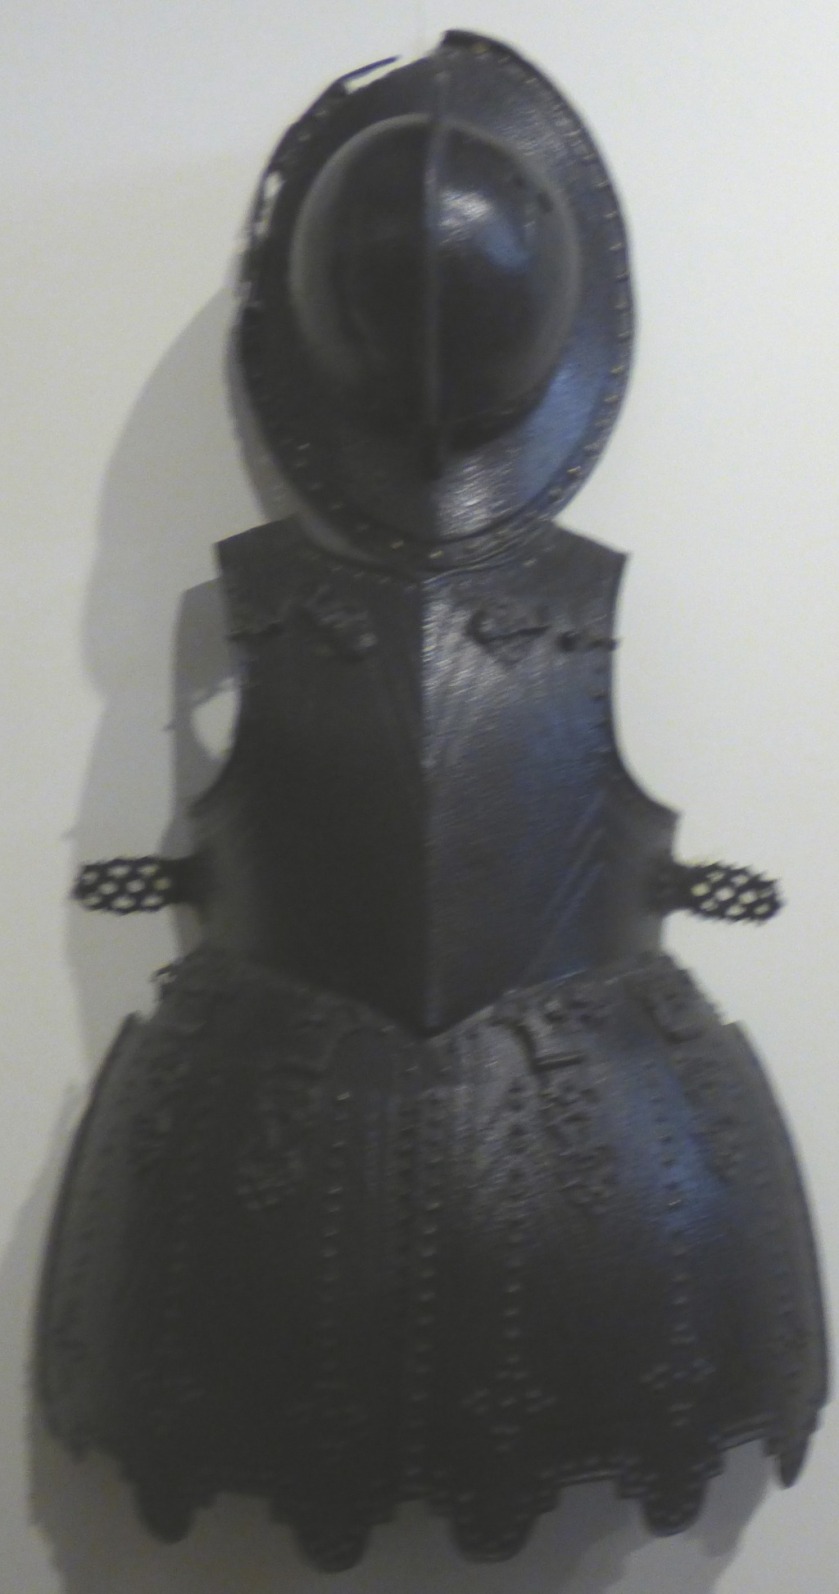
After the maps came a display featuring large amounts of weaponry…

remains of spiral staircase
The remains of a spiral staircase

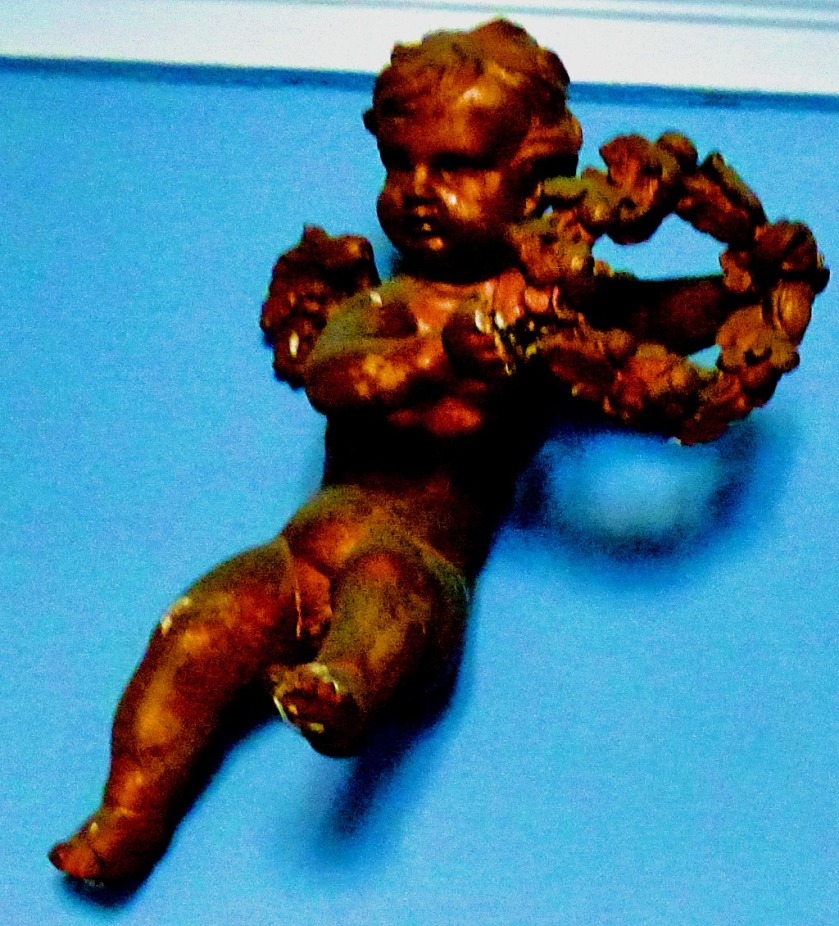
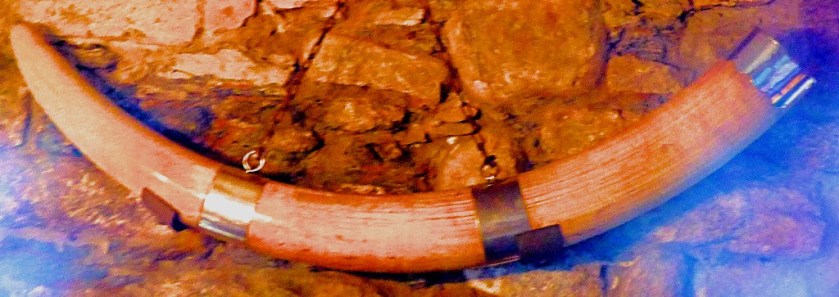
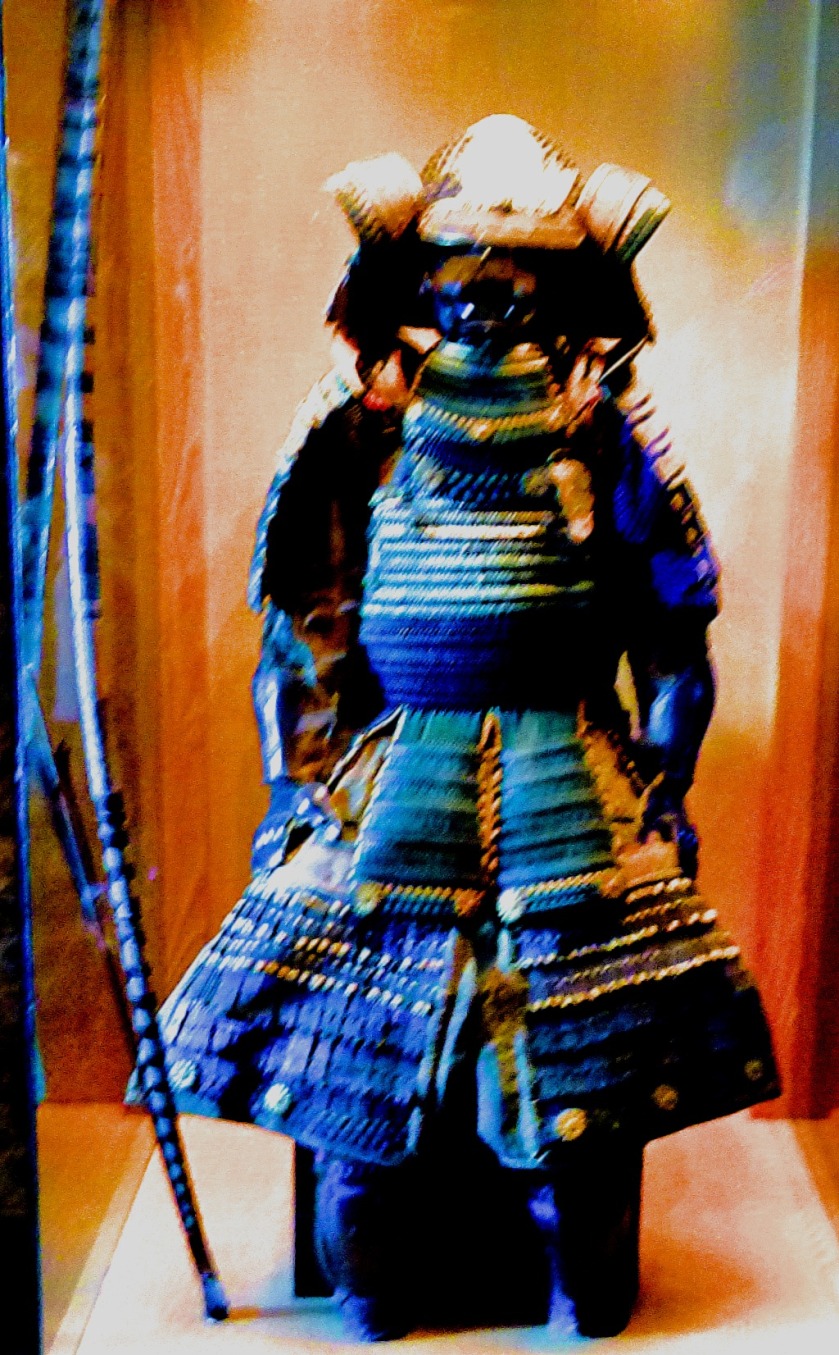
hornDollArmour IgunsTruncheonstruncheons and gunsMore gunsWeapons VSpearsWeaponryWeaponry IIShield IIHorses Head

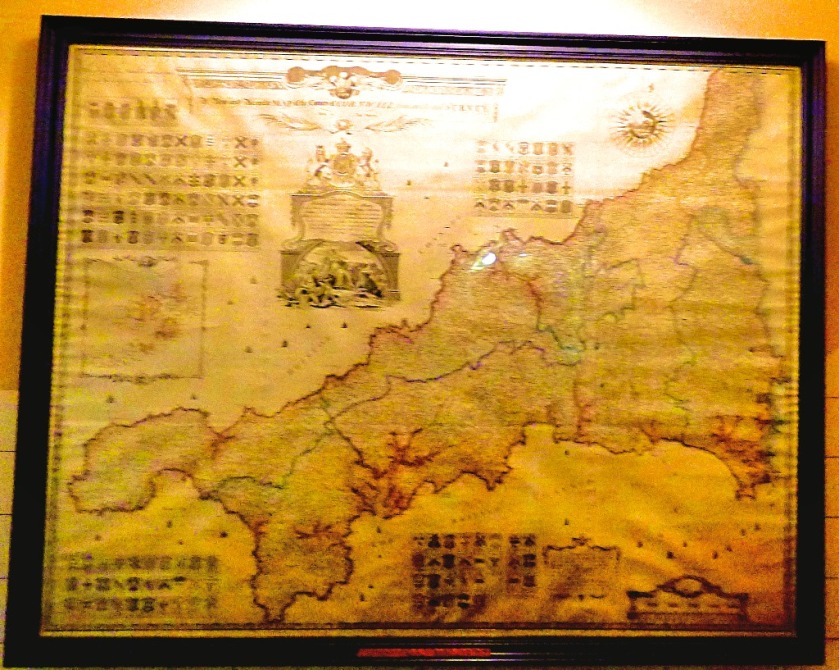
Cornish map with extras
A final map, separated from all the others.

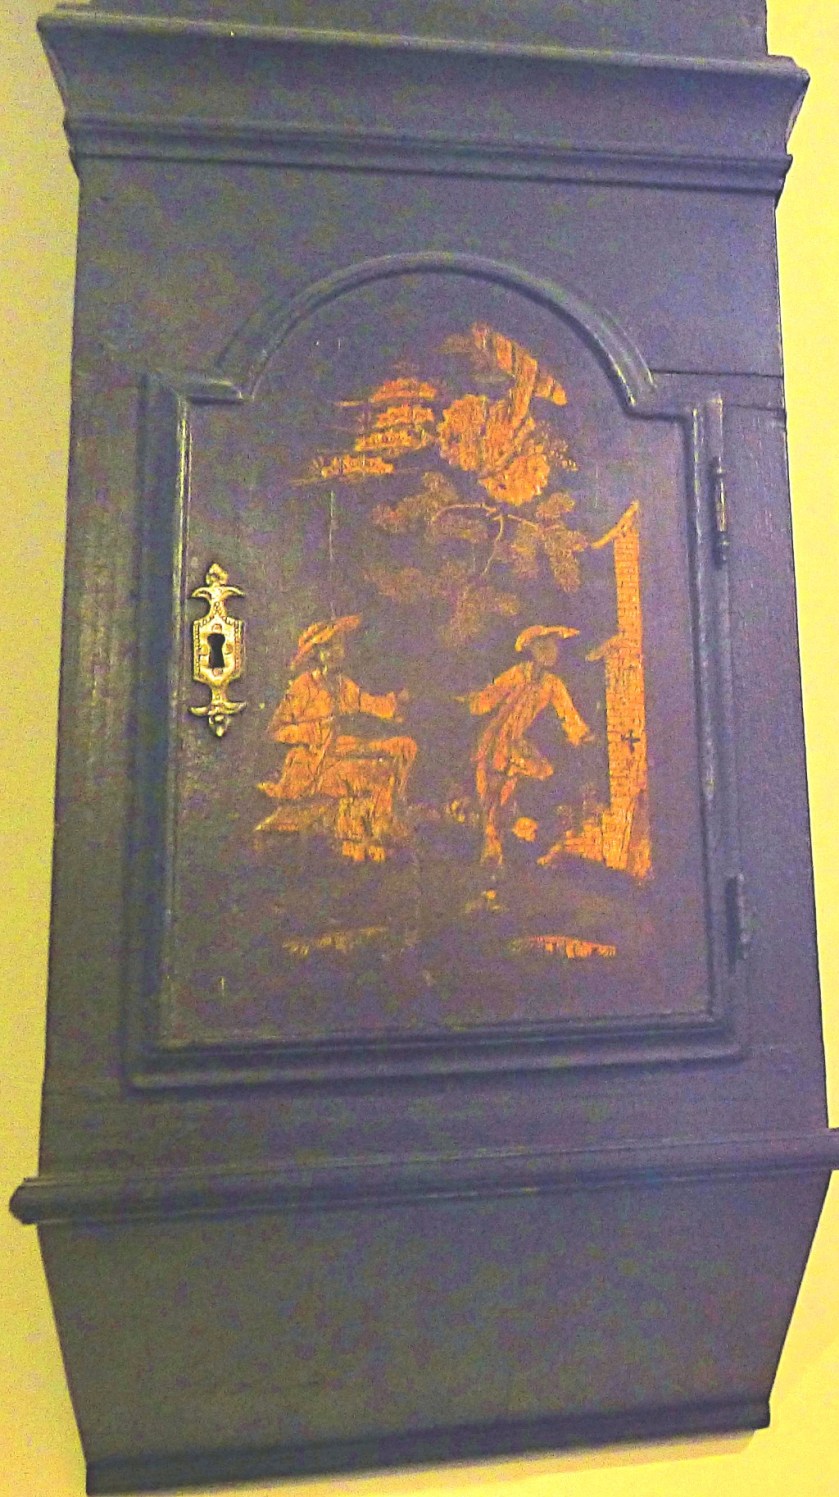
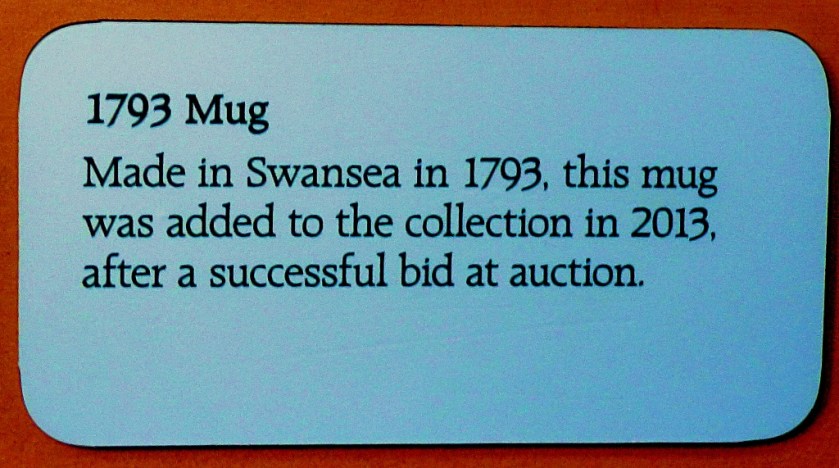
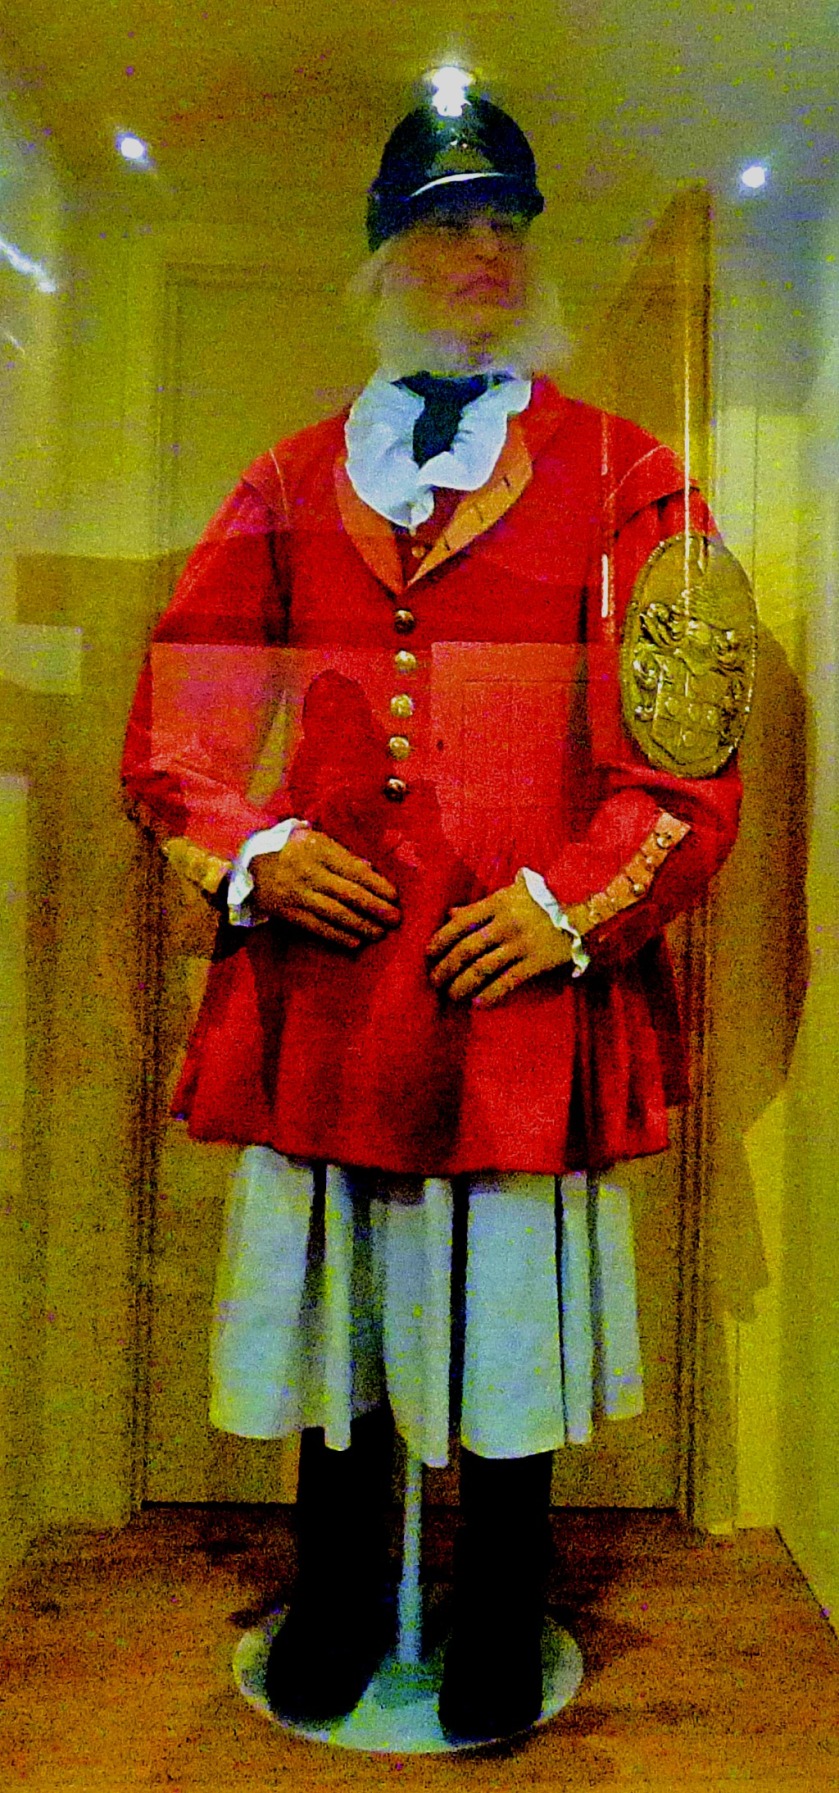
girls armourbreastplates and helmetsGiant clock IClockfaceClock case18th Century mugMug provenanceUniformCapShoulder plate

That ended the indoor stuff until lunch time.

THE DESCENT

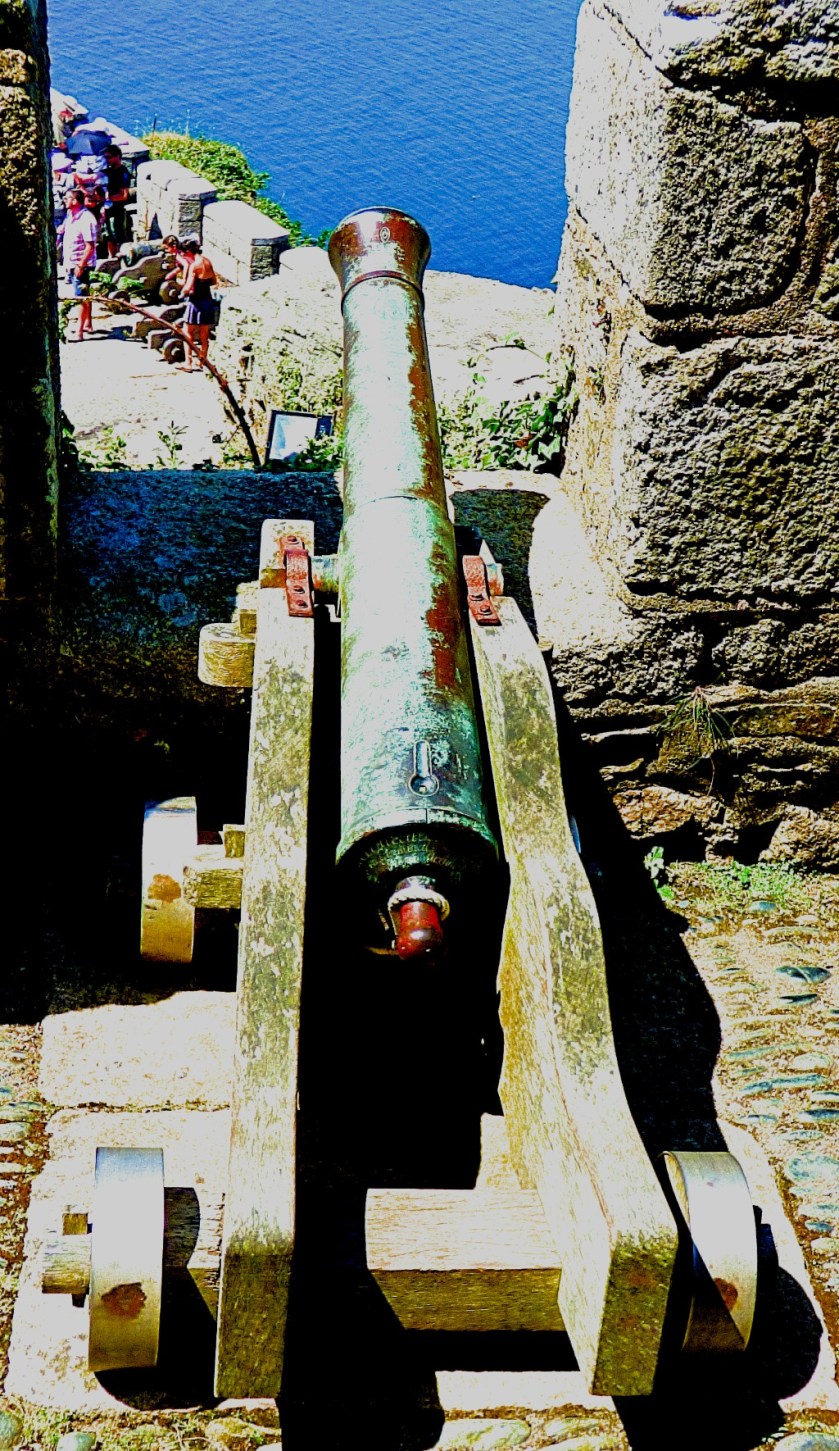
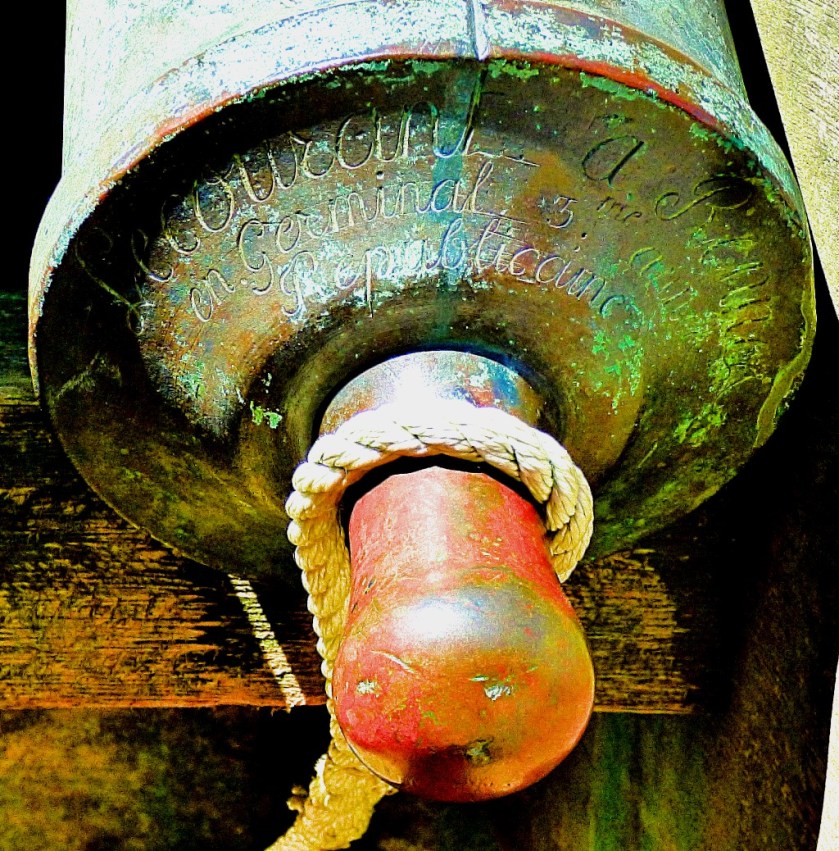
The descent takes past an emplacement of mini-cannons which are of French Revolutionary origin…

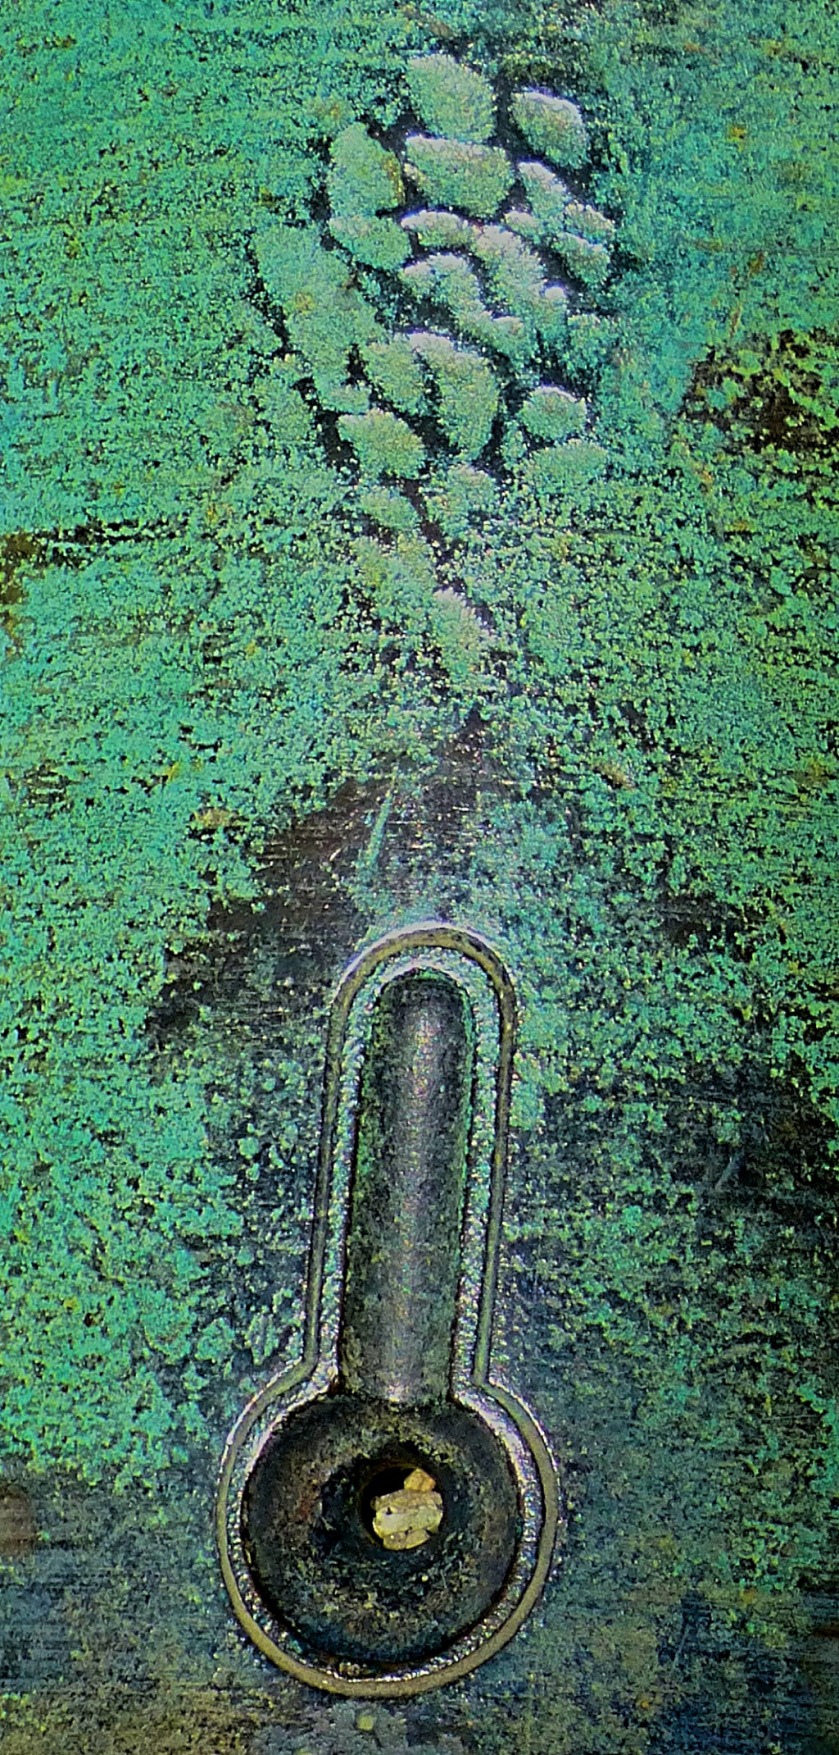
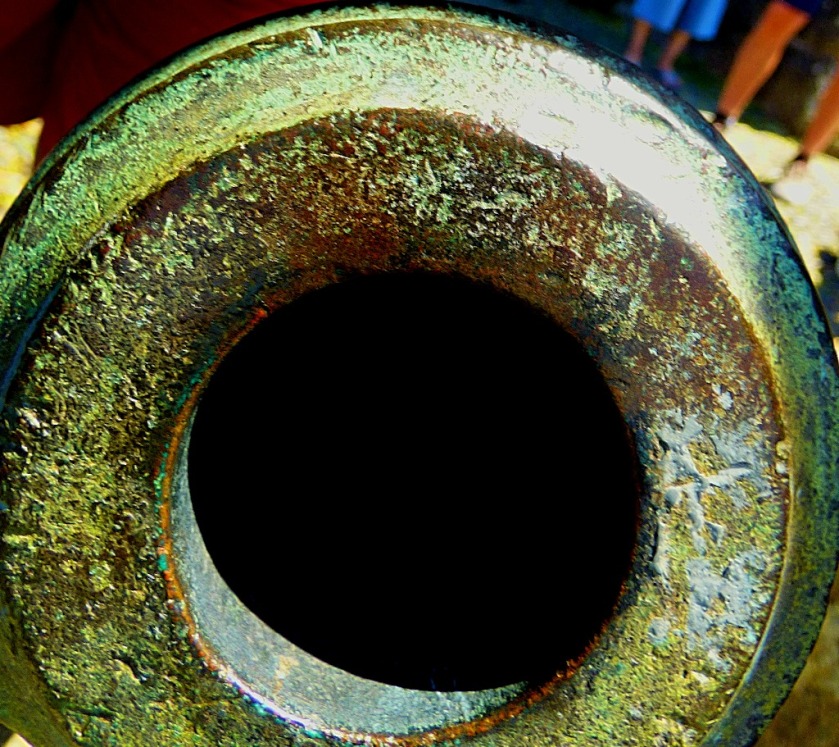
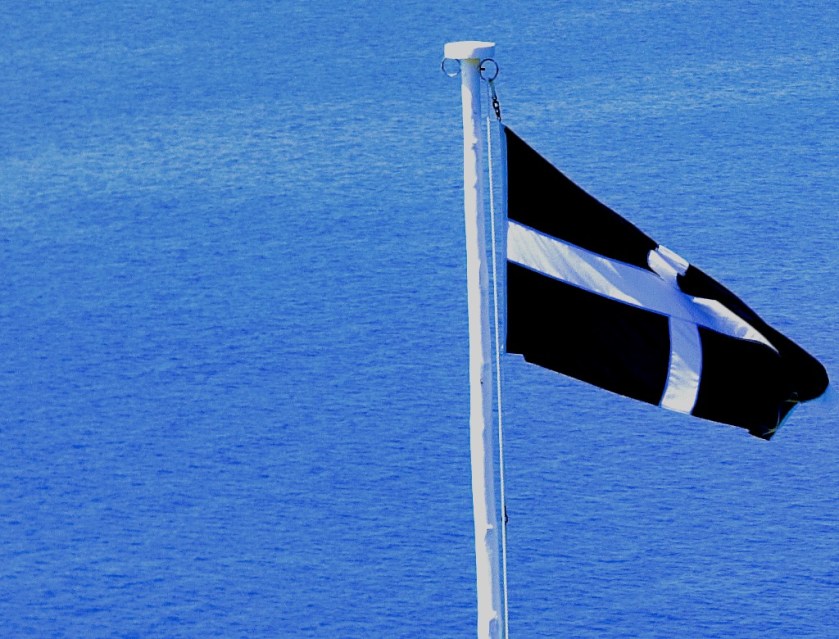
mini cannonsMini cannoncannon markings ICannon markings IICannon markings IIIMini cannon emplacementCannon markings IVCannon markings VCornish flagCannon markings VICauseway from the cannon emplacementFarewell to the cannons

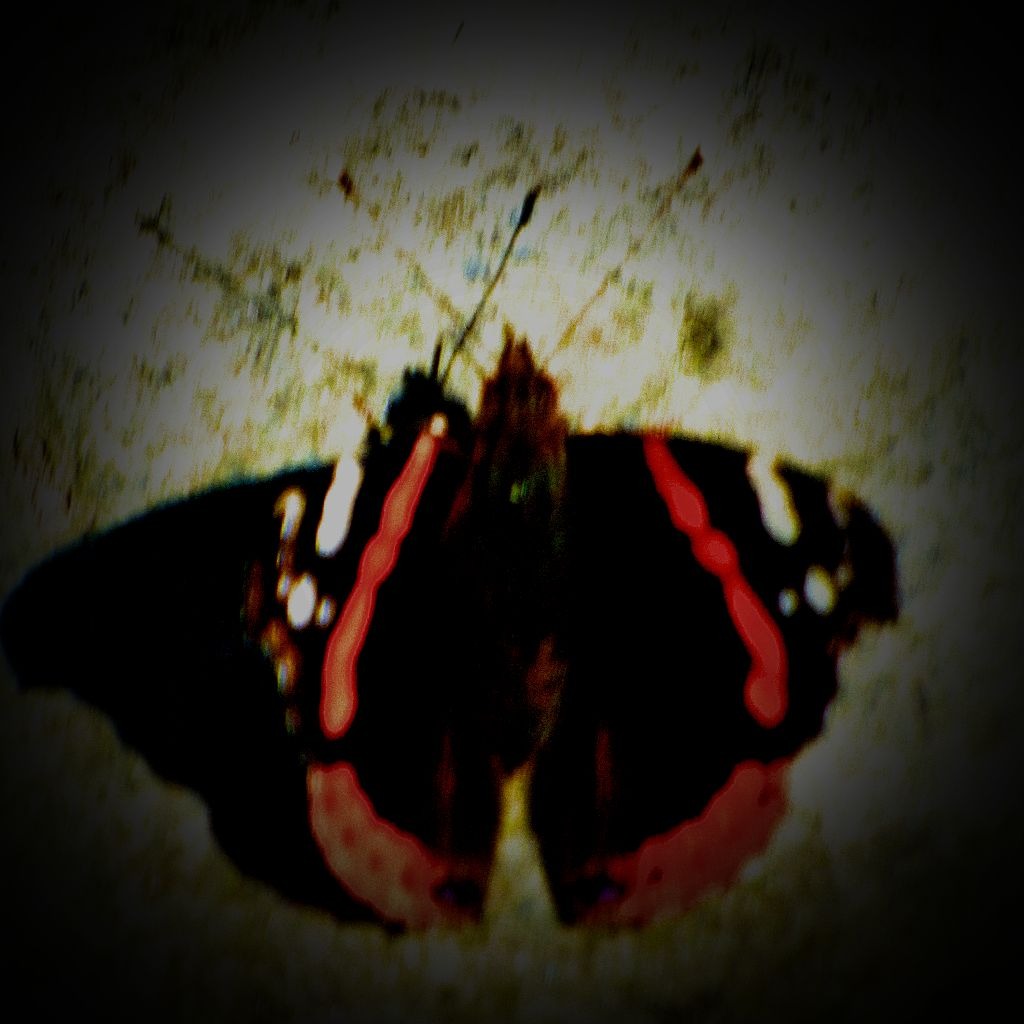
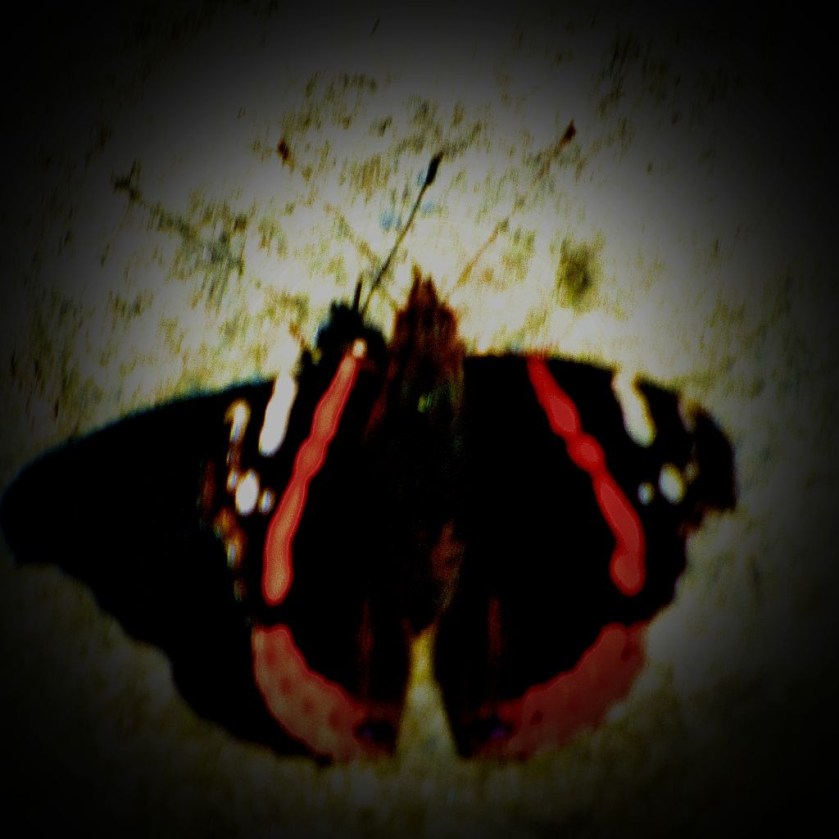
Just beyond this I encountered a Red Admiral butterfly:

Red Admiral I
At first it had its wings folded making ID difficult…

Red Admiral II

Red Admiral III
…but when it opened them out there was little room for doubt.

Red Admiral IV

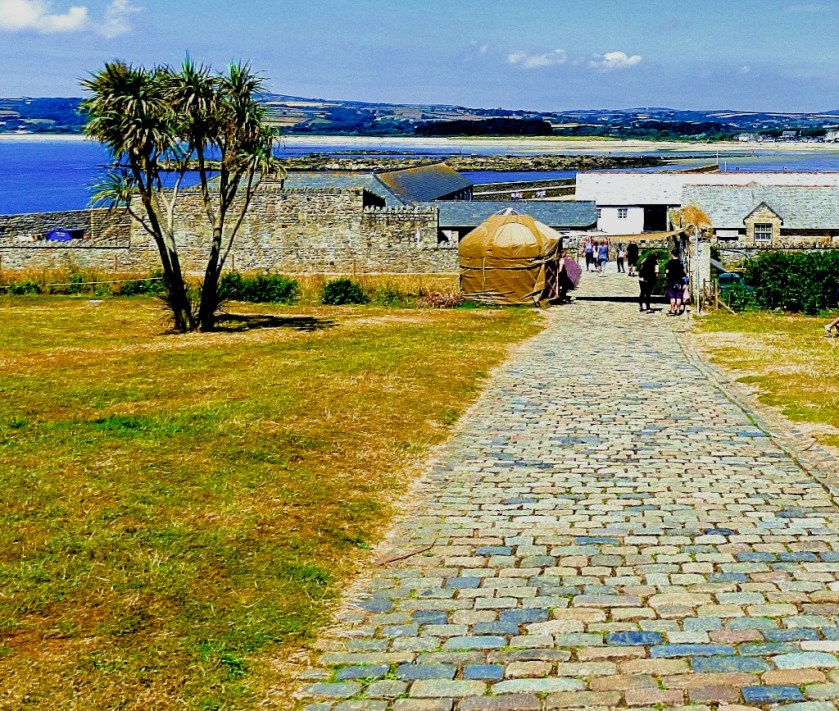
Not long after this we could see our next destination, where we would be having lunch.

Nearly back at sea levelsea level buildings

A Grockle’s Eye View of Cornwall 8: Ascending St Michael’s Mount

Continuing my account of my visit to Cornwall, with the ascent of St Michael’s Mount.

INTRODUCTION

Welcome to the latest post in my series about my stay in Cornwall. This post takes us up St Michael’s Mount and covers some of the stuff at the top. There will be at least two and possibly three more posts about the day.

BASE CAMP (!)

Among the places at ground level, before the ascent begins are the restaurant where we would be having lunch and a visitor’s centre which provides a comprehensive introduction. After these one passes through a field that contains a dairy cottage before the ascent begins.

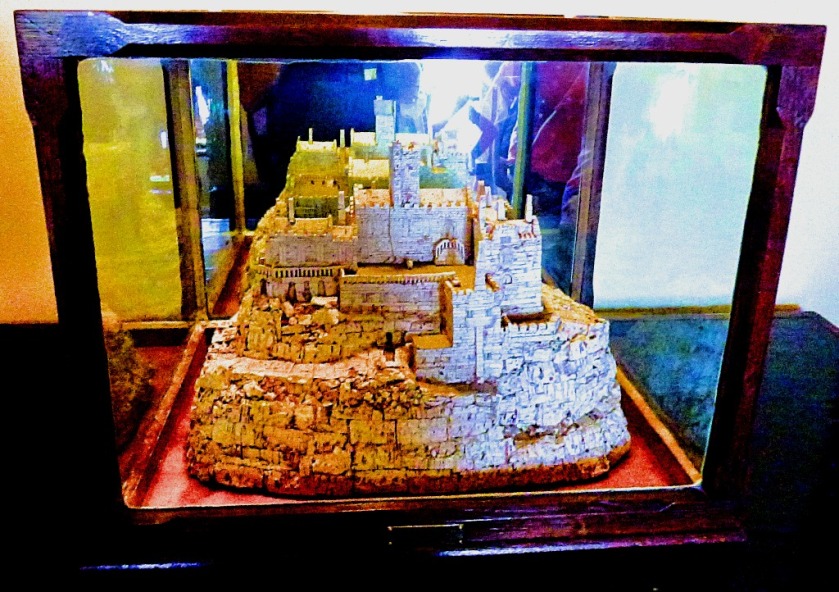
Ships in the distanceSea ViewFind Your WayMapLooking back at the mainlandMuralIllyriaFootprintsMural PlaqueModel of the mountPlan the dayWelcome to St Michael's MountPicture of the mountTL1

TL2
No sops for creationists here! The straight truth about the formation of the granite of which the mount consists – it was formed longer before the dinosaurs roamed the earth than we are after the last dinosaurs disappeared.

TL3The castleThe GardensTL4Boat 1Boat 2Boat info boardThe DrakeAmphibious vehiclesDUKWBoat on the islandThe St MichaelOur venue for lunchMarazion from the IslandThe abbey from belowCreelsOutdoor artworkHutConservation notice

THE ASCENT BEGINS

The climb up to the buildings on top of the mount begins by way of The Pilgrims Steps, continues past the Giant’s Well and the Giant’s Heart and a cannon emplacement. Then comes the first indoor section and a roof terrace where we pause until the next post in this series…

The pilgrims stepsView across the sea

Giants Well
The Giant’s Well – from an old folk tale

Giants Well sign

The vicinity of the Giants Heart
And about 50 yards further along The Giant’s Heart.

The giants heart sign

The Giants Heart
The actual heart!

FrontageArcher's alcoveSea view from aboveSea view from above IISea view from above IIICannonsCannonMarking on cannonView from the cannon emplacementSea View from above IVThe main buildingDistant view of PenzanceYachts and a headlandPenzance from St Michael's Mounttwo yachtsThree yachts

Wall mounted militaria I
The first weapons display – in the next post you will see another one.

Swordsthree swordsGunsGunCrossbowJewellery displayCannon and ammogiant crestCrossed swords ICrossed swords IIDrummers kitPortrait 1Portrait 2Trio IMantelpiece and trioClockCentral UnitGrandfather clockCentral Unit IIBoyPortrait IVCorner unitChest IChest IITrio IILadyArtists representation of the mountMiniaturesquartetLady IIQuartet IIMiniatures IIMiniatures close-upFancy CabinetLiving spaceLibrary and game zoneChess boardChess board IIHeraldry display wallRoof patterning and friezechapelShieldsshields and ornamentsLong tablefrieze workstained glass Istained glass IIstained glass IIIsingle panelShields anf friezeshields and friezeRoof beamsAlcovewooden bas-reliefShieldSilverwareSilverware IISilverware IIIStained glass VStained glass VIShip panelstained glass womanTriple panelstained glass heraldic lionStained glass jester panelCircular stained glass panelsSilverware IVdecorated chestQuintetOval picturePicture of a Cornish gentFireplaceTrio IVbay window

Garden from above I
Us hoi polloi can only view these gardens from above – we never actually get into them.

A study in blueGarden from above IIGarden from above IIIGarden from above IV

Sundial
A very elaborate sundial.

Detail from sundial

Roof terrace
This where our next post will start from.

A Grockle’s Eye View of Cornwall 7: Walking to St Michael’s Mount

Continuing my series about my visit to Cornwall, with the first of several posts about St Michael’s Mount.

INTRODUCTION

This series has been widely spread out – the trip it describes took place between July 12 and 16. Here is a listing of the previous posts:

  1. Getting There
  2. St Germans to St Ives
  3. A Visit to a Seal Colony
  4. The End of the St Ives Day
  5. Crossing the Cremyll Ferry to Plymouth
  6. Historic Plymouth

Having covered Thursday, Friday and Saturday in six posts we arfe now dealing with the Sunday, my last full day in Cornwall.

THE PLAN

As all five of us (my parents, my sister and my nephew as well as me) were making the visit to St Michael’s Mount we travelled in my parents camper van instead of using the train. We wanted to be underway by eight and achieved this. We were planning to explore St Michael’s Mount in full and then have lunch at an establishment there. Things panned out pretty much as intended. The road journey is a lot less scenic than the rail equivalent, so I am going to recommend unequivocally that anyone else planning to do this use the train – the walk from Penzance (all of which is familiar to me, although we started part way along it, having located a parking place just outside Penzance) is very scenic, while there is a longer walk available from St Erth (inland for most of its duration, instead of along the sea front). Here are a couple of satellite views:

Penzance - St Michael's Mount
The coastal route starting from Penzance.
St Erth to St Michael's Mount
The longer and mainly inland route starting from St Erth. This map also features what is in alphabetic terms the last place in Britain.

St Erth to St Michael's Mount

THE JOURNEY IN PHOTOGRAPHS
This section ends the post, taking us across the causeway to the base of the mount:

View from the van
The only shot I managed to get from the van on the way from Fort Picklecombe to Penzance.

Culvert ICulvert 2Welcome to PenzancePlastic FreeLooking towards PenzanceSt Michael's Mount ISt Aubyn's AbbeyGulls and signal boxView of PenzanceThe line towards St Erthtrack sideWarehouseSt Michael's Mount (1)St Michael's MountBeach sceneMastChurch TowerSailing boatsTrain coming towards PenzanceApproaching trainTrainRear of trainTrain heads for Penzance (1)Train heads for PenzanceAlmost out of viewTrain in foregroundblue plantGWR depotRolling stockThe MountThe abbeyLookingb towards the mountThe Mount IILooking towards the mountCommemorative benchThe Station House, MarazionMarazion station signMarazion stationSt Aubyn's Abbey from Marazion

People crossing the causeway to the mount
A first glimpse of the causeway.

People on the causewayWelcome to Marazion MarshMarazion MarshBird in the nature reserveLooking up at the mount

In the shallows
From Marazion the quickest way to the causeway is straight across the beach, and in the heat walking barefoot through the shallows was the way to go.

St Michaels Mount from Marazion beachLooking across at the mountGullsOutcrop observation point near start of causewayThe mount from near the start of the causewayThe abbey from near the causeway

The causeway and the mount
The causeway.

The mount viewed from the start of the causewayThe Abbey from the causewayLooking out to sea from thje causewayapproaching the Mount


A Grockle’s Eye View of Cornwall 6: Historic Plymouth

Continuing my account of my most recent visit to Cornwall.

INTRODUCTION

Yes, Plymouth is Devon not Cornwall, but my visit to the town was part of my stay in Cornwall, so it belongs in this very spread out series of posts.

THE WAR MEMORIAL

This particular memorial honours those lost at sea as well as those killed in war, because Plymouth is very much a naval town.

Memorial - distant view
A first, distant view of the memorial
Memorial base
A series of close-ups – each vertical bronze panel around the base is a list of names.

Memorial close-up IMemorial close-up IIMemorial close-up IIIMemorial close-up IVMemorial close-up VMemorial close-up VIMemorial close-up VII

Memorial and Lighthouse in the distance

OTHER PICTURES FROM HISTORIC PLYMOUTH

There were plenty of other things to see around the sea-front…

Warrior statuestatue and flagsColumn topLighthouseWarrior statue IILooking along The HoeTrident wielding statueIslandsbuildings overlooking The HoeLighthouse plaqueYachts and a warshipObservatoryWelcome to Plymouth HoeYahcts and a warship IILighthouse IIRAF StatueMapSea View IIIMemorial and Lighthouse in the distanceSmall HarbourIslandGrand building, PlymouthChurch Tower

Circualr paving pattern
A quirky pavong arrangement…
Eddystione Lighthouse
…and an explanatory plaque

Building on way back to ferry

AN ITEM OF SHERLOCKIANA

It will be no news to followers of this blog that I am a fan of the world’s first and greatest consulting detective, so it was pleasing to acquire a photograph with a connection in that direction:

ACD blue plaque

One of Holmes’ most famous cases takes place on Dartmoor, not far from Plymouth.

THE RETURN CROSSING

It was now time to recross the county boundary into Cornwall, one again on the Edgecumbe Belle.

QuaysideStatue atop buildingWaterside buildingView from the Ferry (I)View from the Ferry (II)View from the ferry (III)Approaching CremyllCormorantFrameworkTrio of tower blocksSlipway

A Grockle’s Eye View of Cornwall 5: Crossing the Cremyll Ferry to Plymouth

The latest installment in my series “A Grockle’s Eye View of Cornwall”. This starts my coverage of Saturday in Plymouth.

INTRODUCTION

My nephew needed some things that we had to go to Plymouth for, and so he, my mother and I took the Cremyll ferry to Plymouth, attended to the shopping and then went up on to The Hoe (subject of my next post). 

THE CREMYLL FERRY

Once we were safely aboard the ferry it was time for the camera to do its work:

HarbourClock near the Cremyll FerryThe Edgecumbe BelleMany boatsLooking towards PlymouthYachtsYachts and a small settlementView across the waterLooking towards the breakwaterWarehousesStatueWater viewPlymouth buildingsPlymouth buildings IISun on the watera forest of mastsBoatsApproaching Plymouth

THE SHOPPING PART OF THE EXPEDITION

We had a substantial walk from the ferry terminal on the Plymouth side to the shopping area, during which I saw a few things to photograph:

Southwest Coast path

The first (or last) pub in Devon
Depending on your viewpoint this is…
Twin signs
…either the first or last pub in Devon

Glass frontagePanelRoyal Marines BarracksRoyal marines Barracks IIWood fronted buildingSea ViewSea View IIOld building and giant craneMarinaOld buildingBrunel WayParkland entrancePortland stone buildingClock TowerOutiusde house of FraserDrake CircusThe approach to Drake CircusMetal columnA Day Out on the HoeDrake Circus circular benchTop of columnLarge buildingChurch towerPlymouth - Britain's Ocean CityLocal mapPlaqueArchInterlocking metal circles above one of tghe uprights of the archPlymouth Magistrates Court

Greedy Goose
The Greedy Goose, this is also the oldest house in Plymouth. I did not get to eat here, but it is a splendid building.

Greedy Goose courtyardChurchCity gull

Press Releases and Triangular Bridges

Some stuff about upcoming auctions and press coverage thereof and the solution to my most recent mathematical teaser.

INTRODUCTION

This post deals with some of my work at James and Sons and also includes a solution to a problem I posed last week.

PRESS RELEASES
In my recent post about James and Sons’ upcoming gold coin and proof set auction I included a copy of the official press release I had put out about it. What I did not mention in that post is that we also have a less significant ajuction coming up this Monday, for which I had also out out a press release. Both are reproduced below to set the scene for what follows:

PRII
The press release.

Hoste PR

On Thursday morning I checked into the James and Sons twitter account and was delighted to spot a link to an article in the Fakenham and Wells Times (part of the Archant stable and therefore connected to the Eastern Daily Press) about the coin auction. Below is a scan of the print version of this article:

Fakenham Times Print Version

Then yesterday morning brought more positive news – a link to an article in that day’s Lynn News about Monday’s general collector’s auction. The focus of this article is some documents we have relating to William Hoste, after whom The Hoste in Burnham Market is named, and who was a protege of Lord Nelson and connected by marriage to Robert Walpole. Here is a scan of the print version of this article:

Lynn News Hoste

We have another auction in preparation, and I have already pretty much decided that this 19th century presentation conductors baton (it is too large to have been intended to be used) will be the feature image in the press release for that one:

11

11-a
For me the local connection revealed here clinches it.

11-b11-c11-d

THE TRIANGULAR BRIDGES

Here is the problem I set last week, followed by the answer and an official solution:

bridging the lake

tribridges solution

Here is a concise solution, courtesy of Chew-Seong Cheong :

bridgesol