
INTRODUCTION
All good things come to an end, even this series of blog posts, and with this post we do indeed reach the end of my account of my visit to Cornwall.
THE JOURNEY HOME
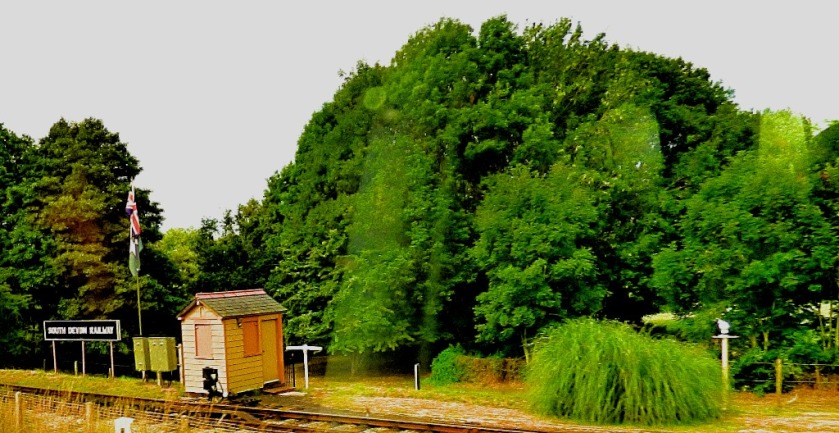
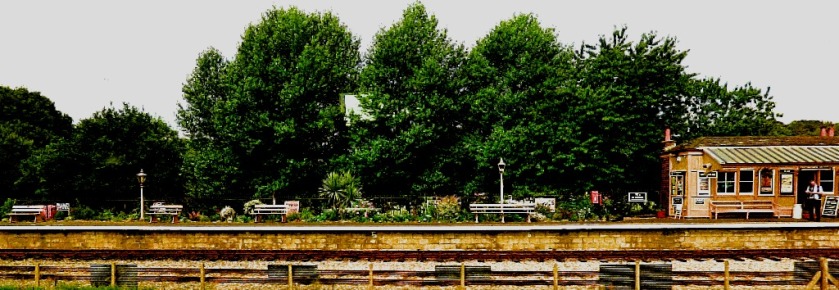
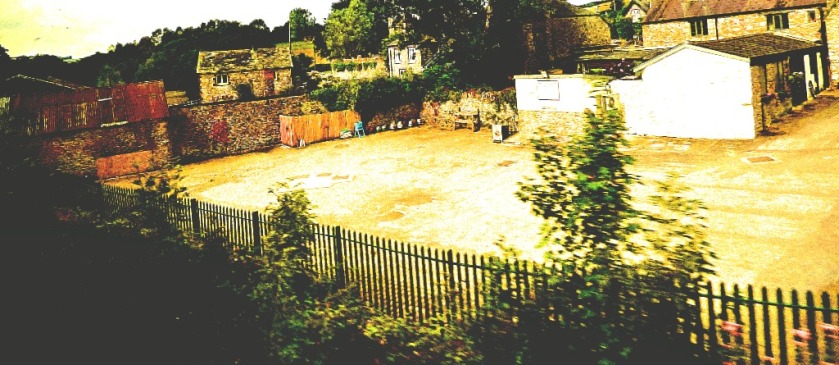
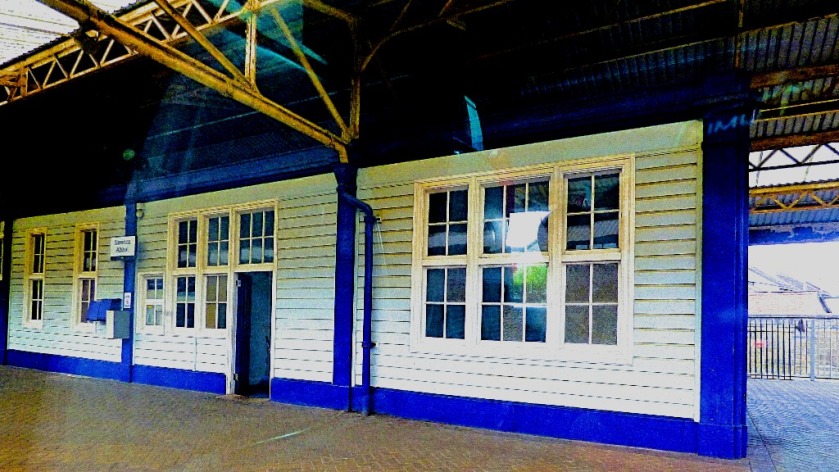
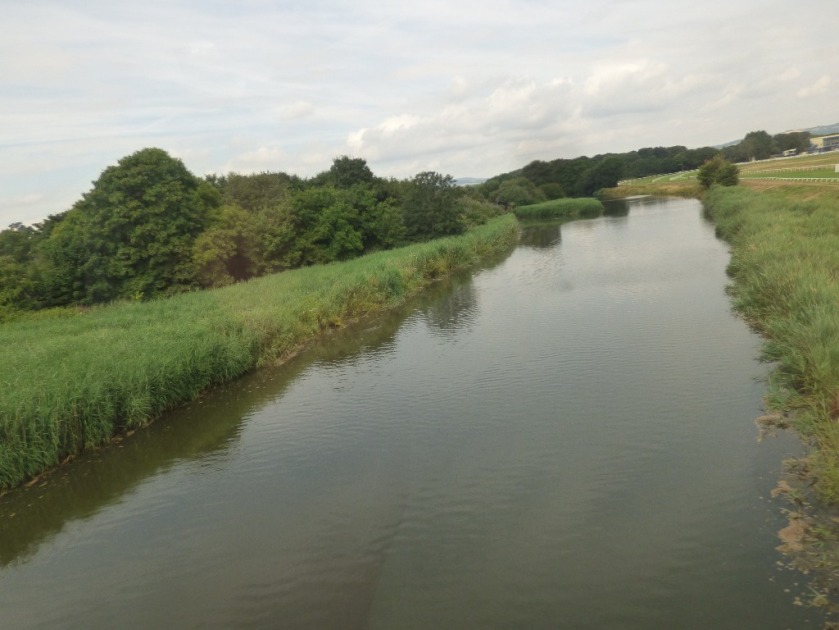
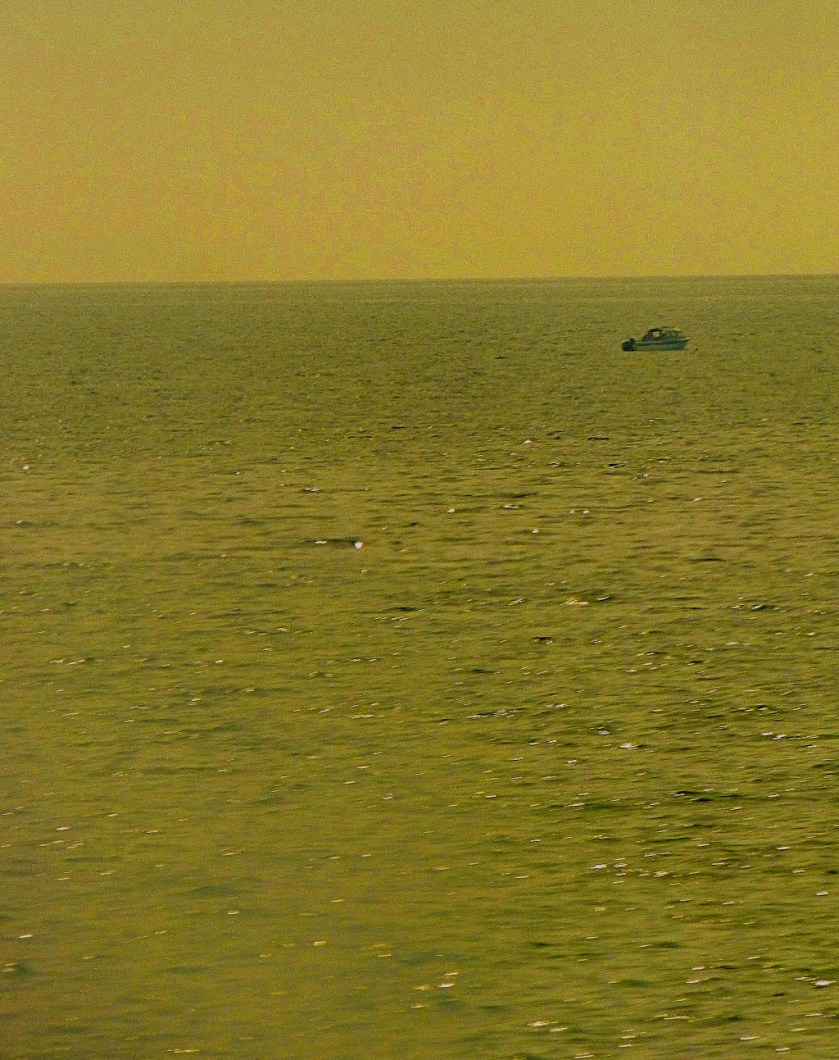
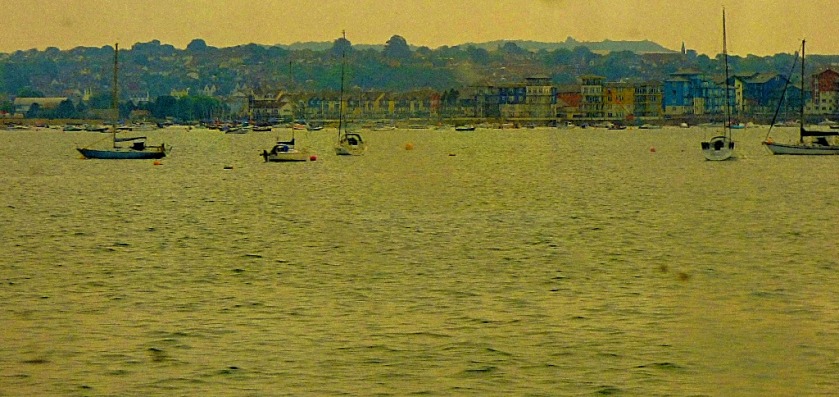
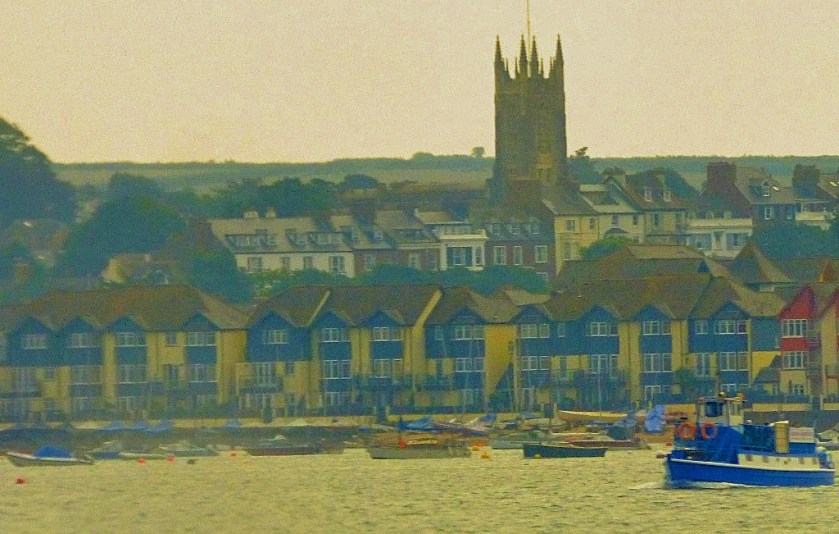
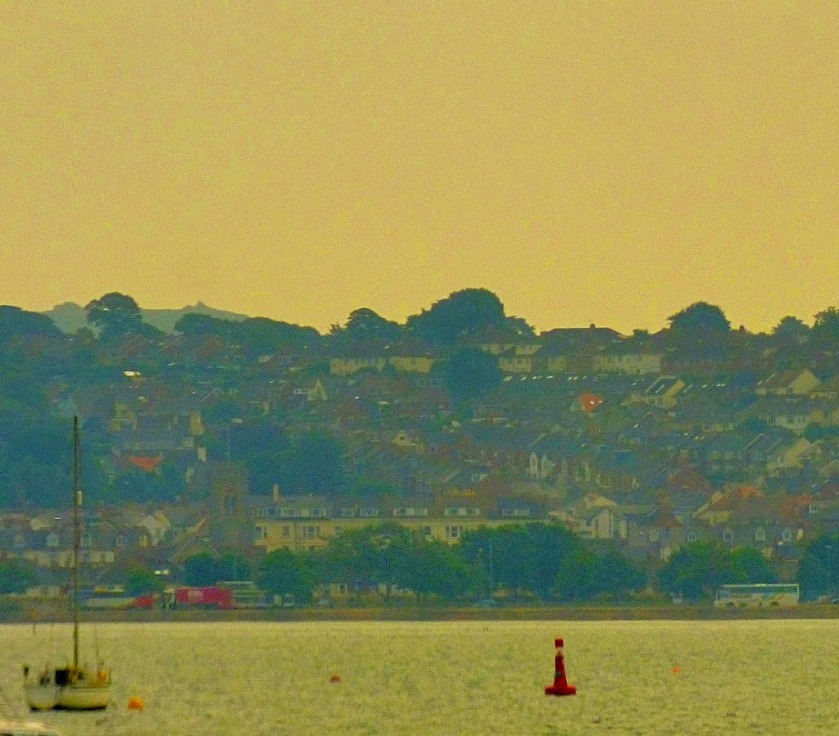
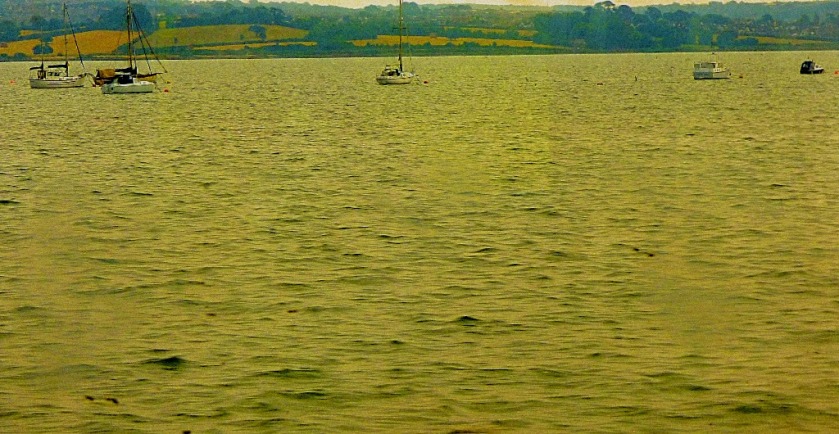
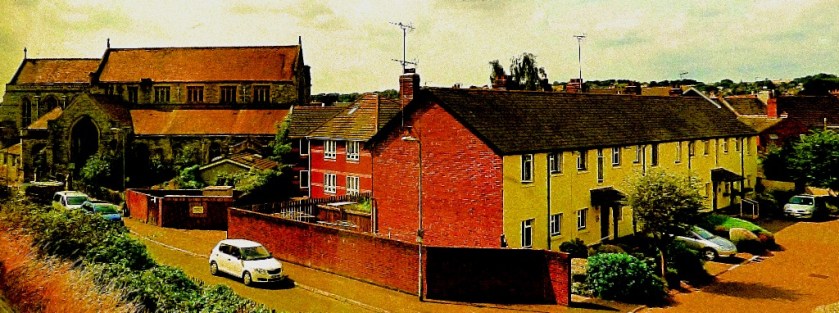
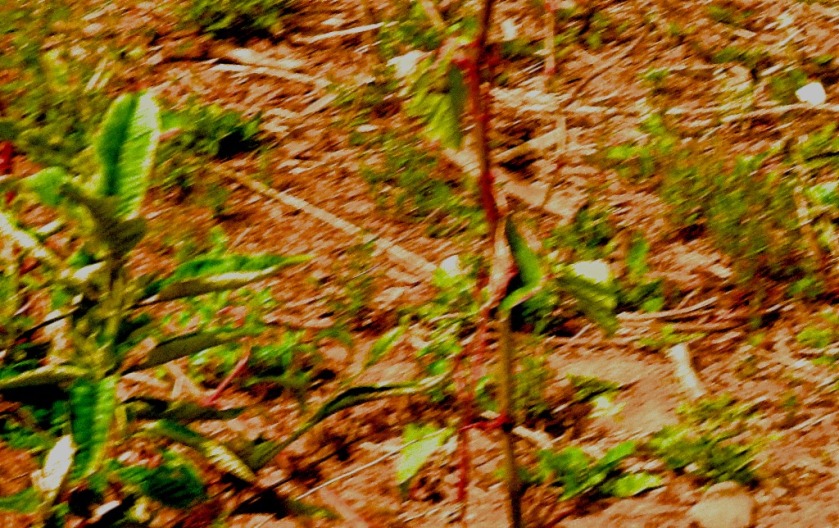
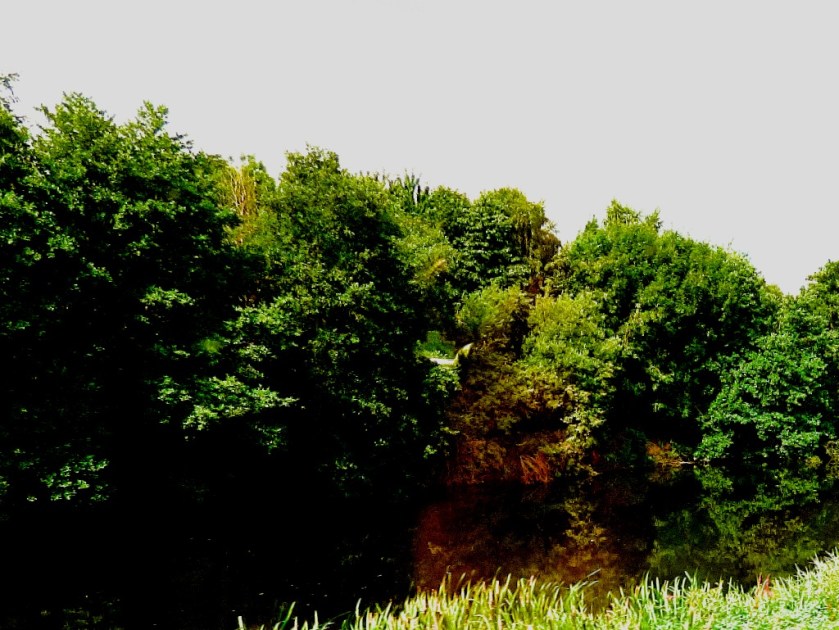
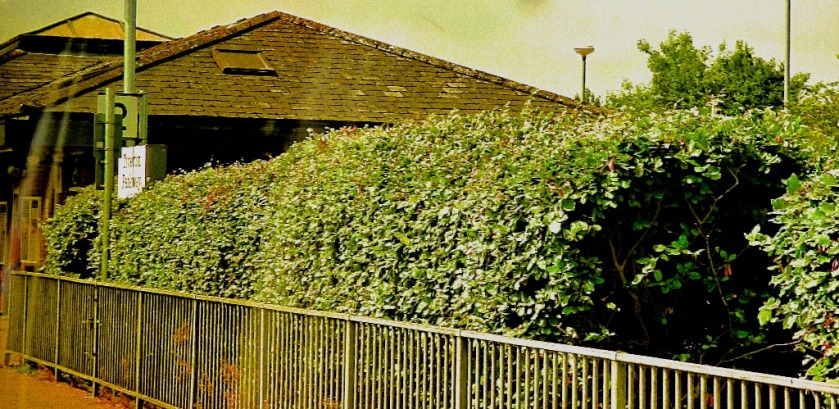
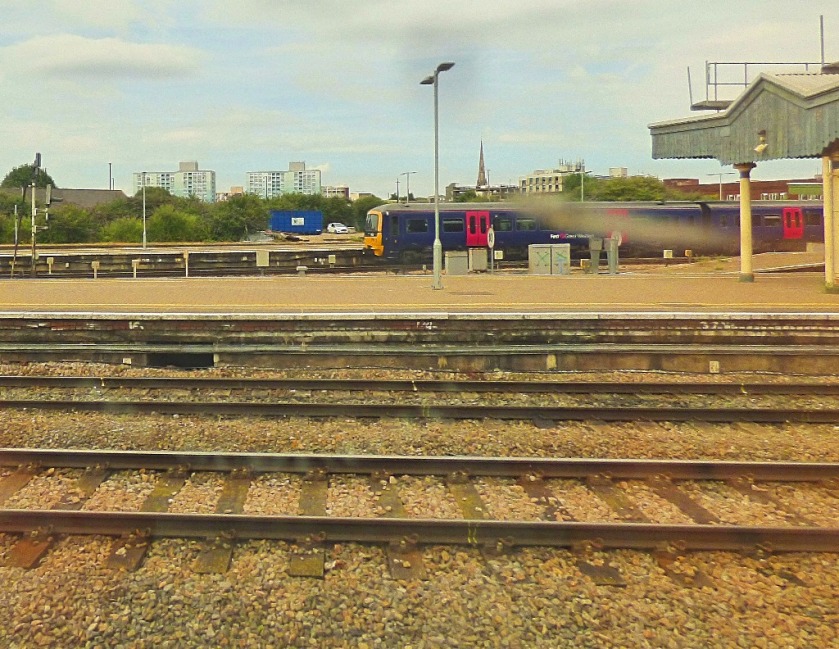
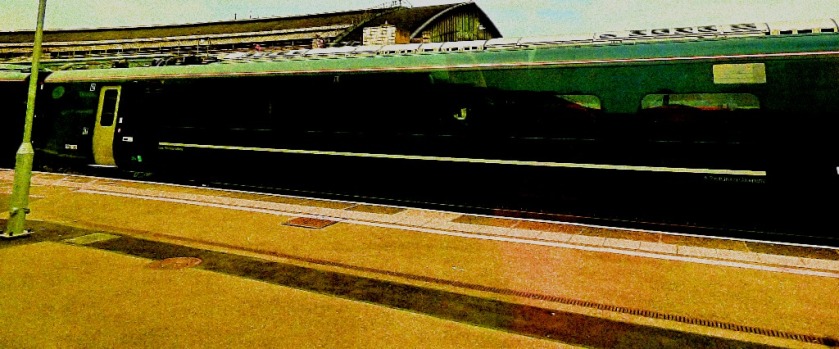
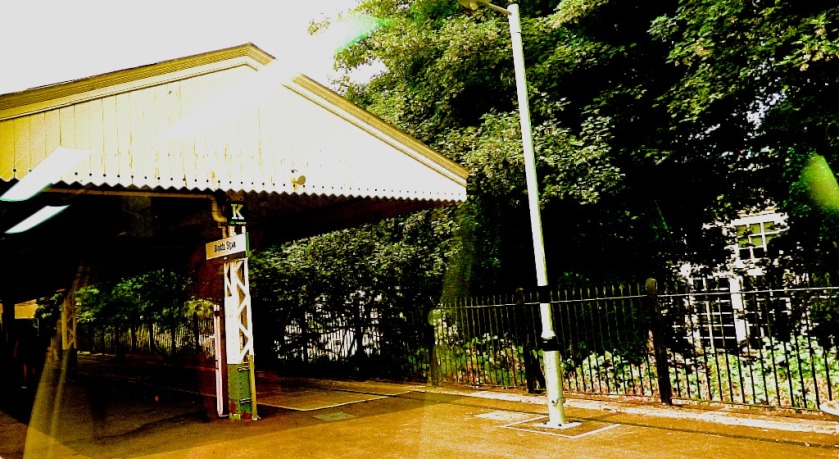
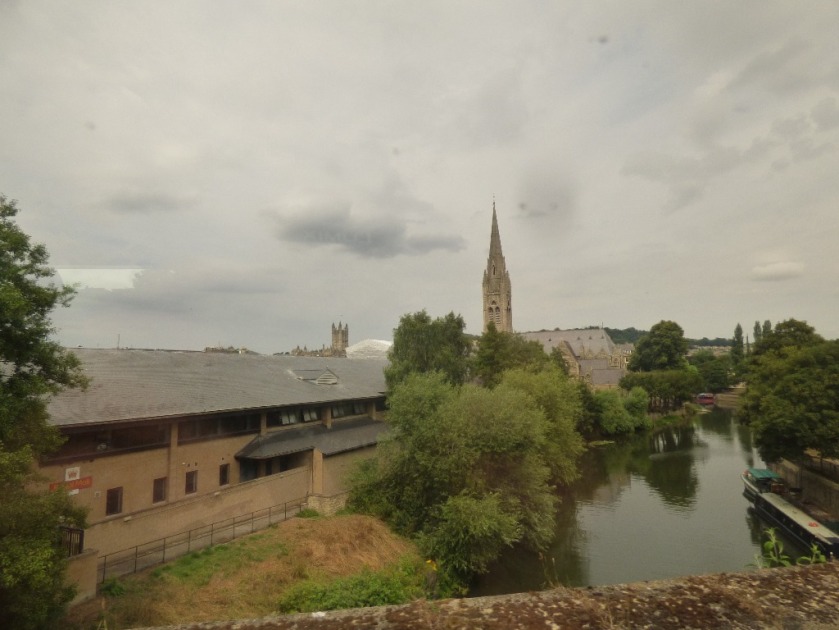
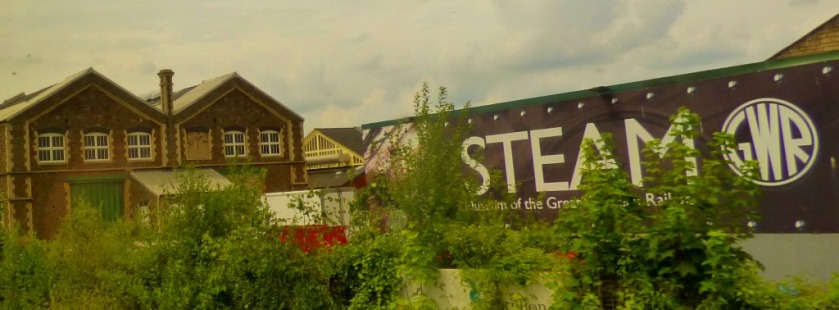
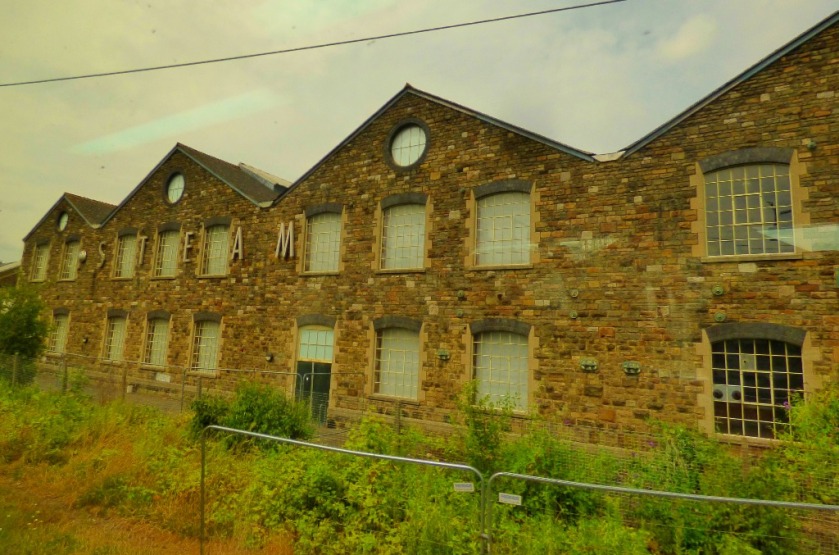
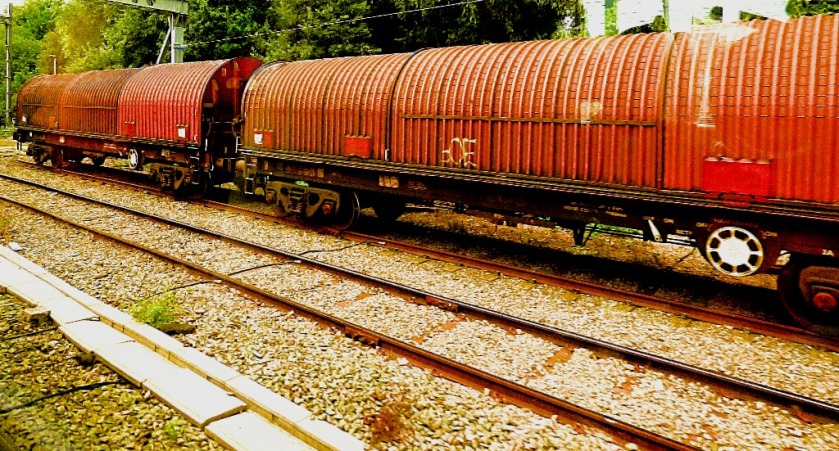
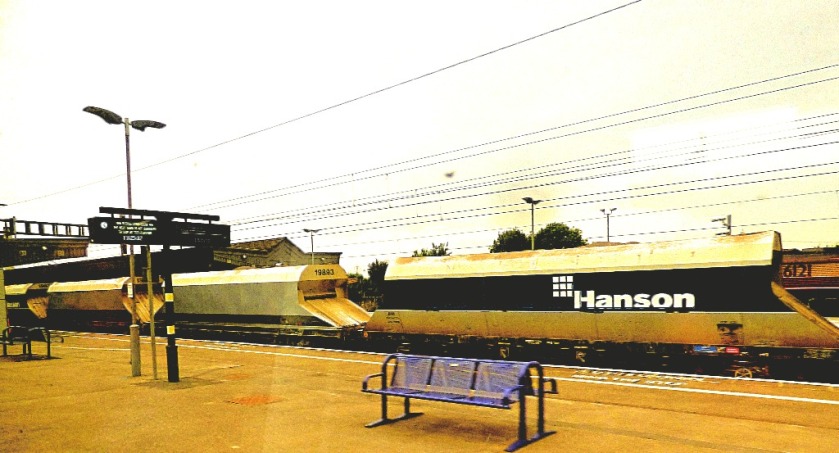
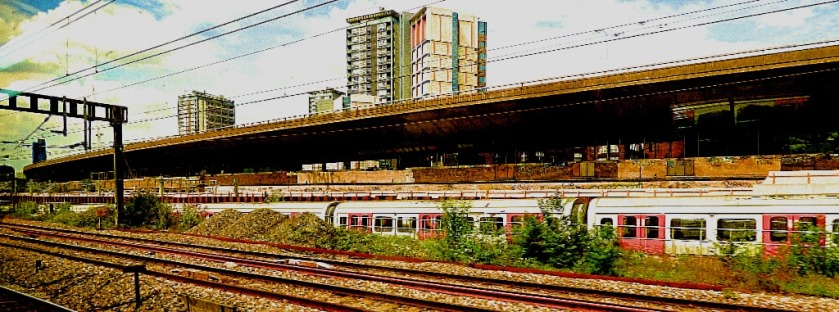
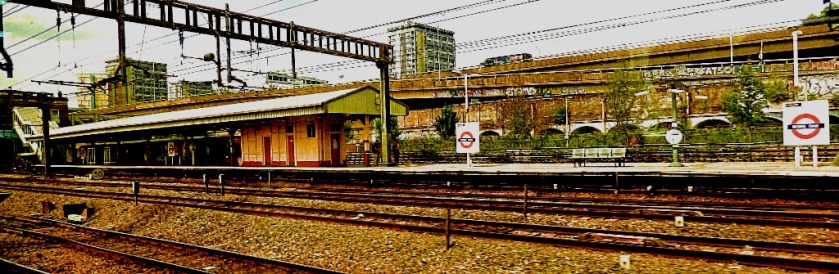
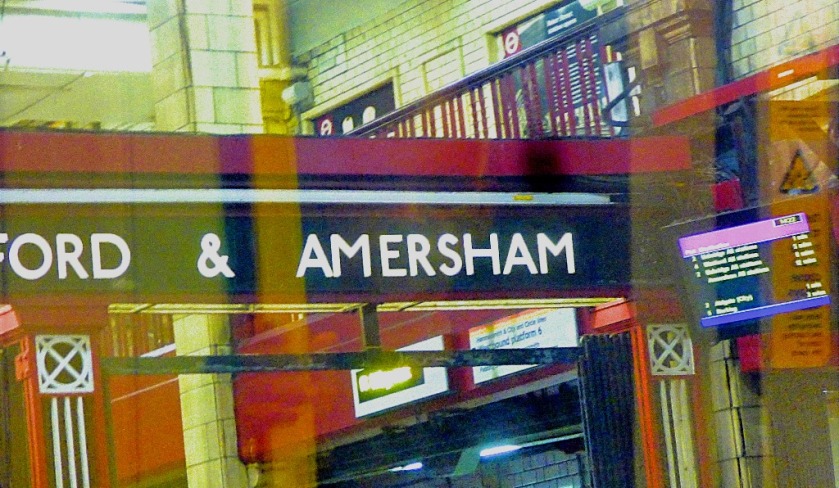
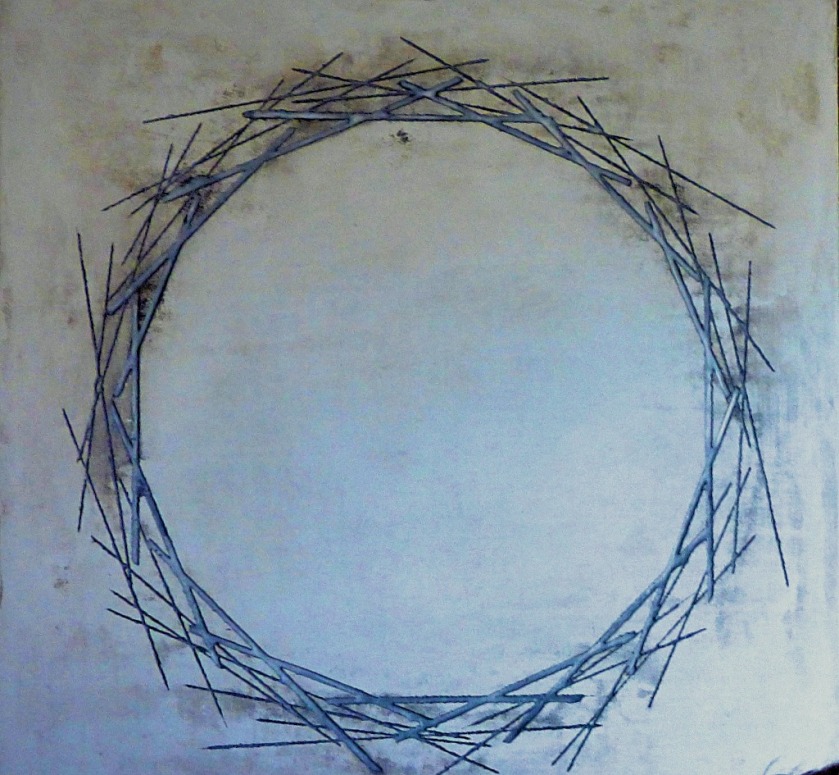
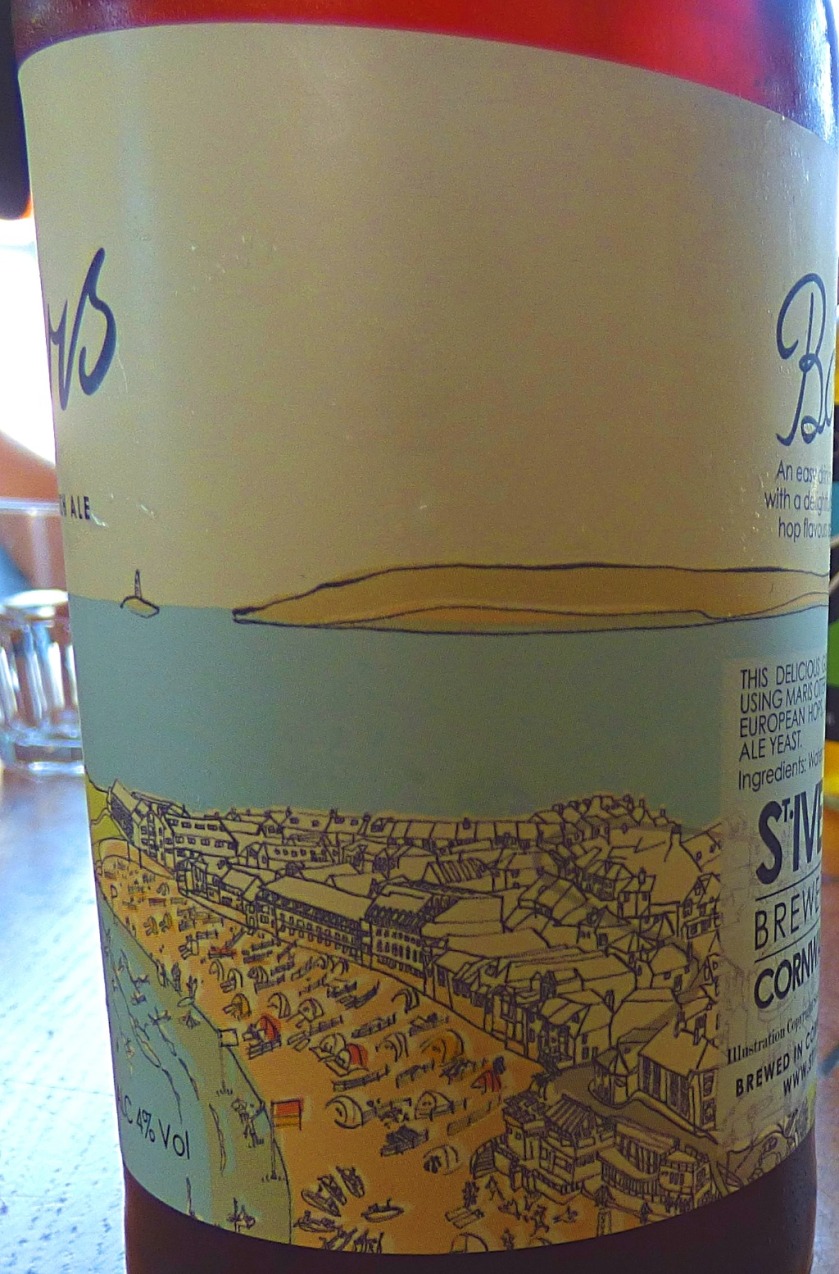
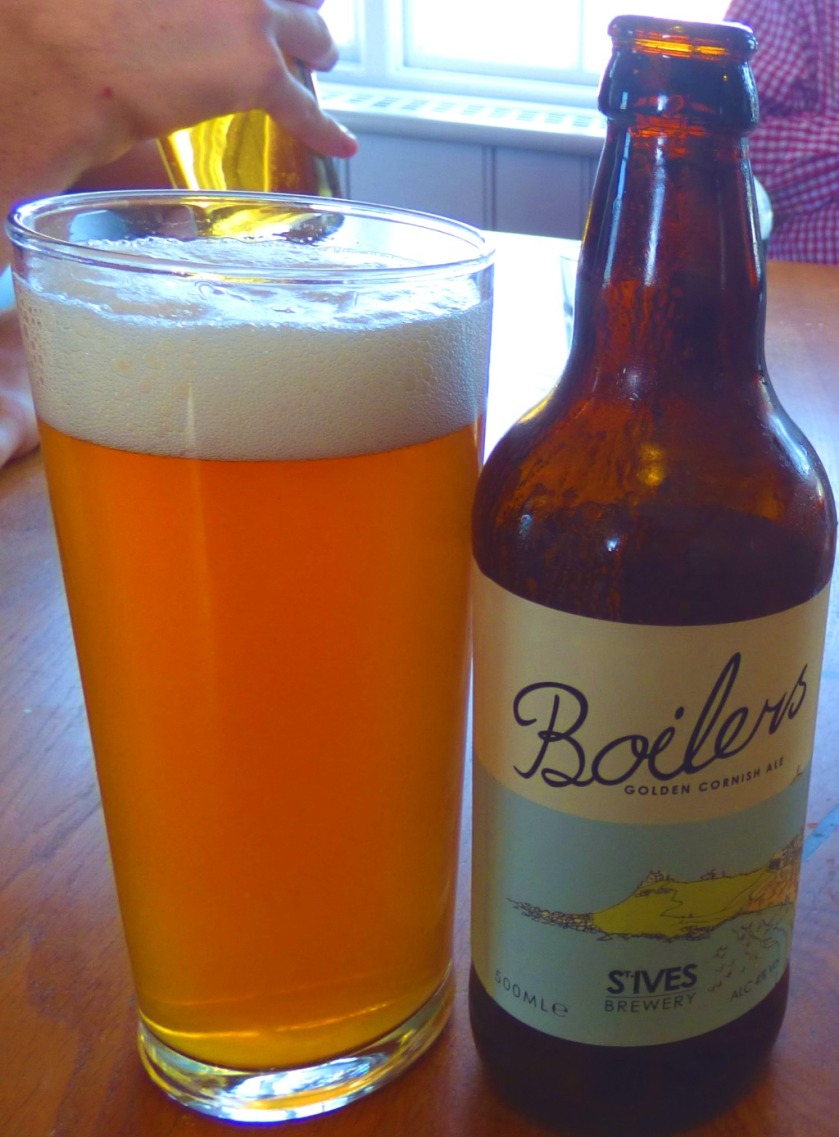
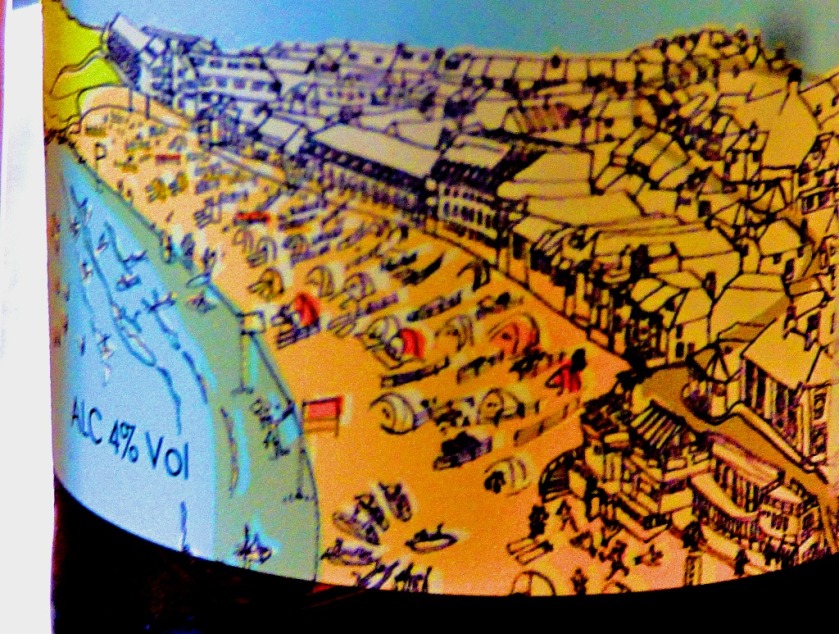
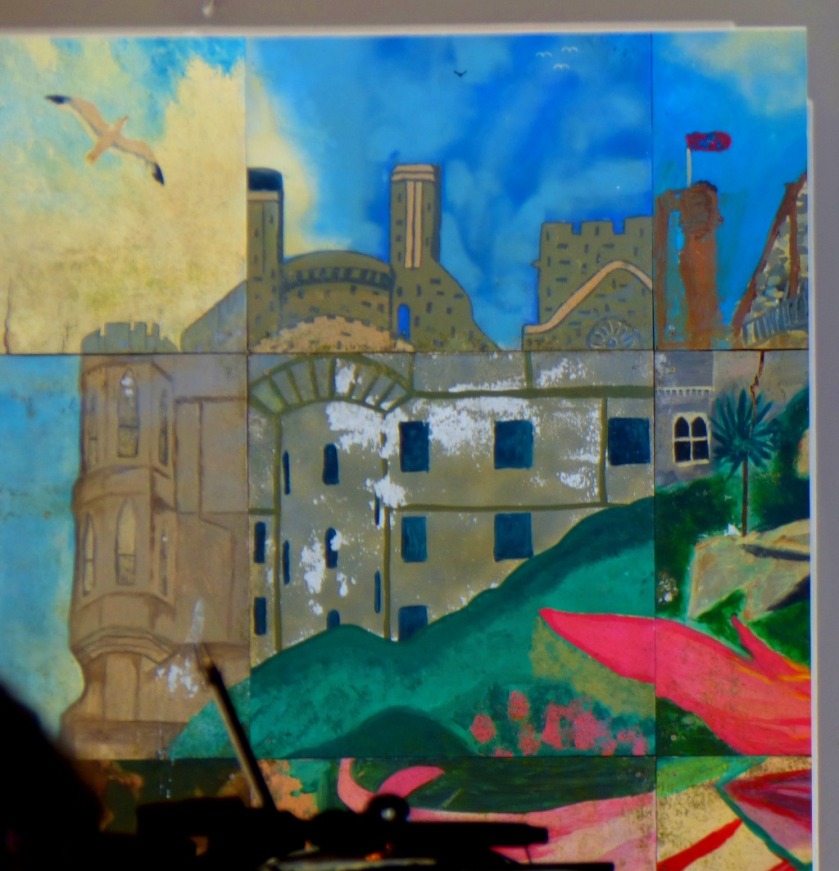
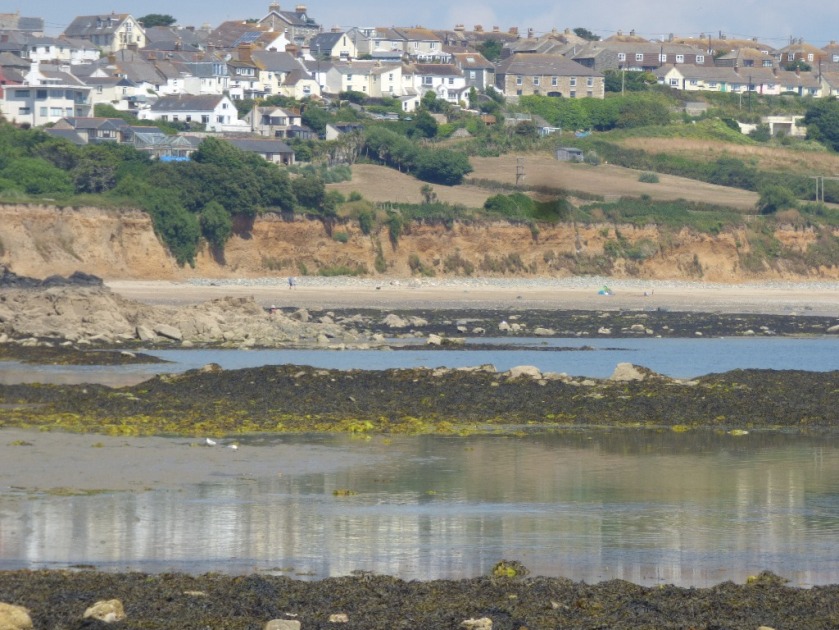
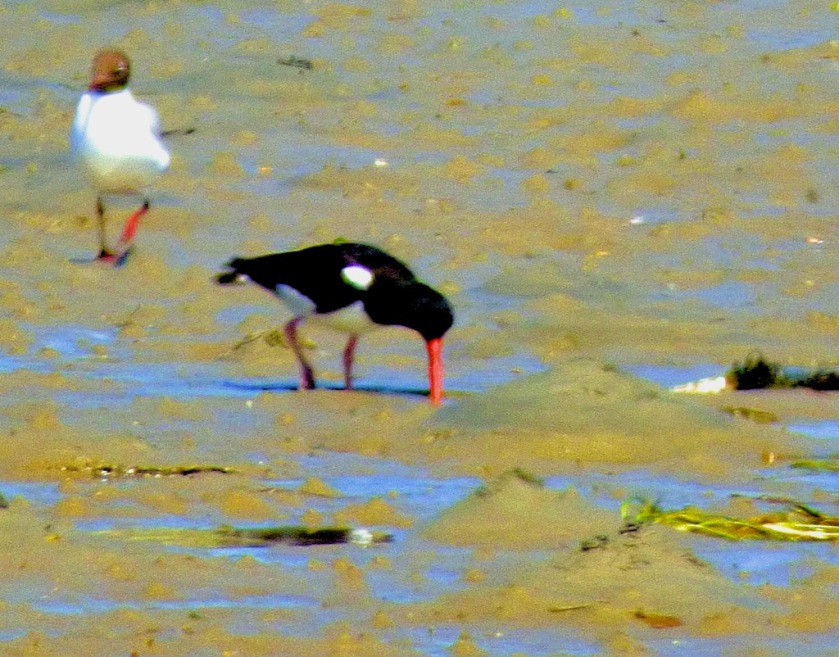
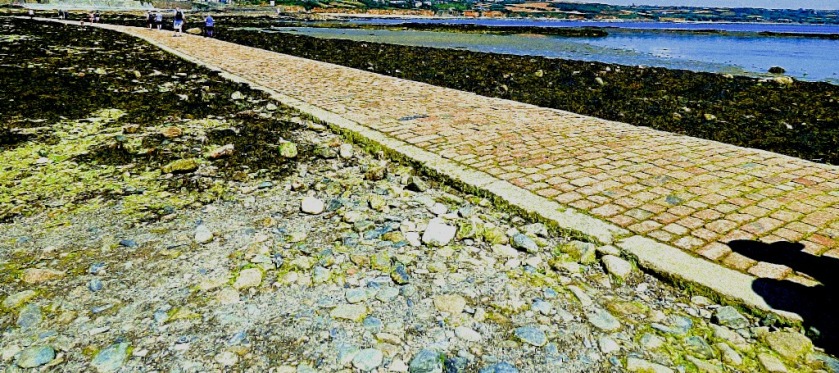
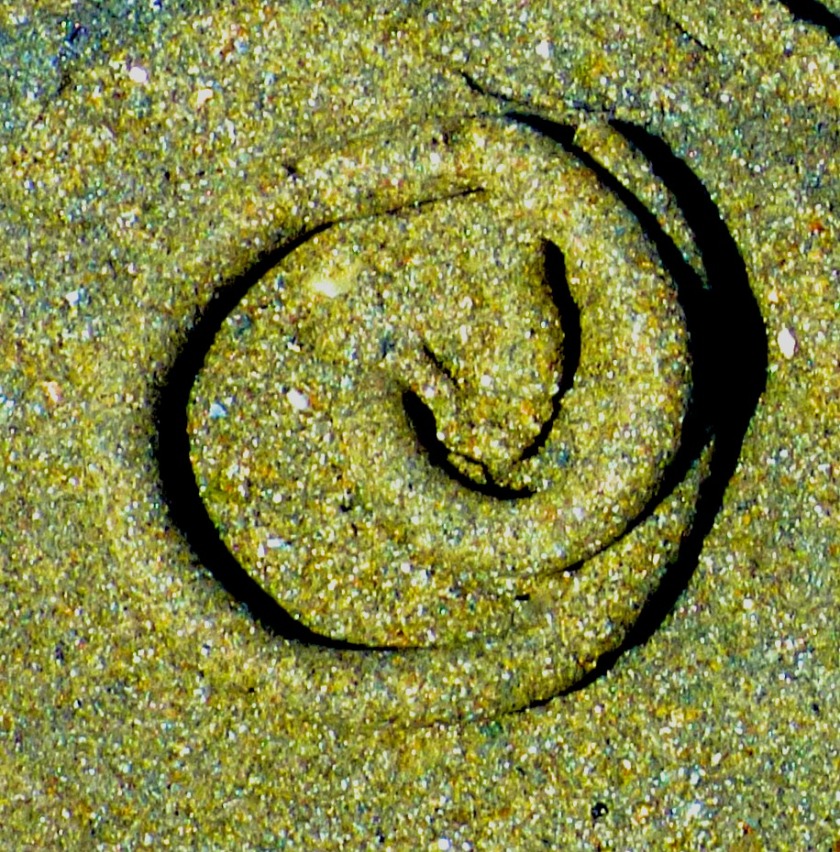
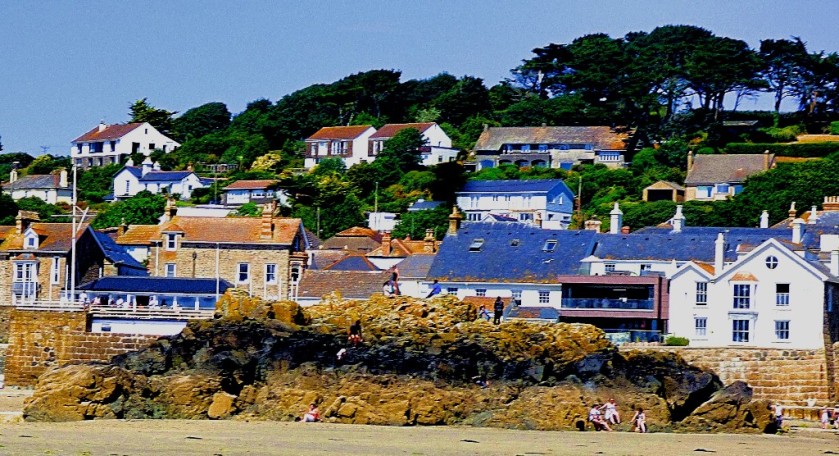
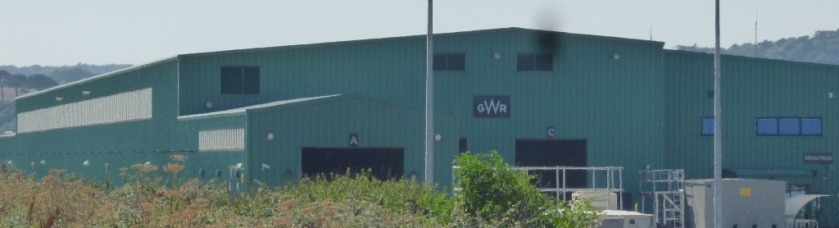
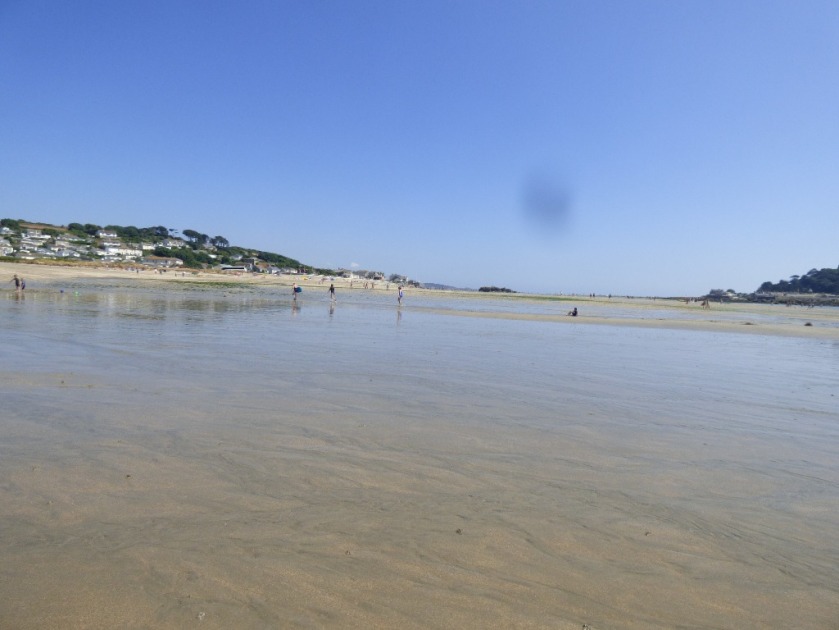
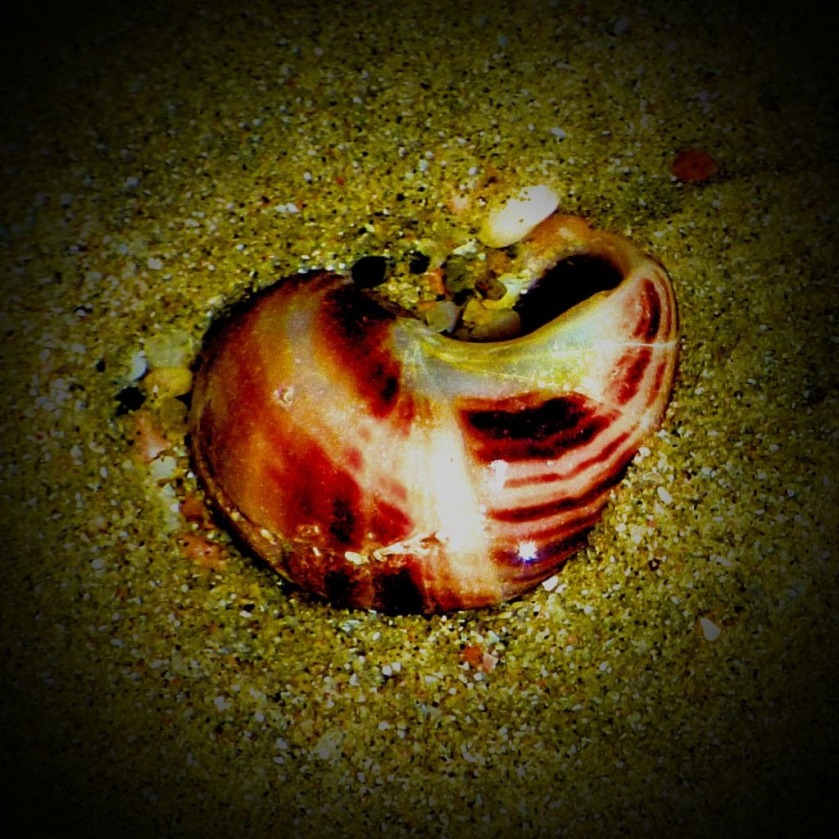
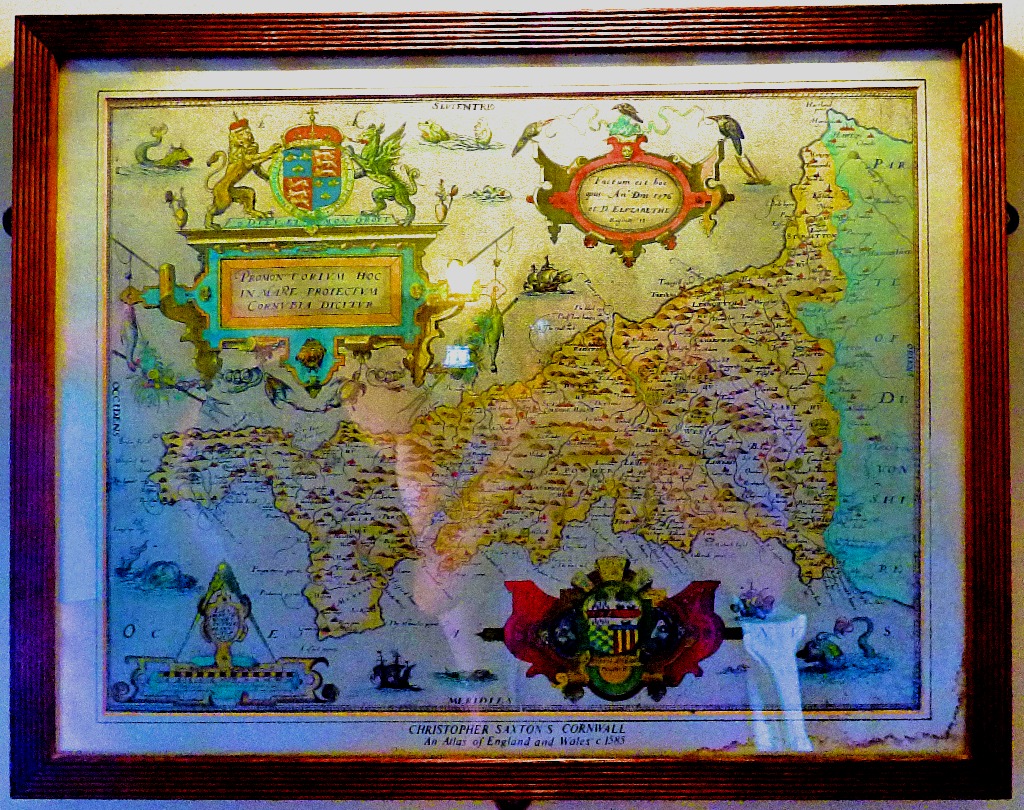
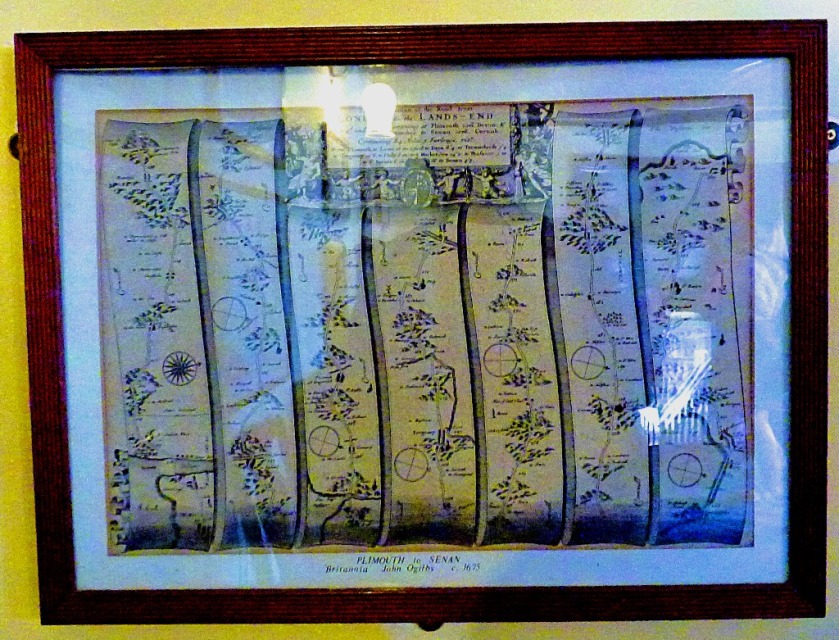
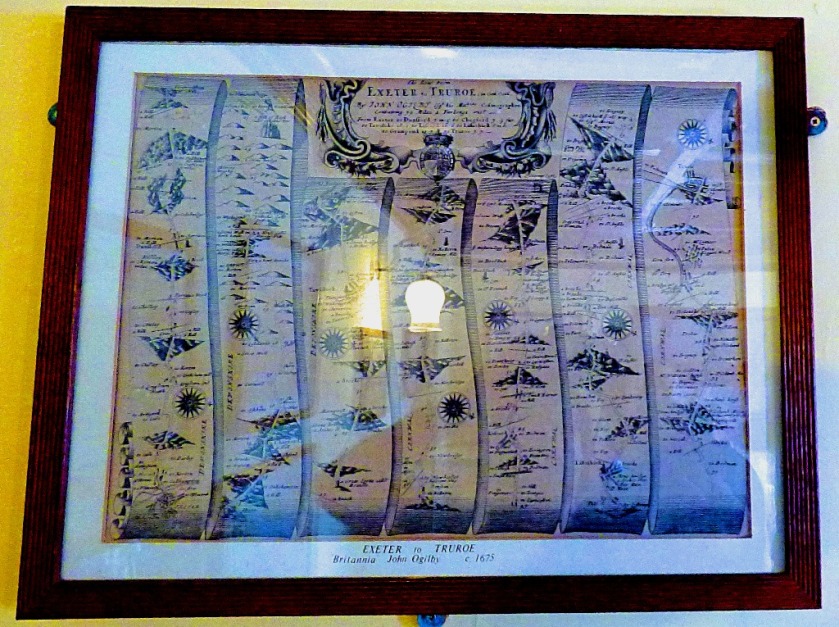
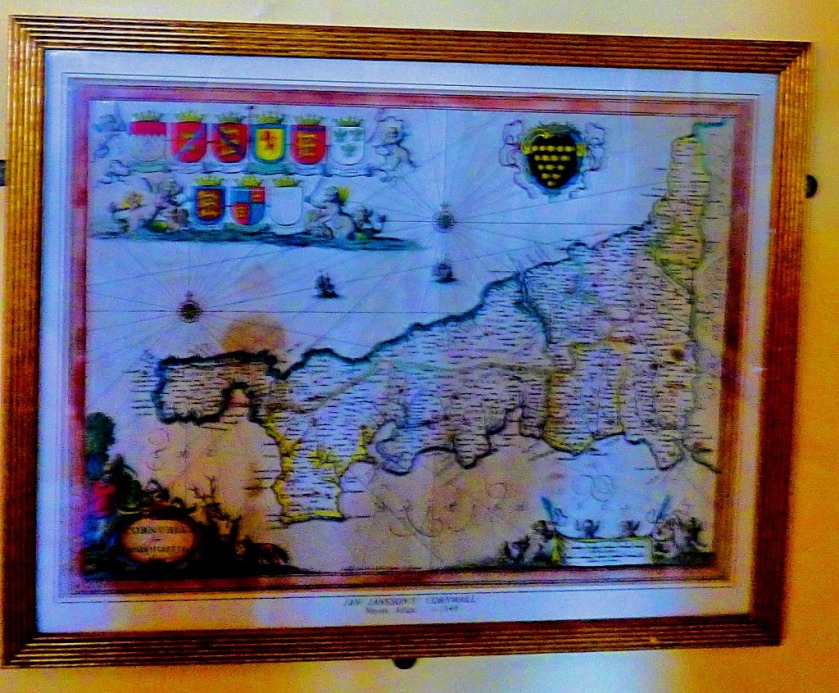
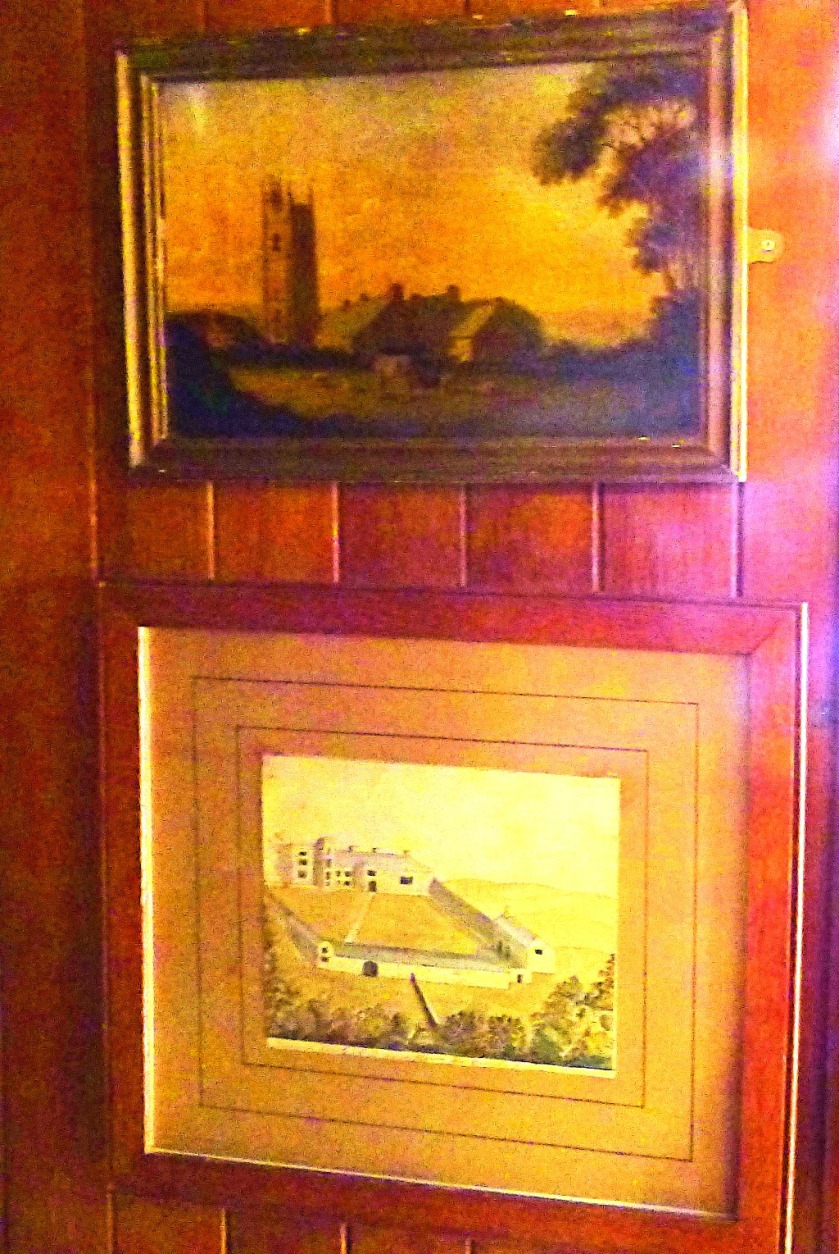
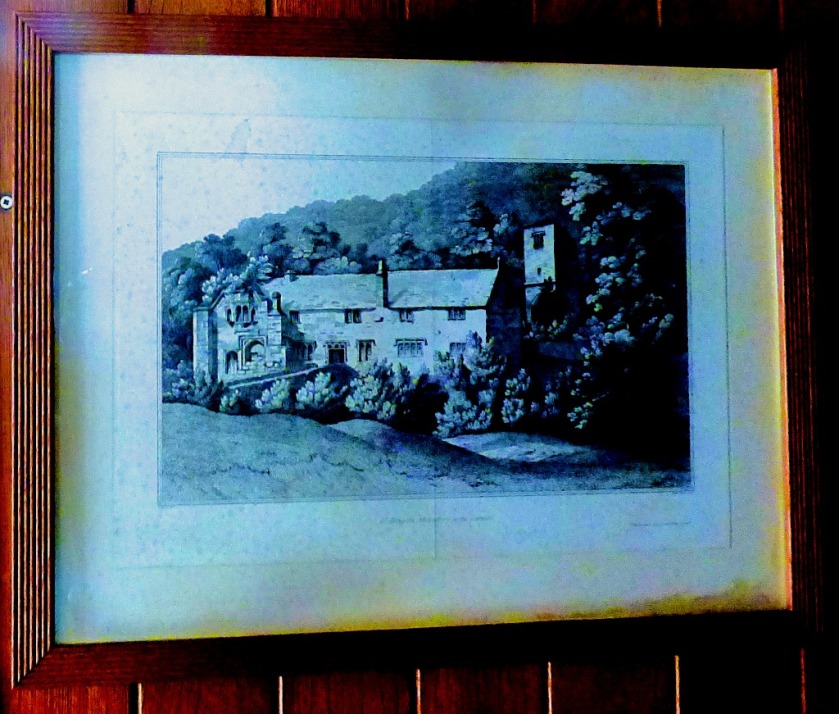
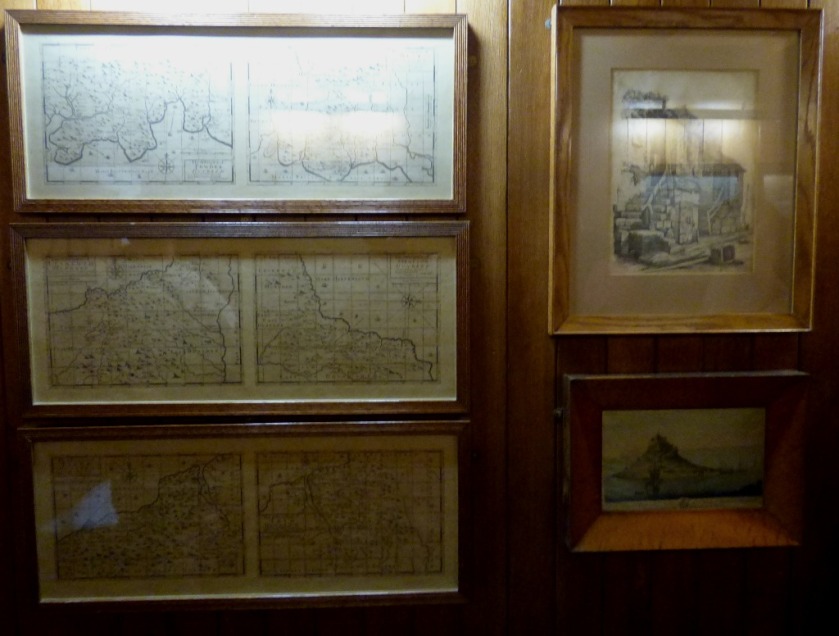
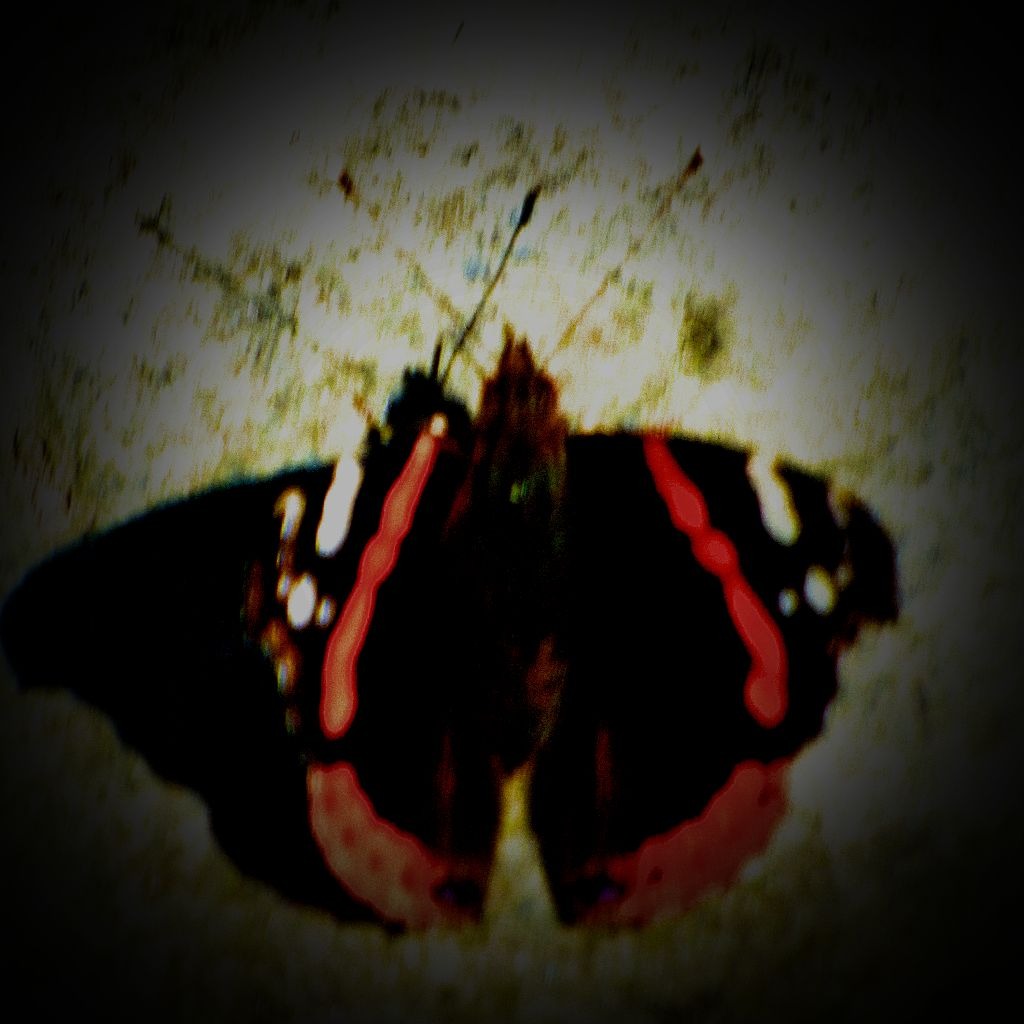
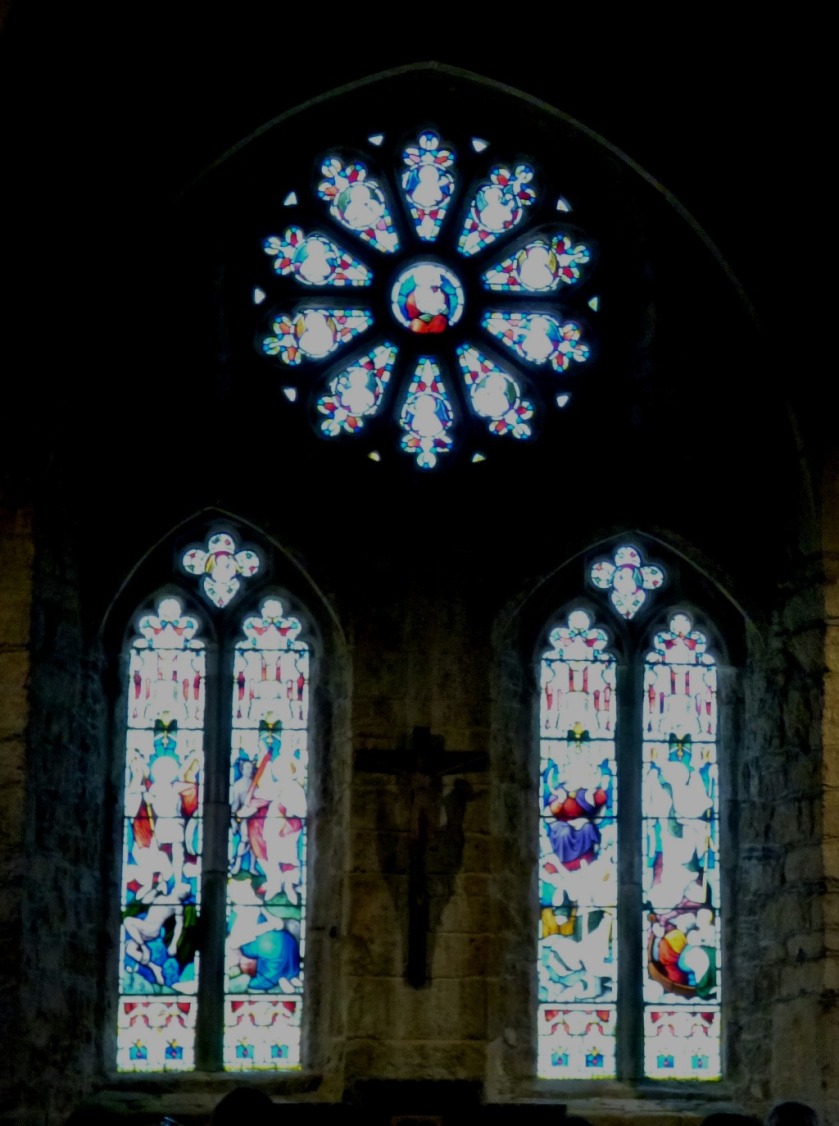
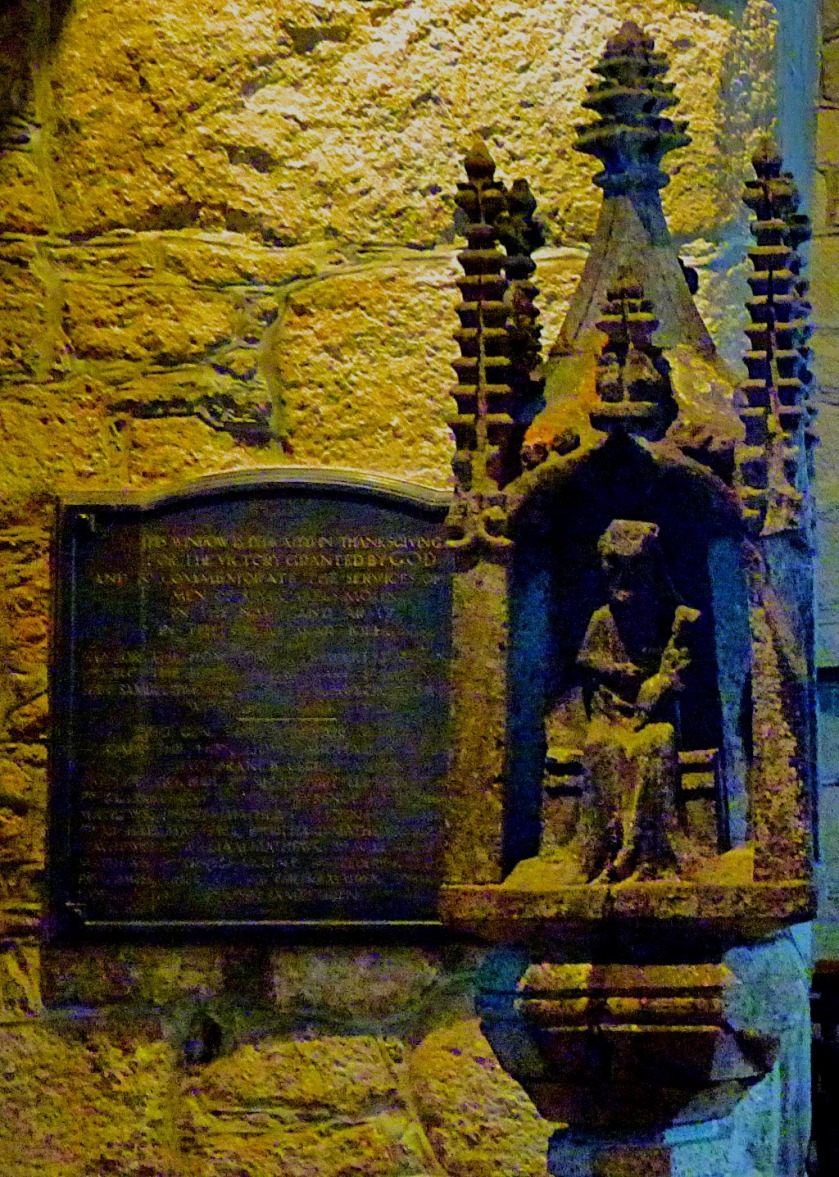
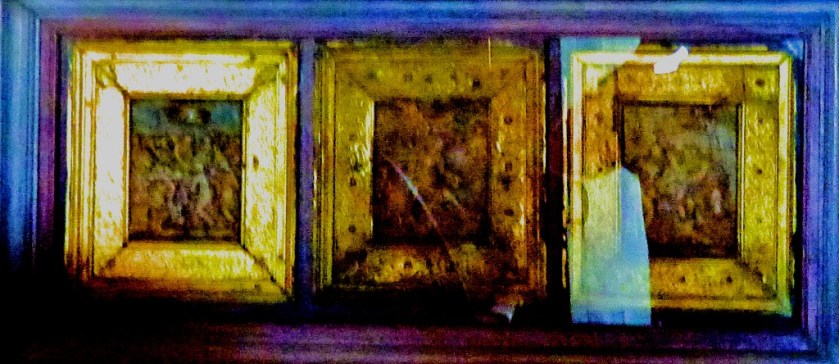
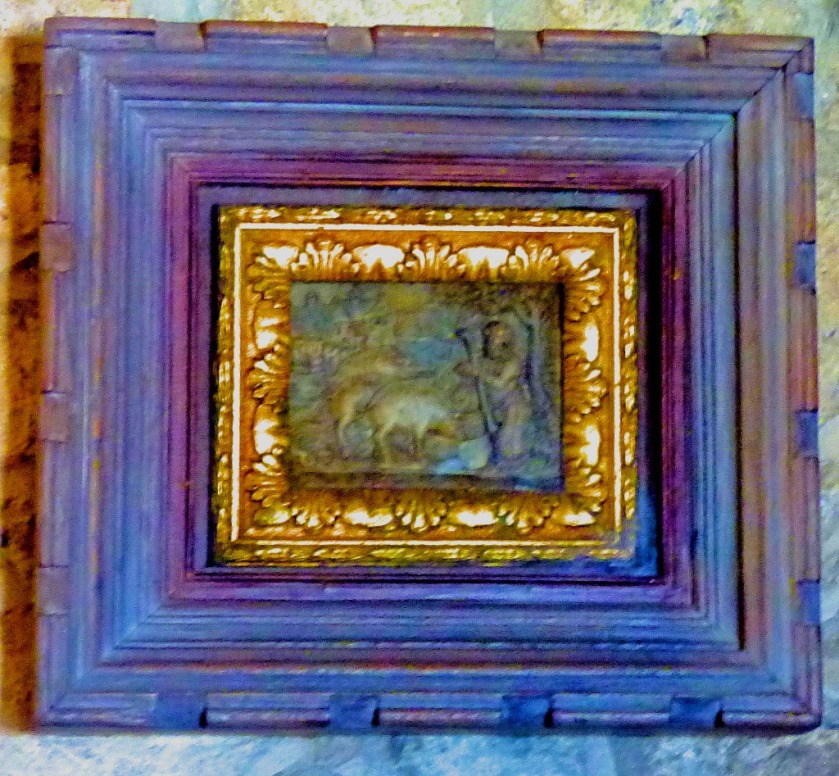
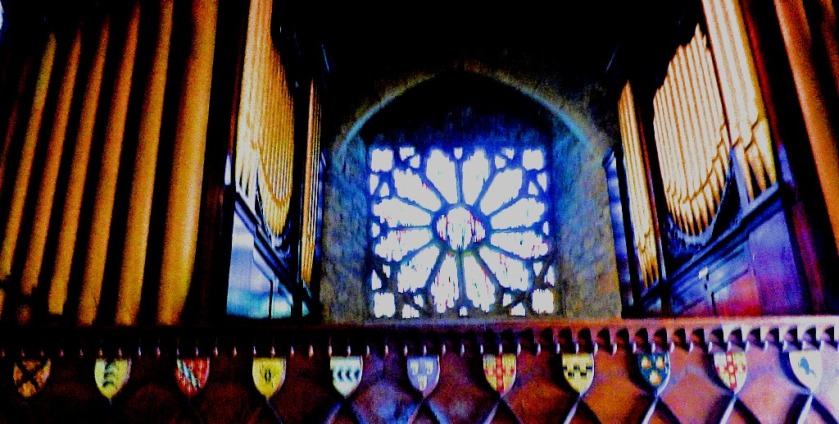
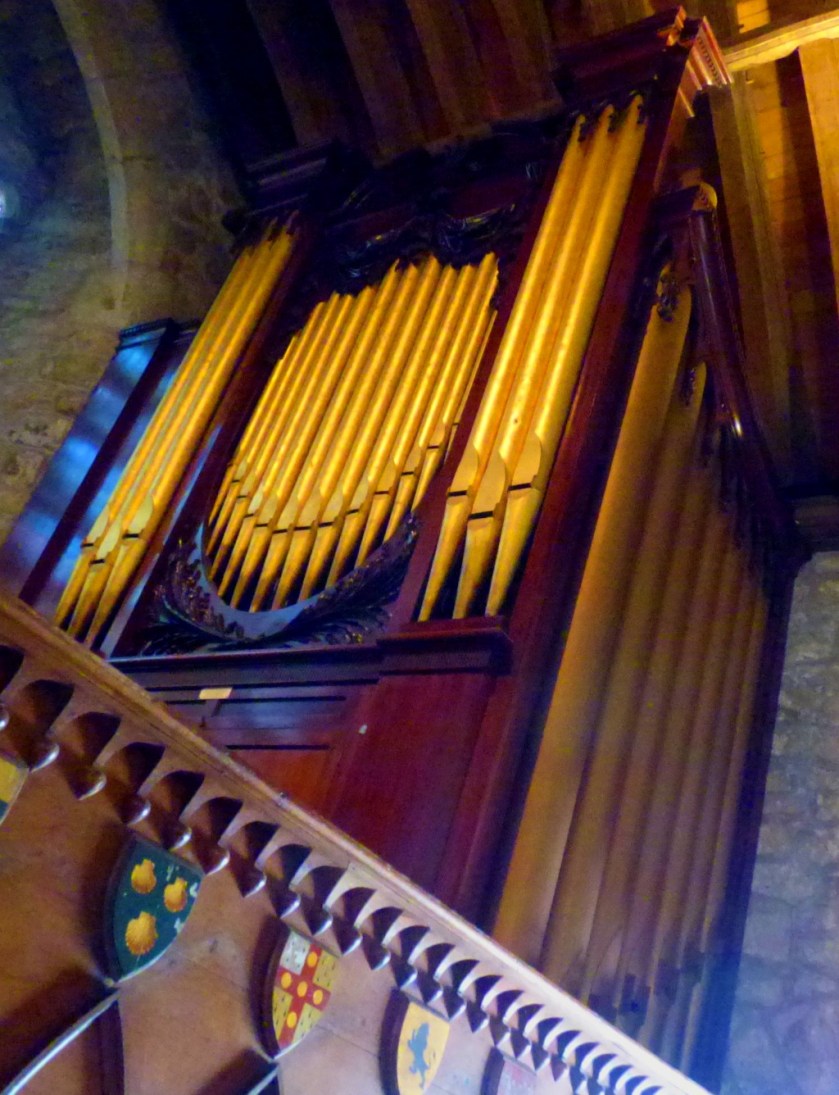
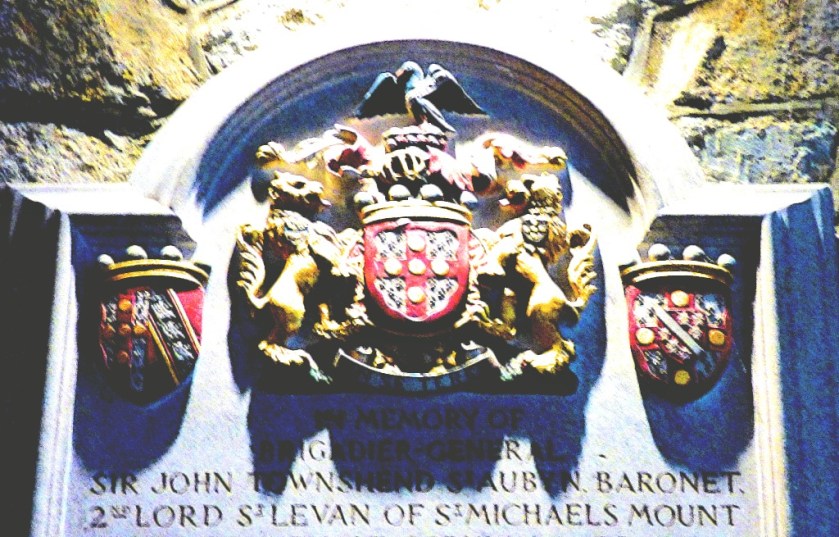
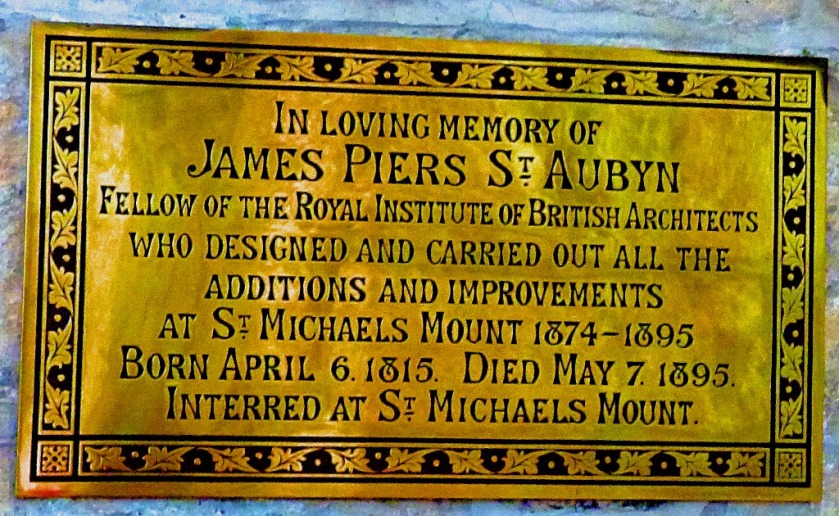
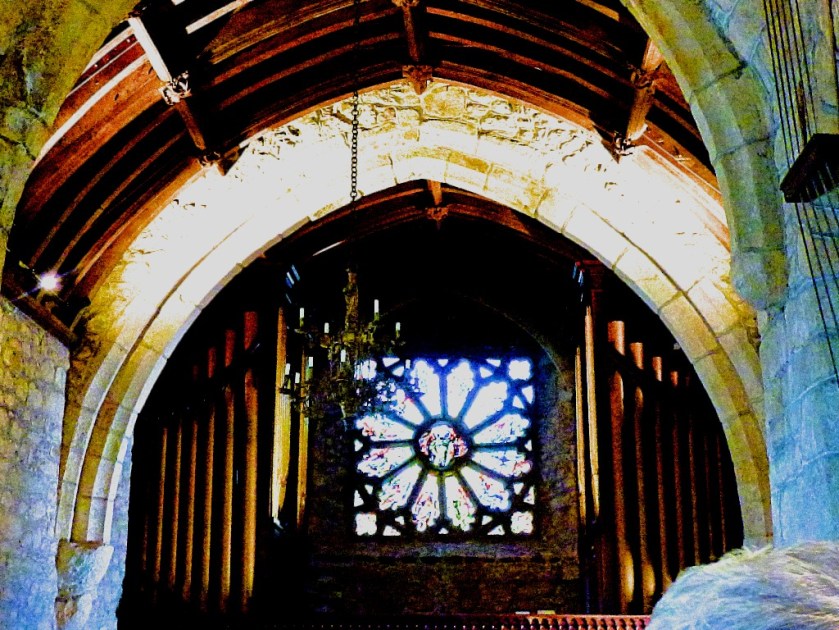
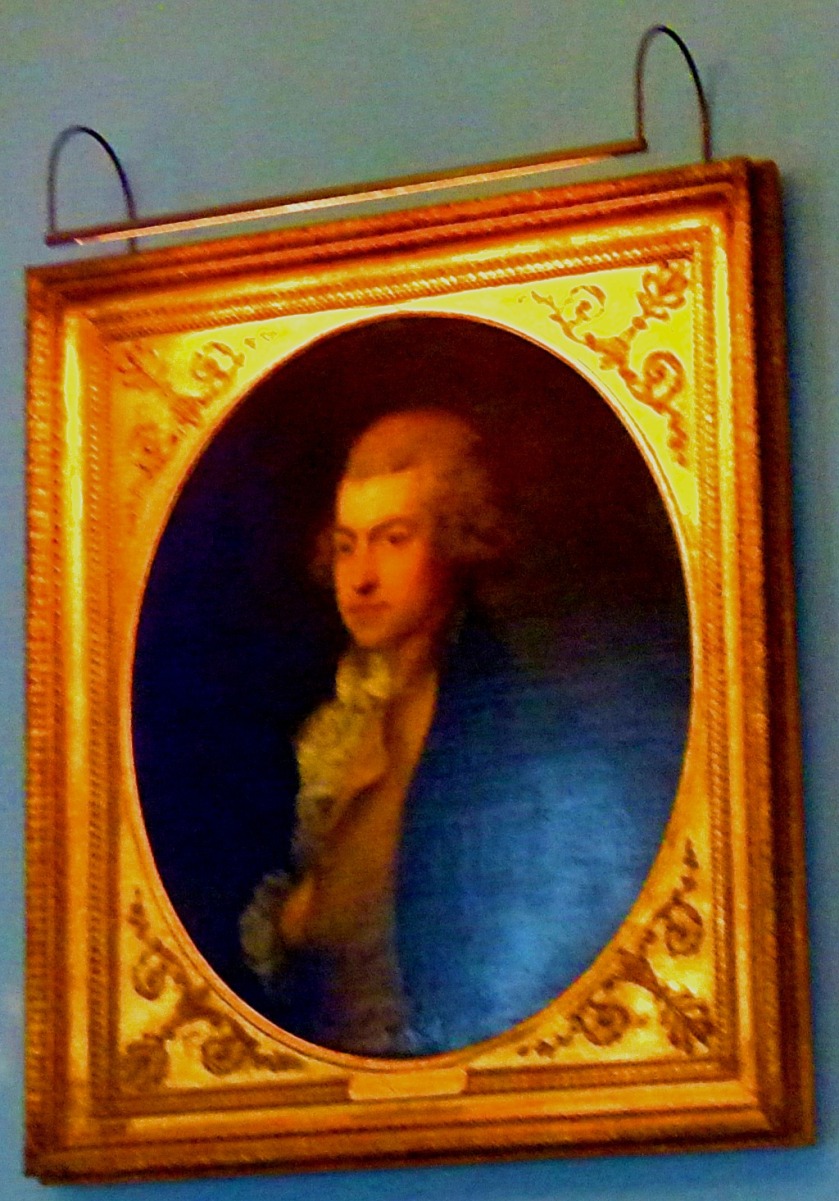
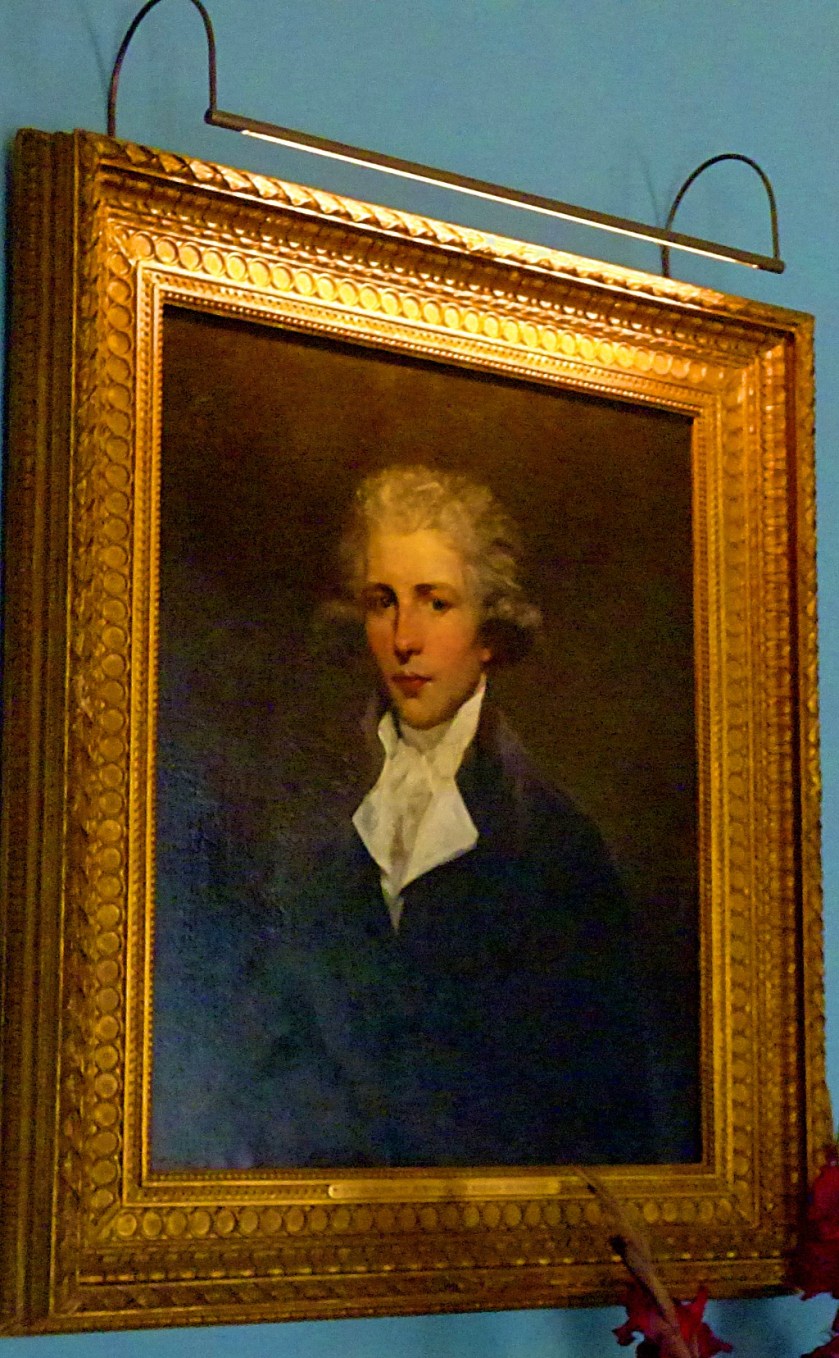
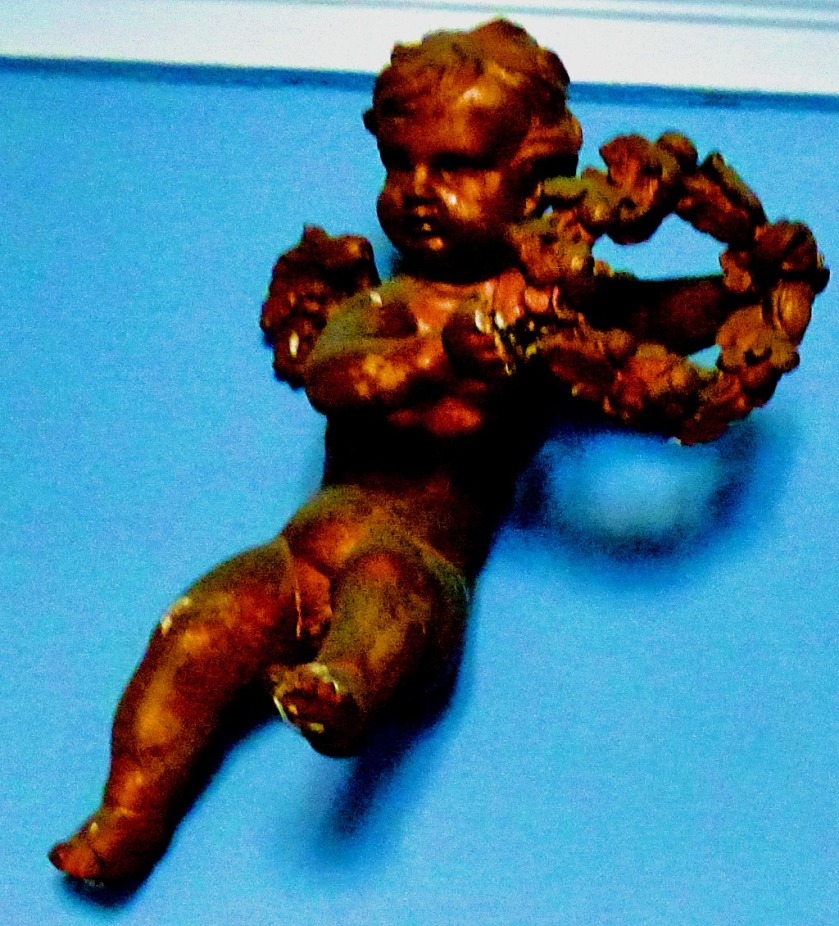
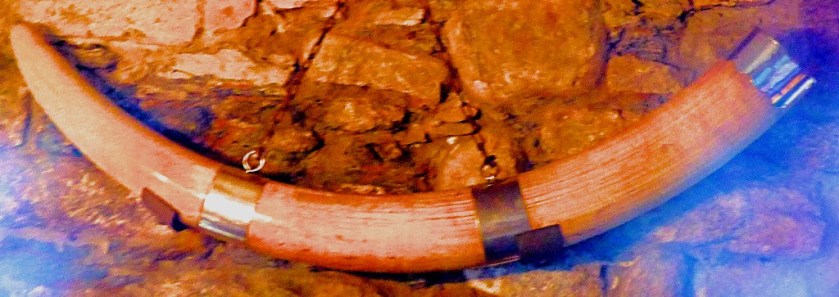
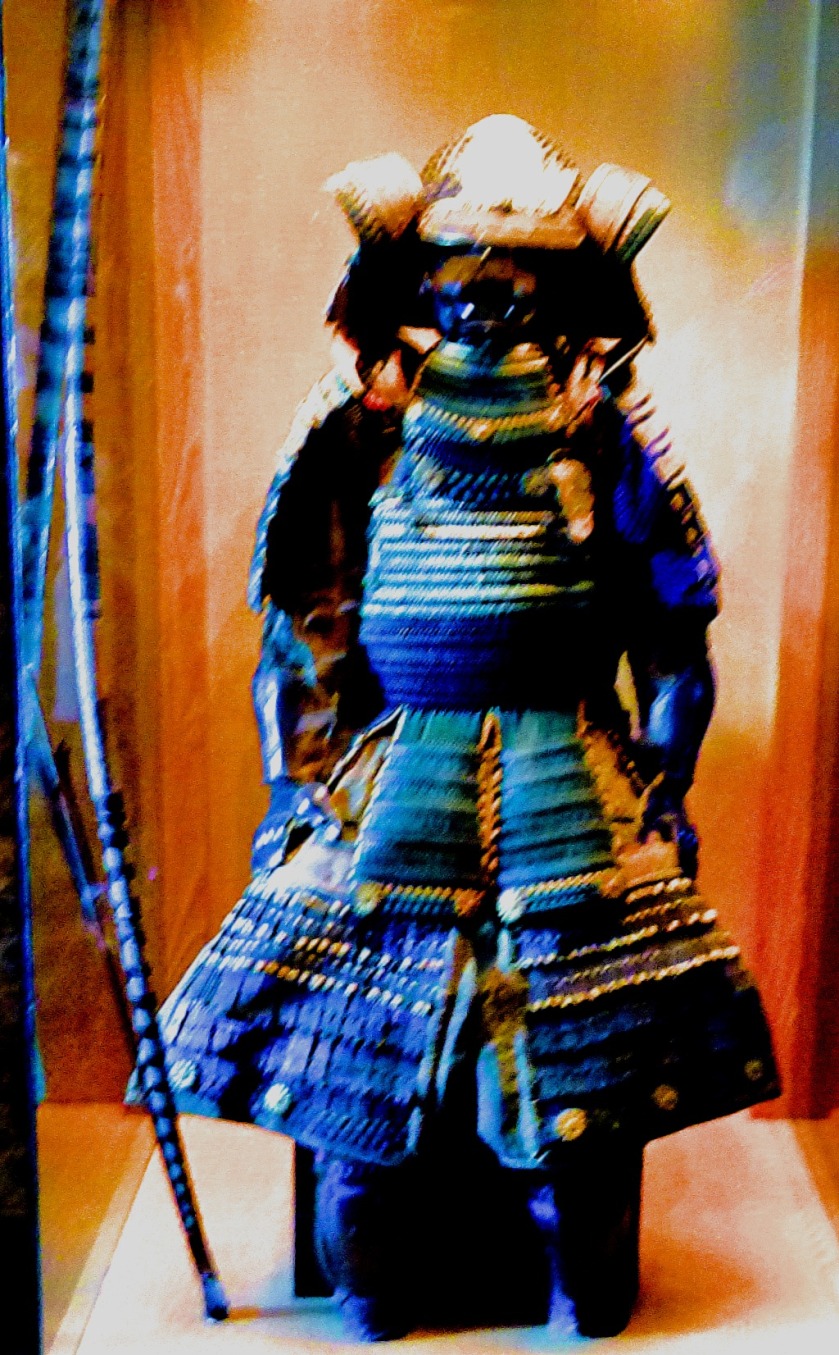
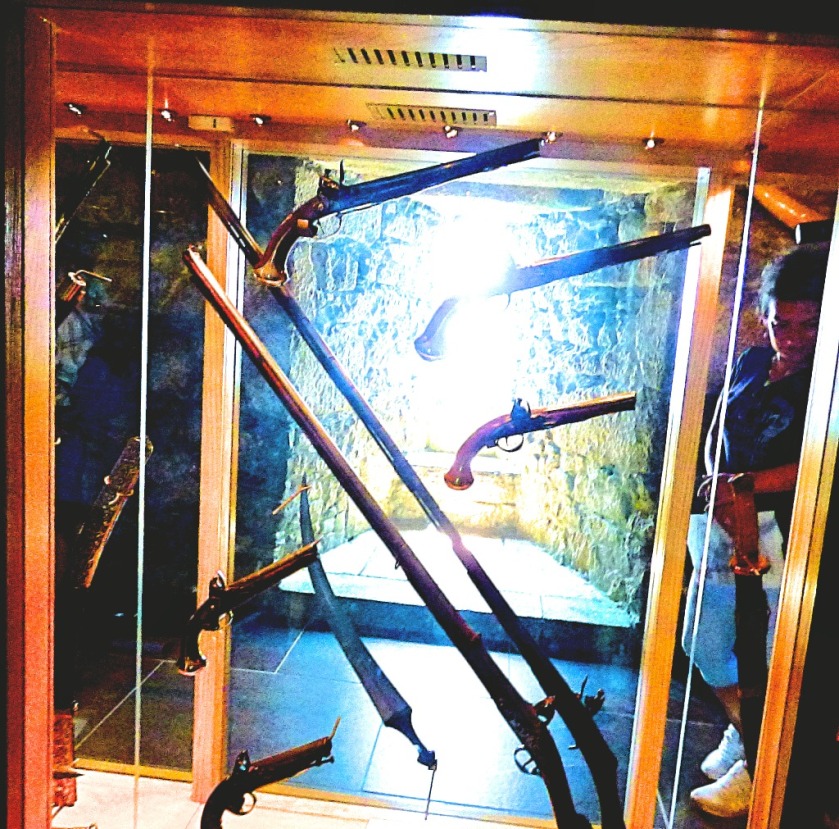
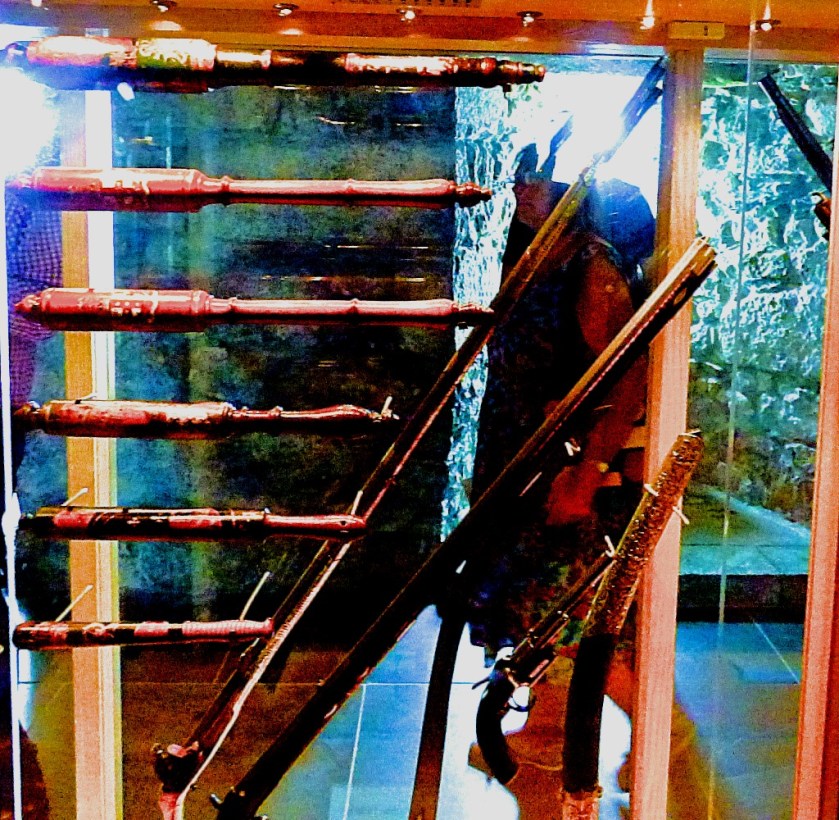
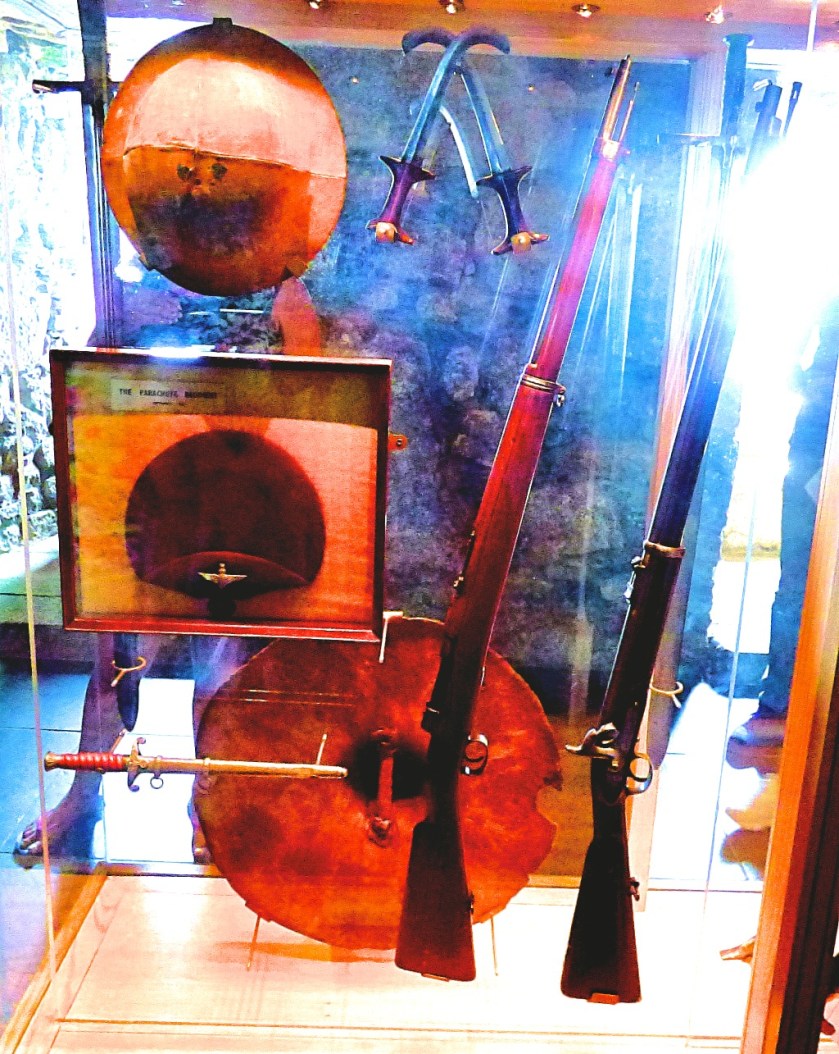
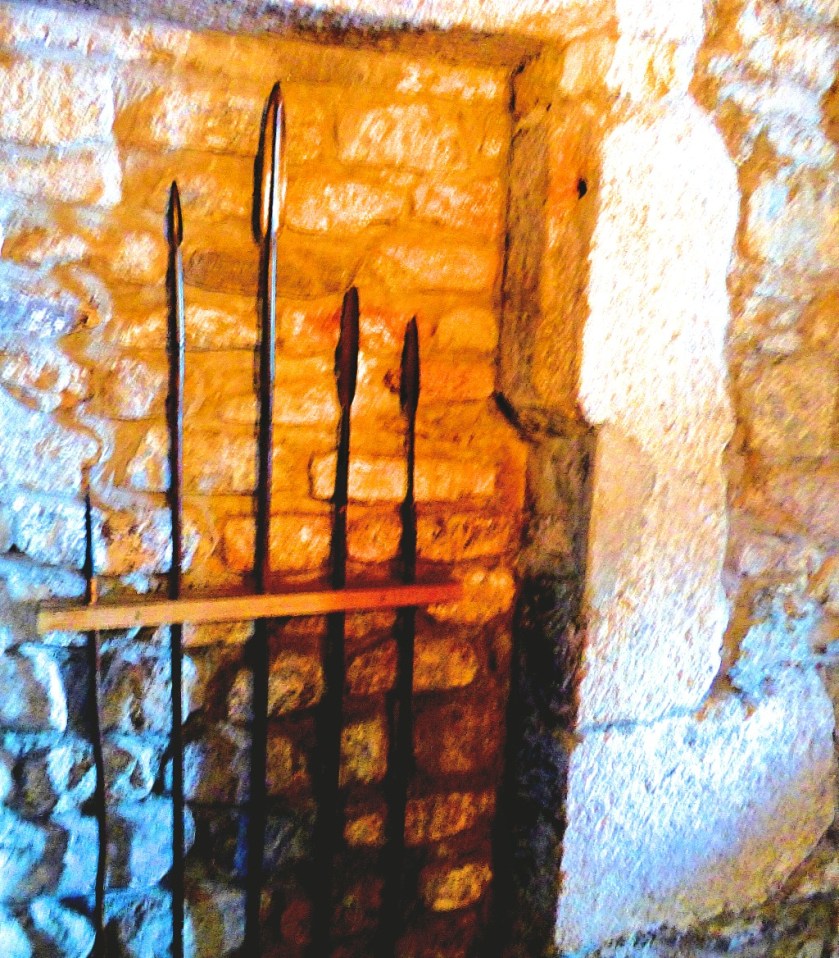
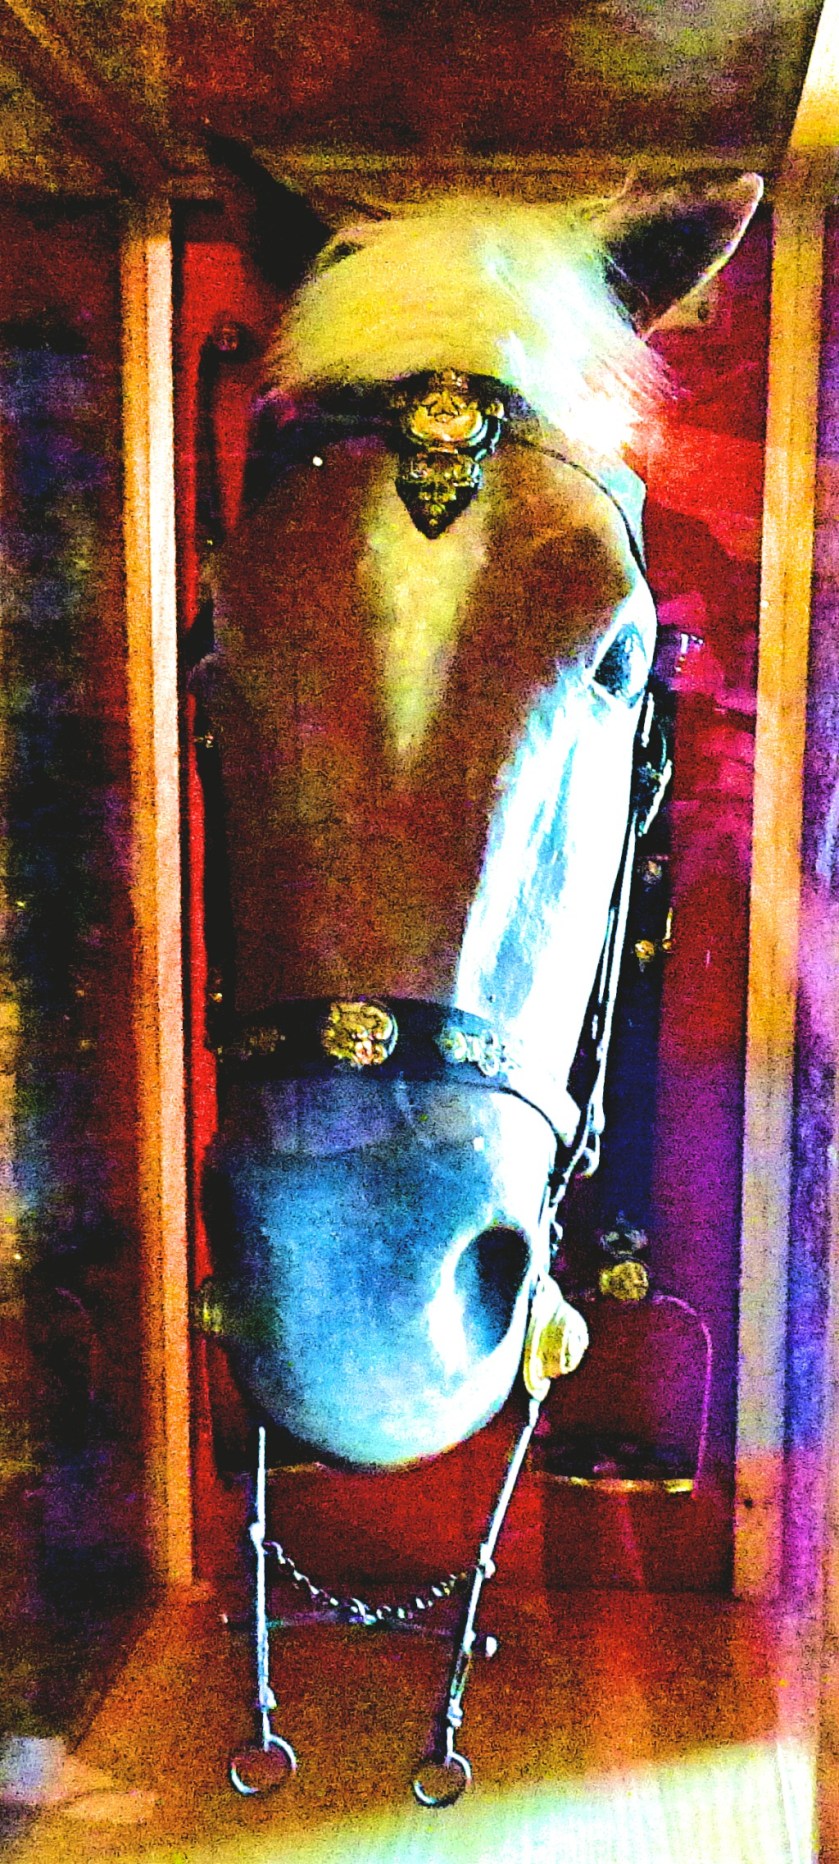
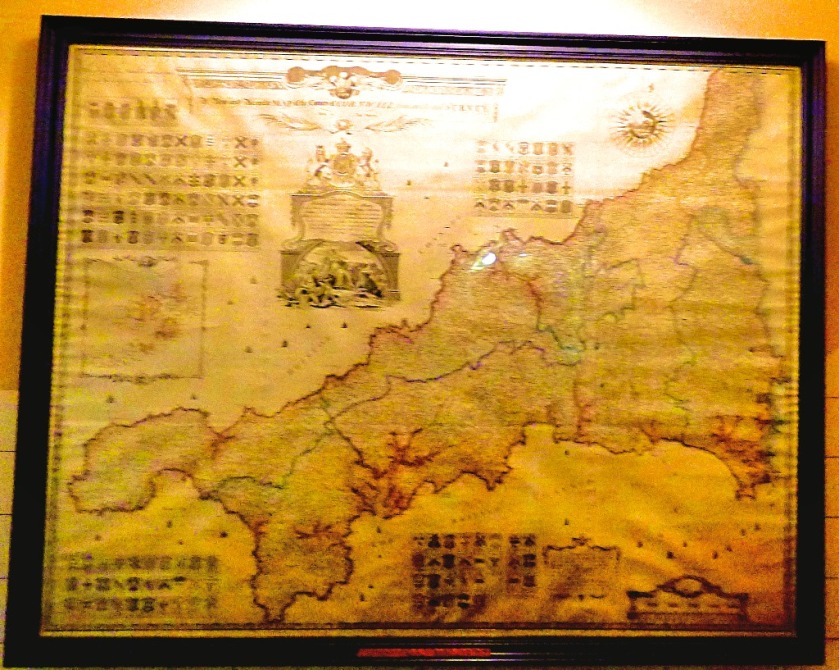
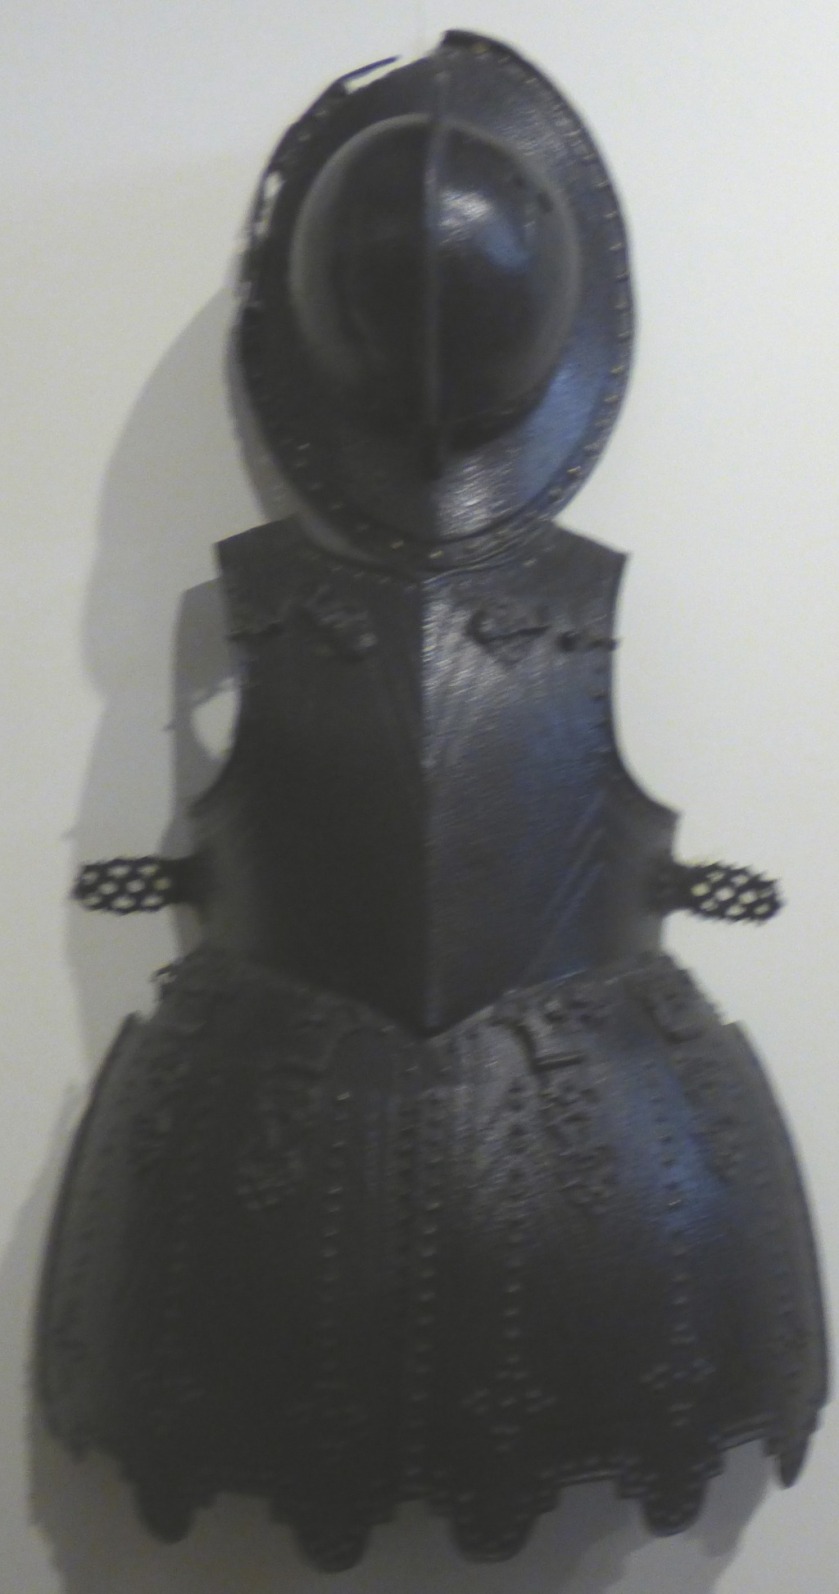
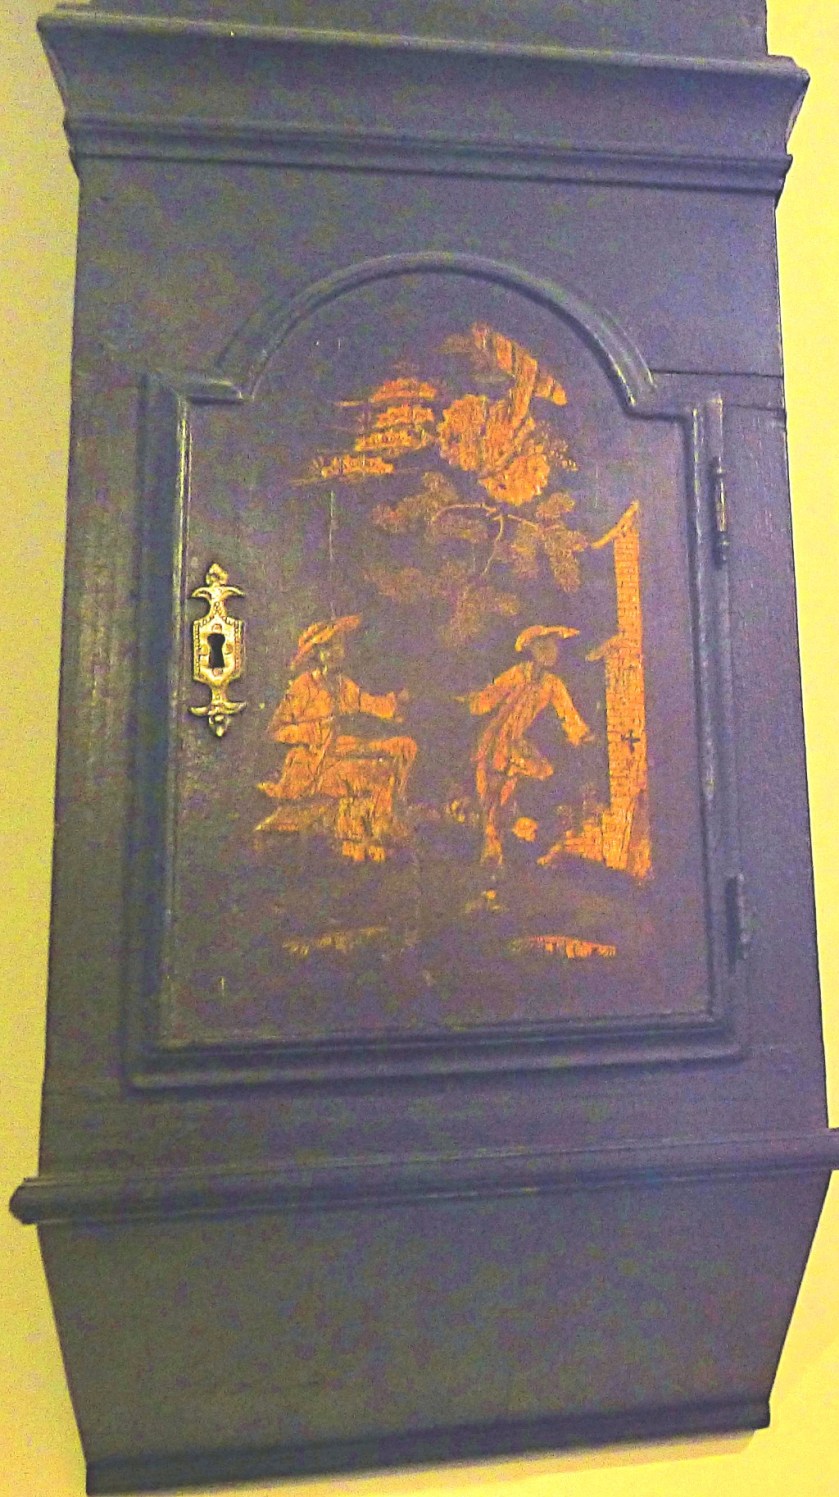
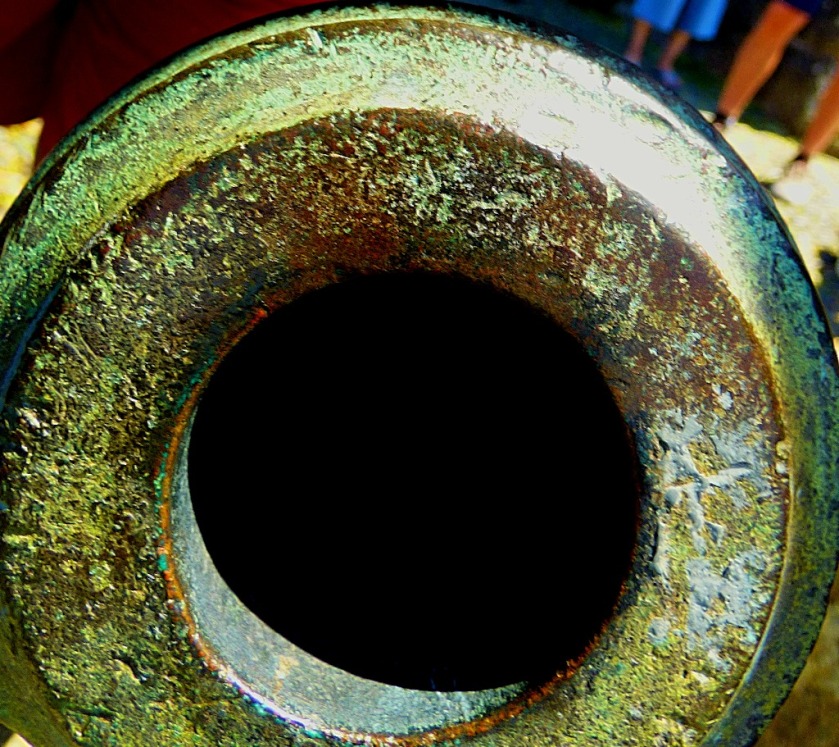
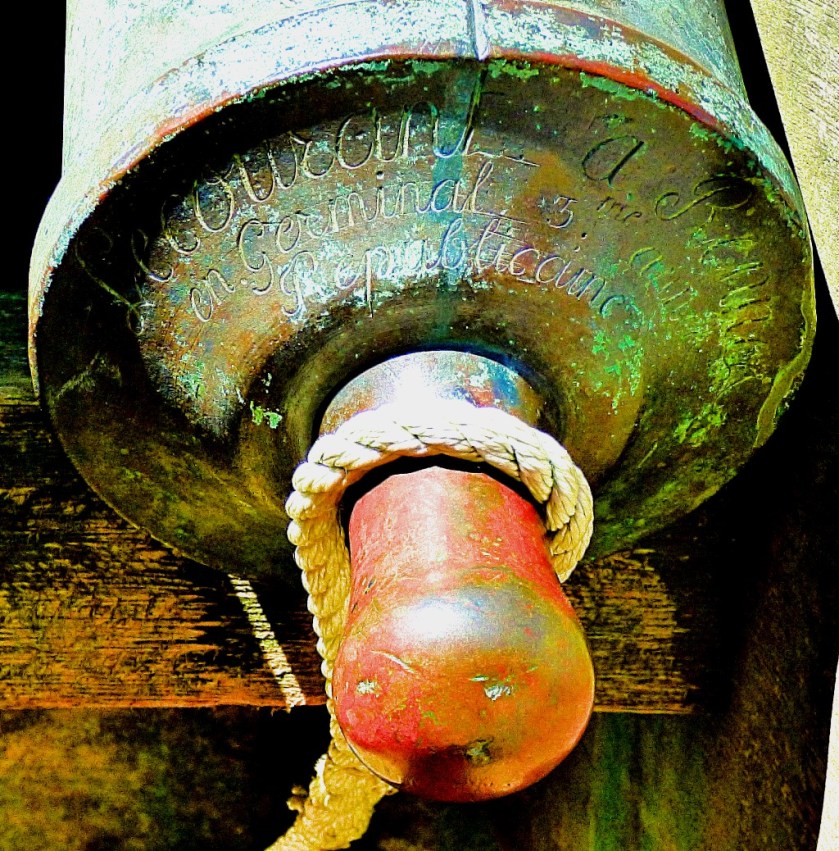
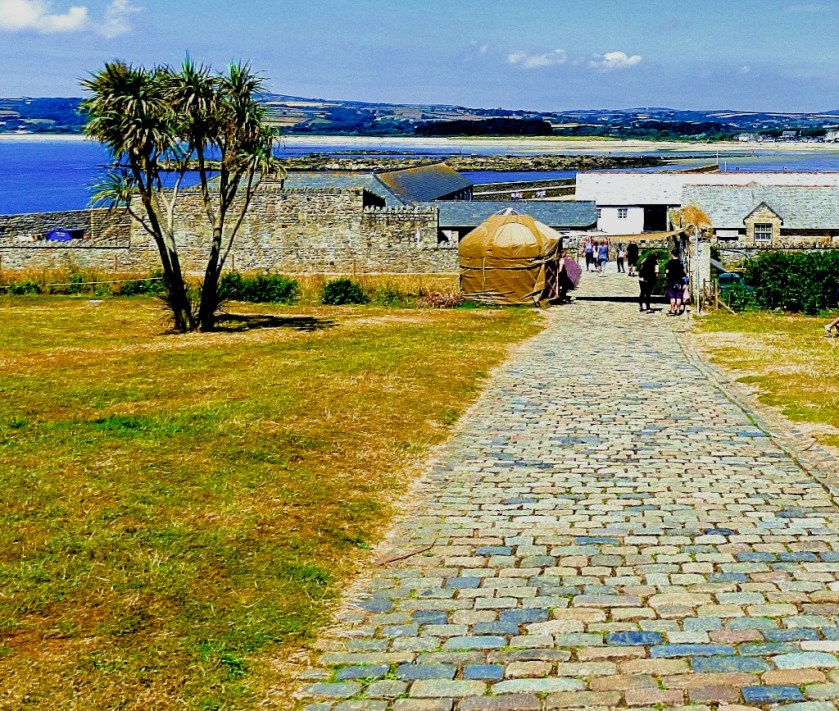
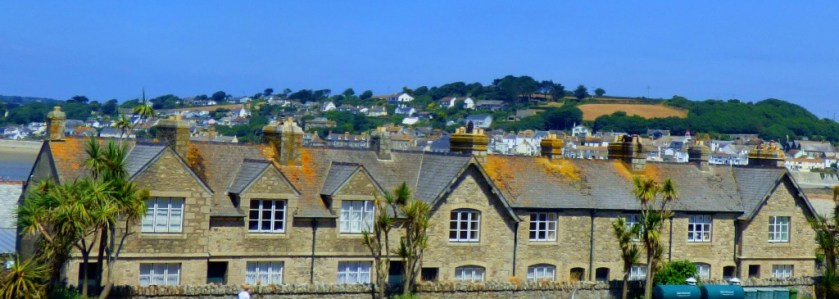
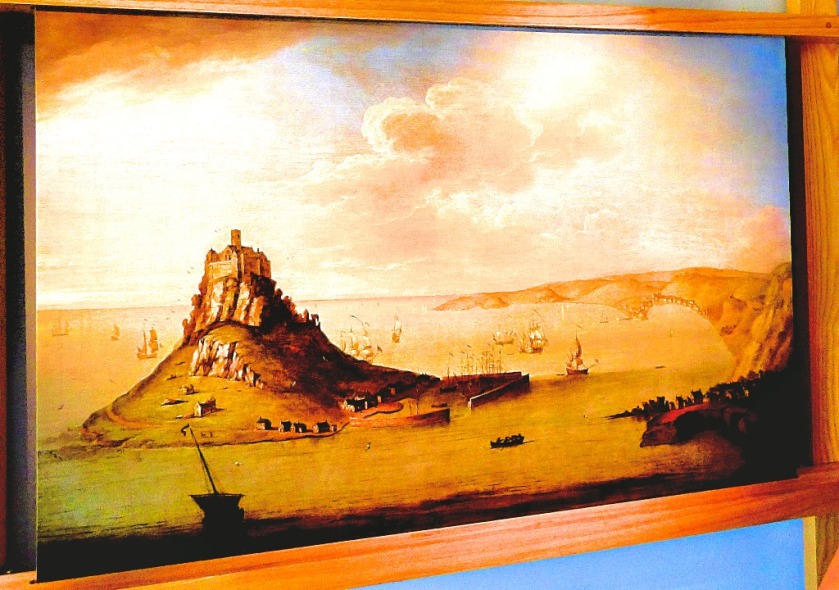
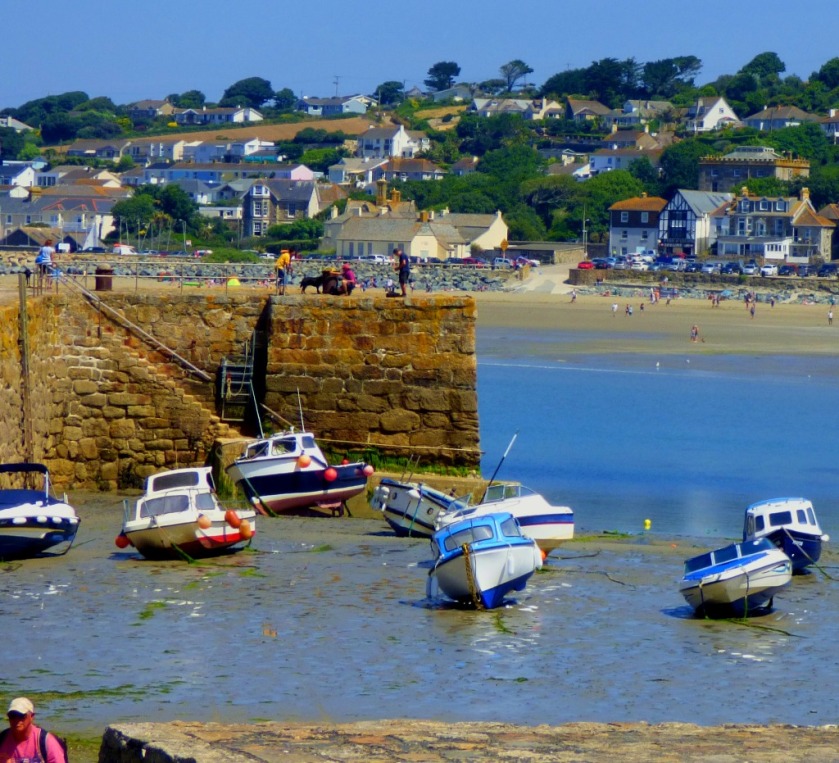
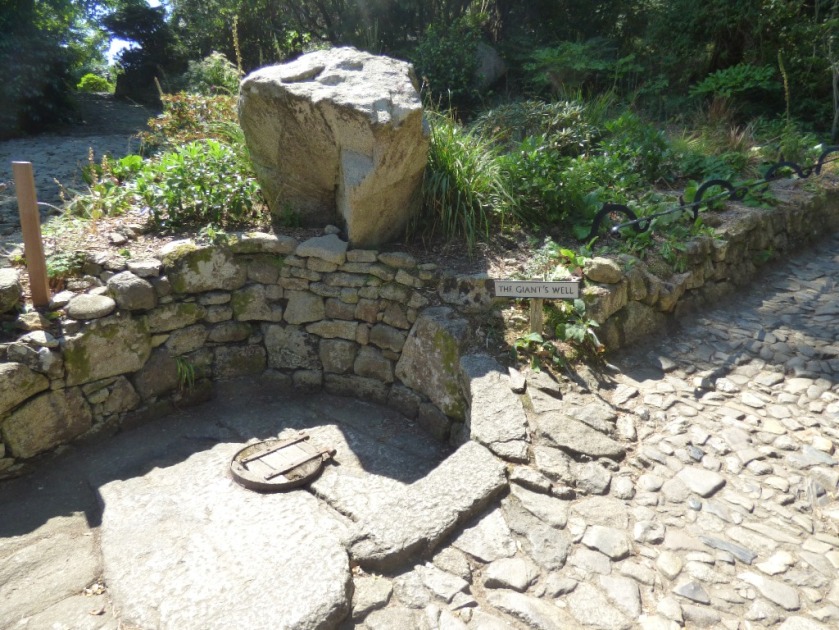
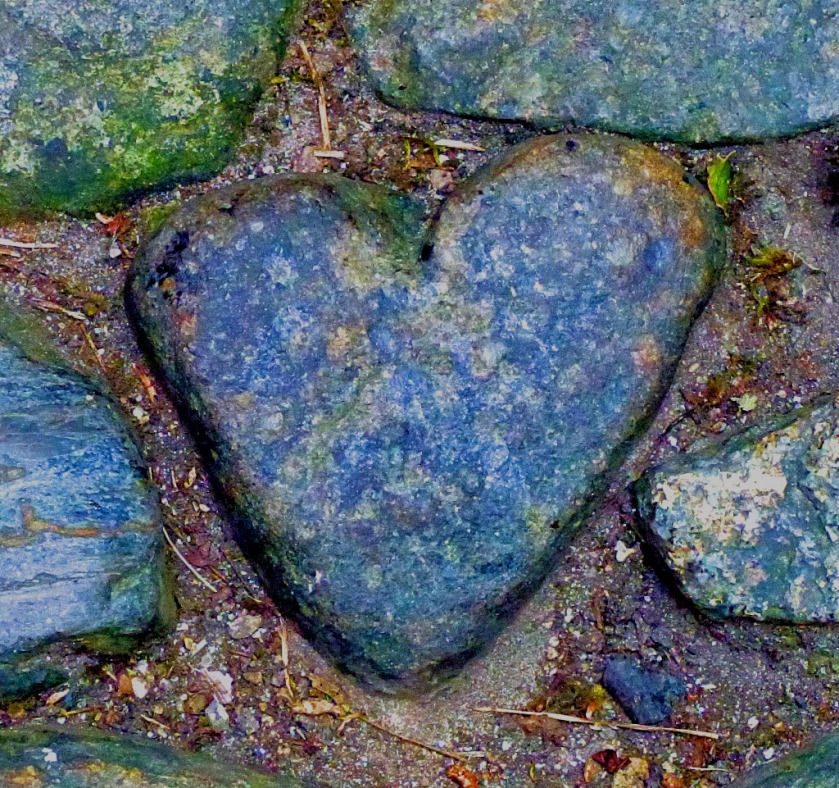
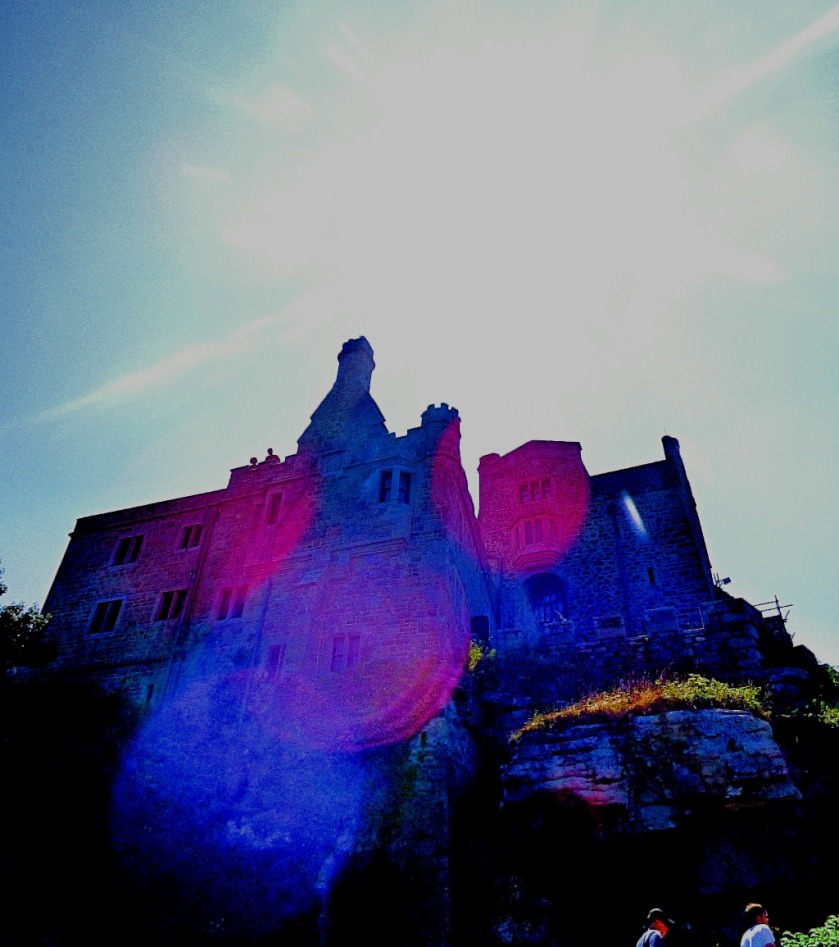
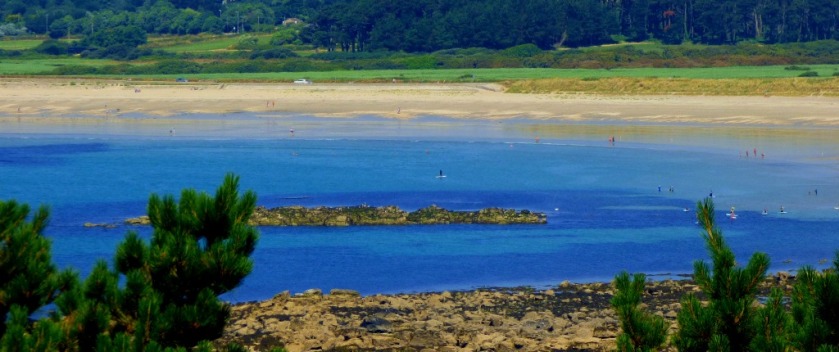
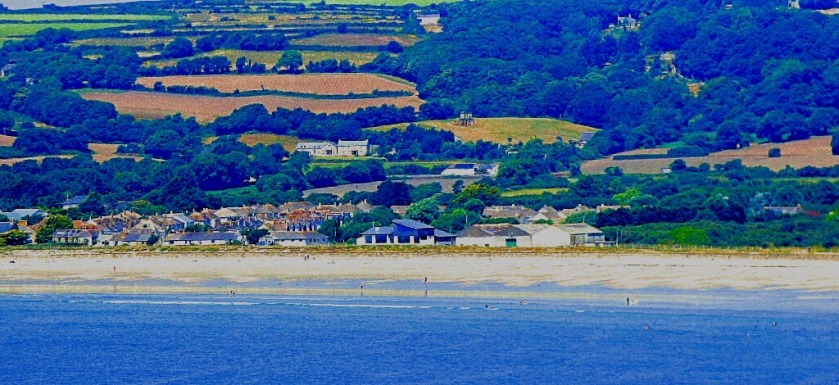
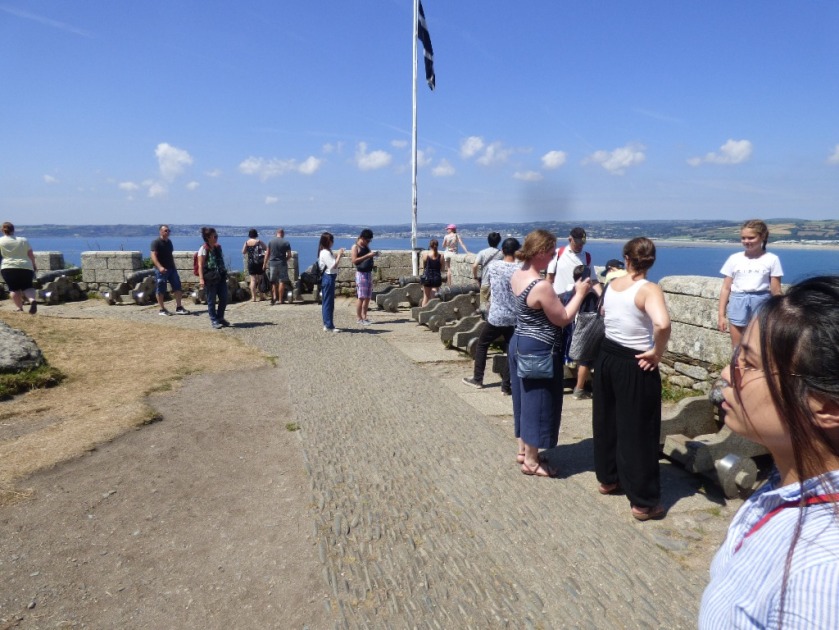
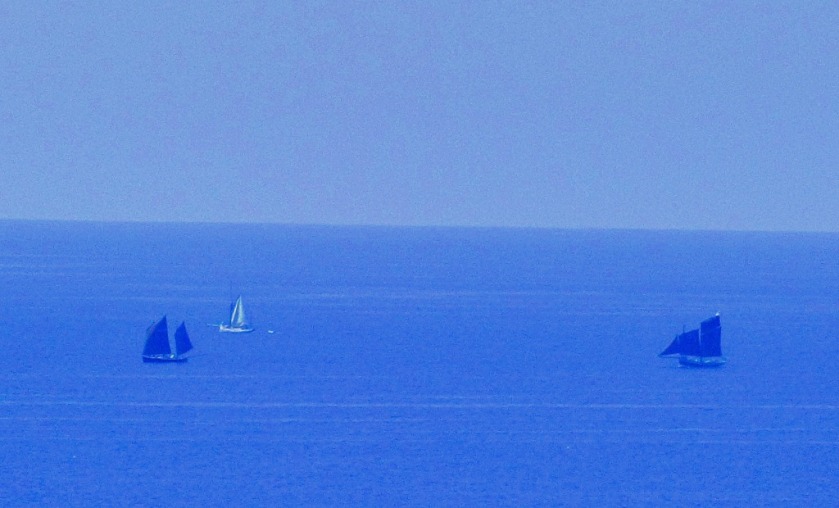
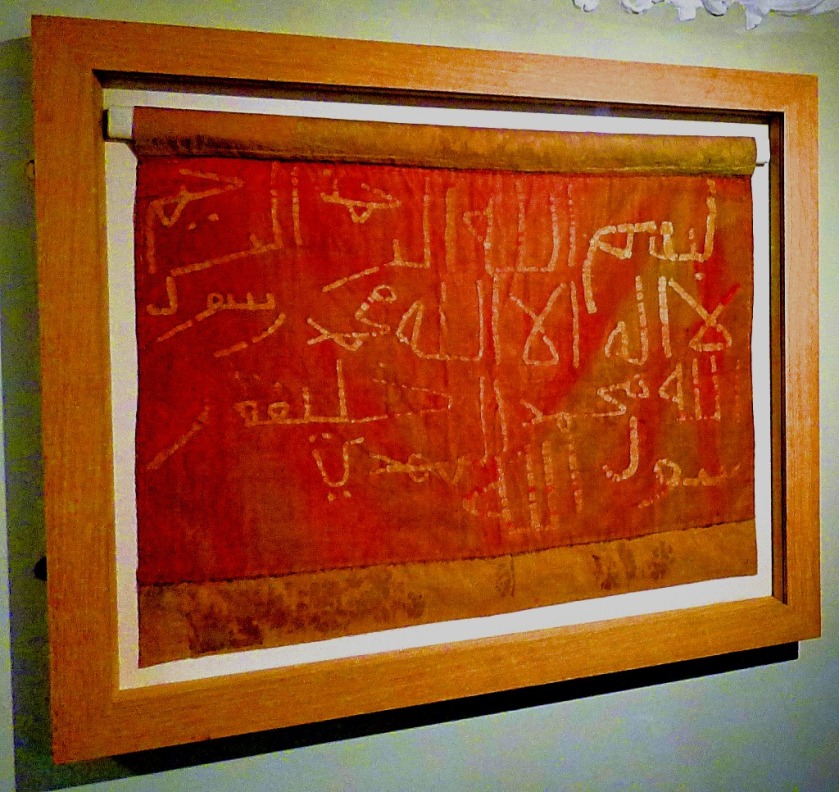
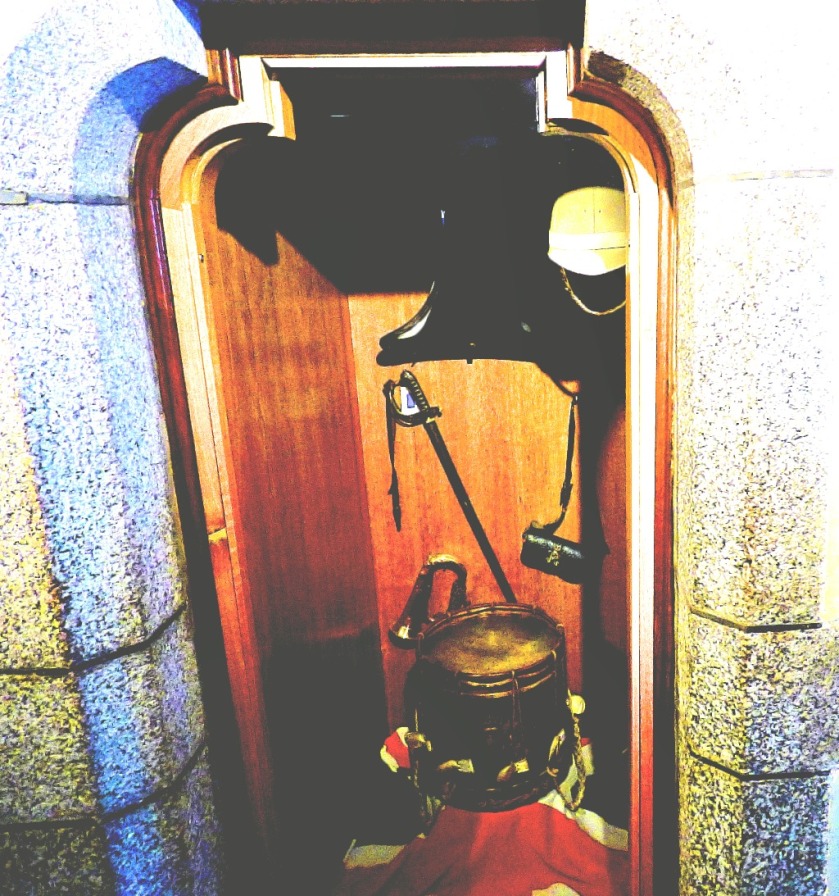
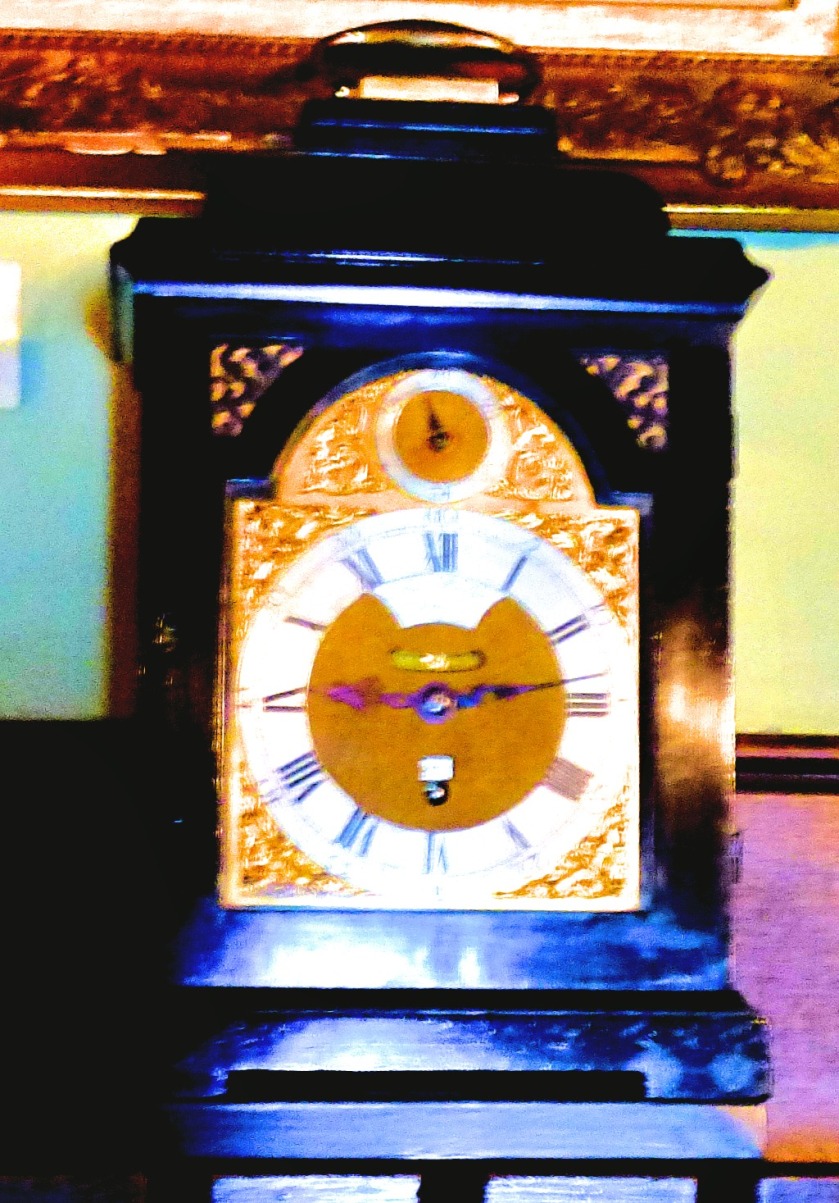
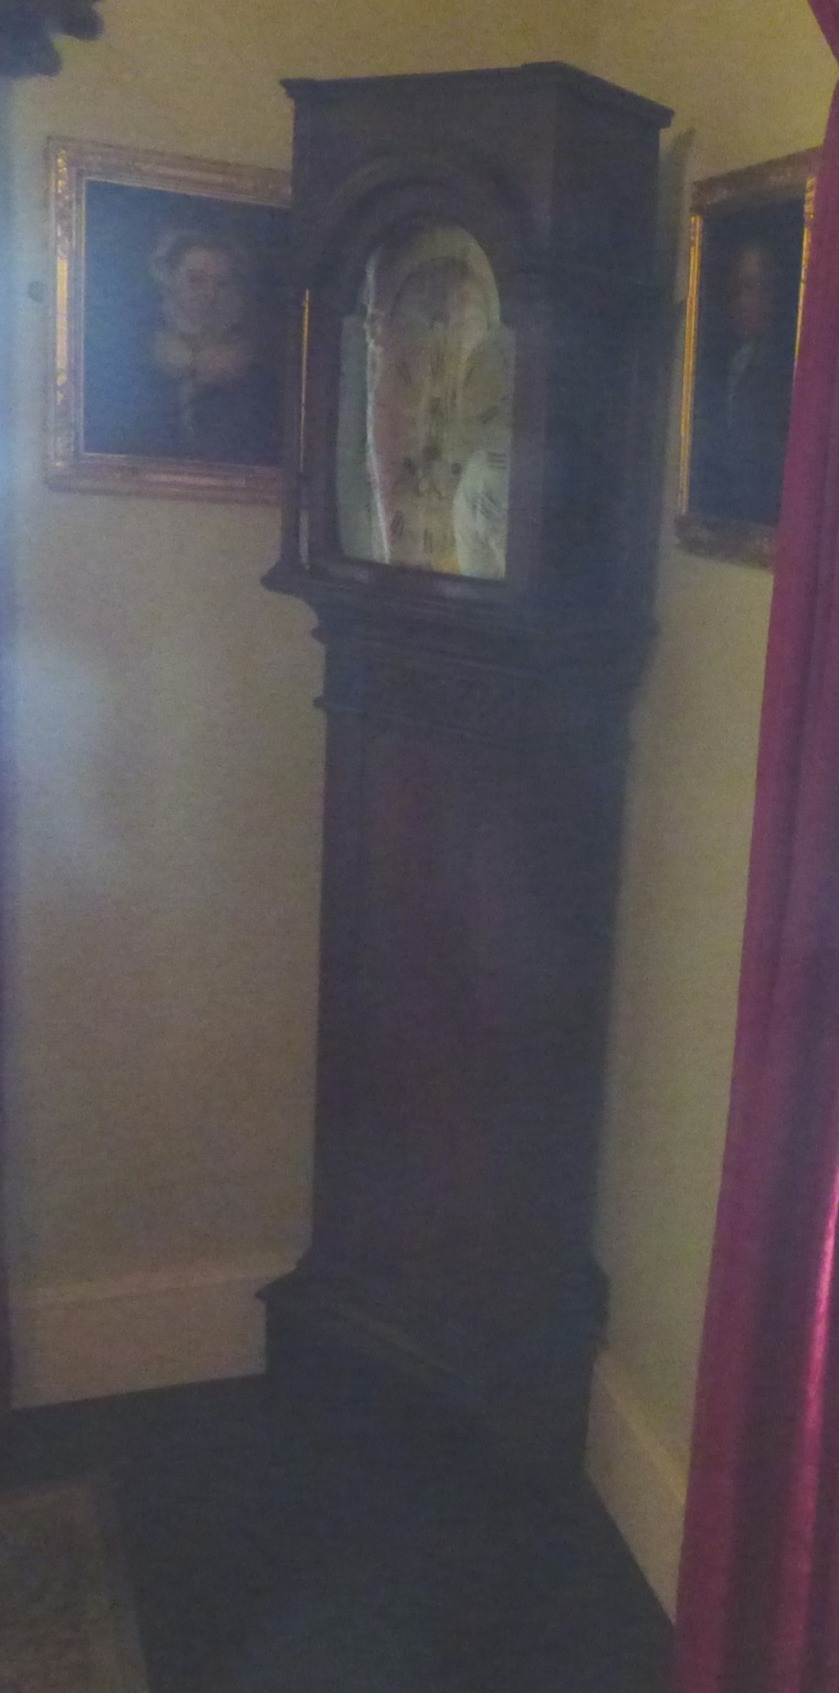
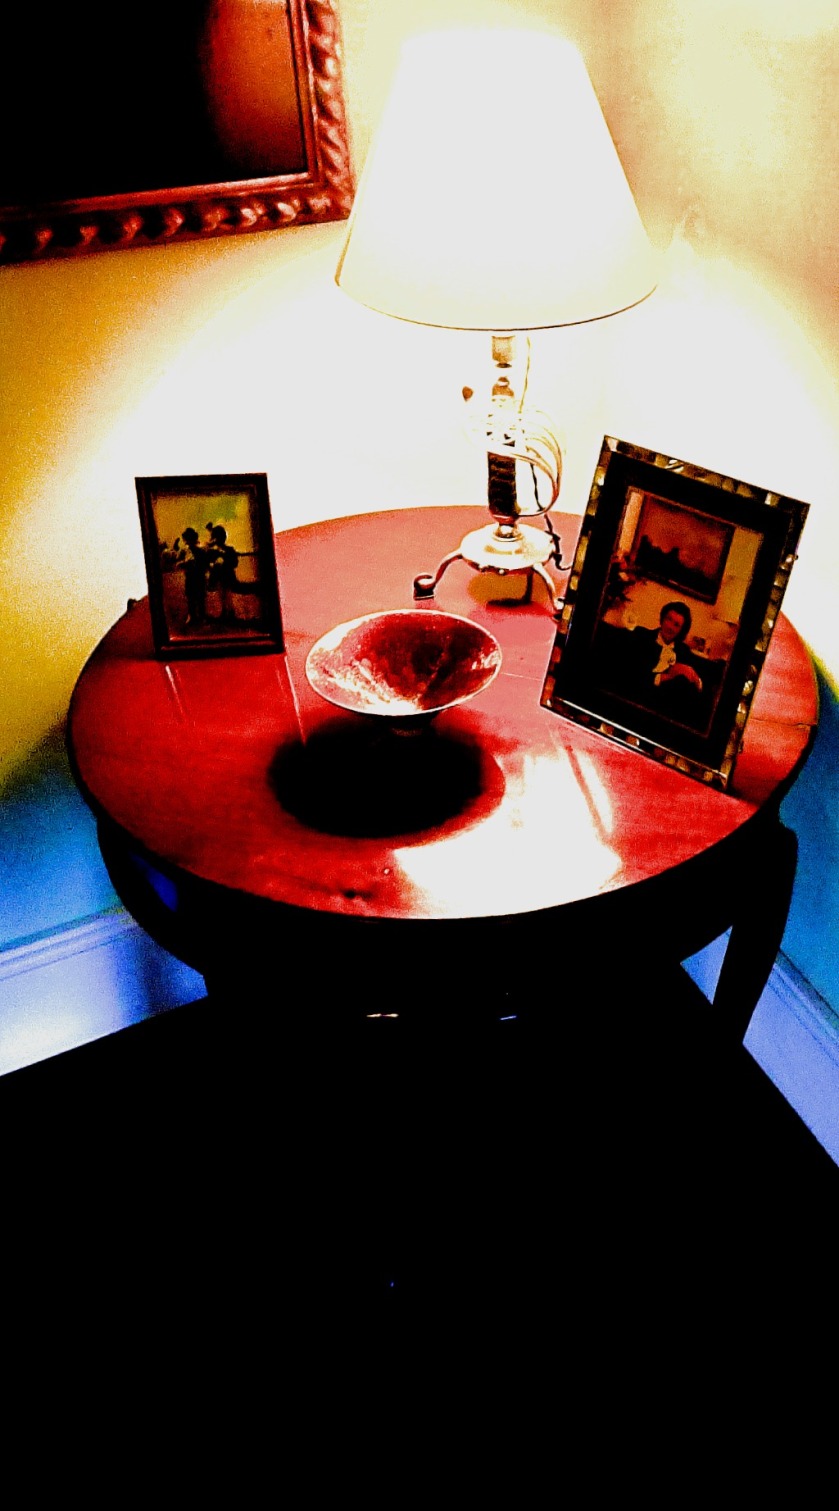
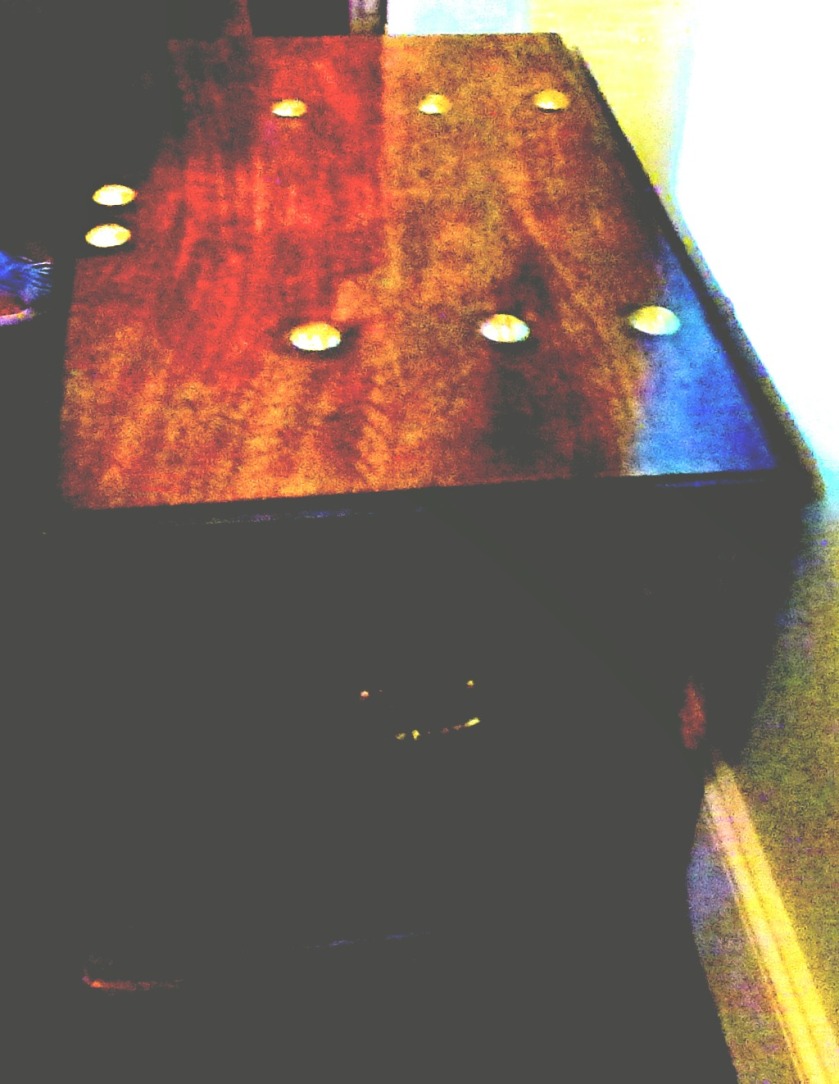
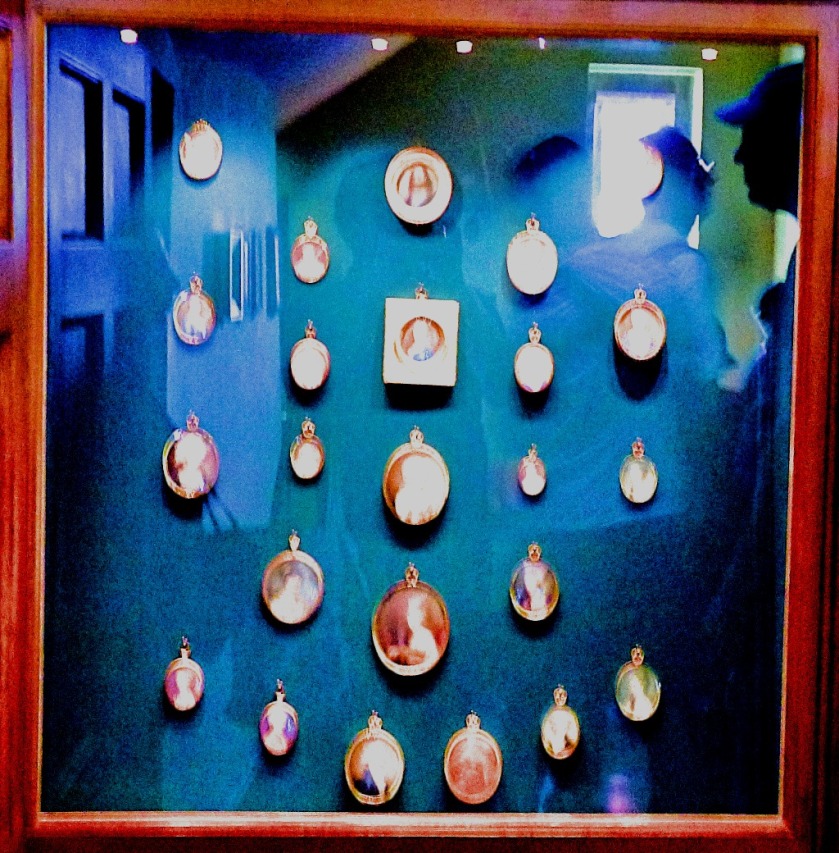
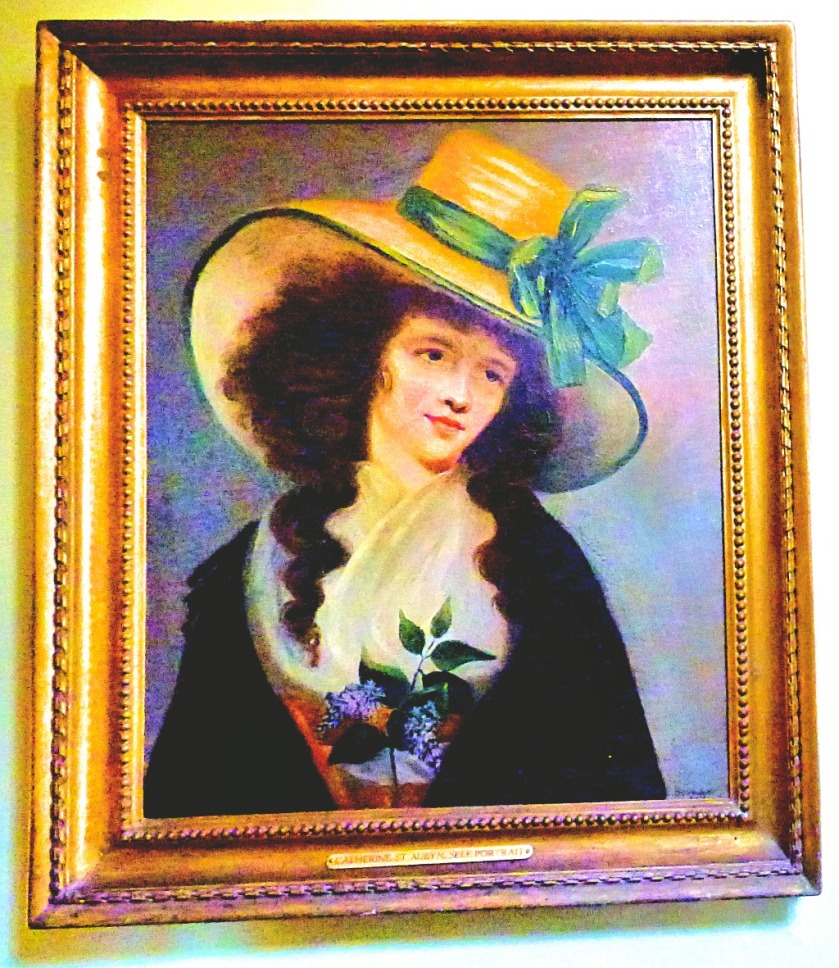
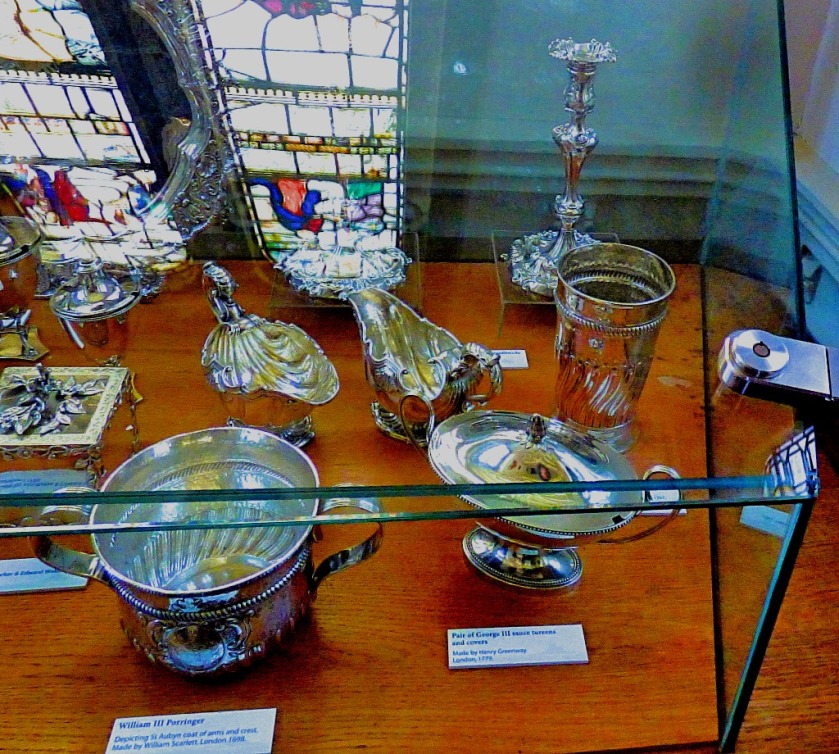
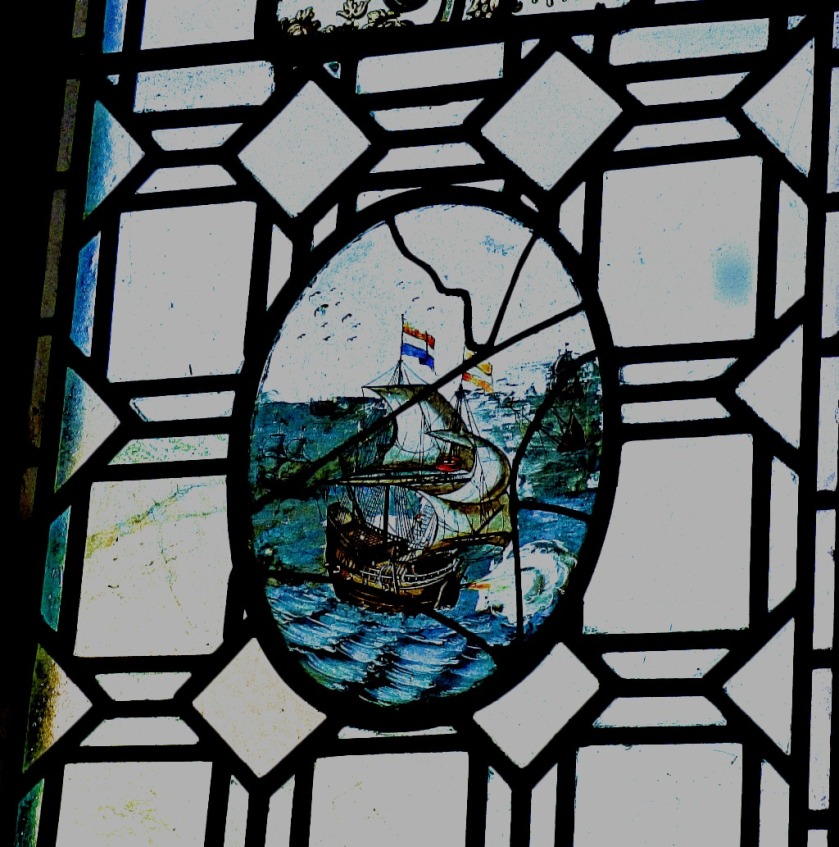
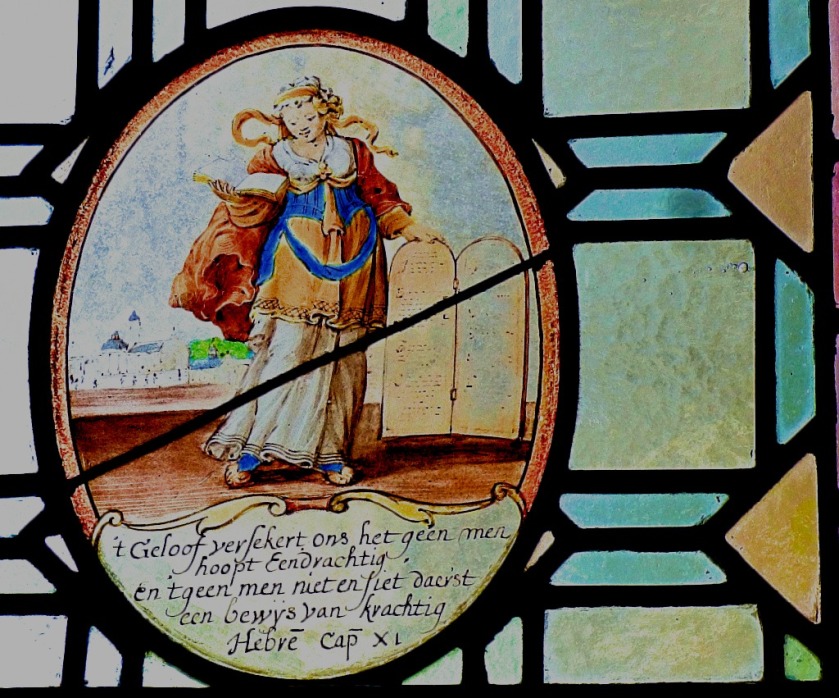
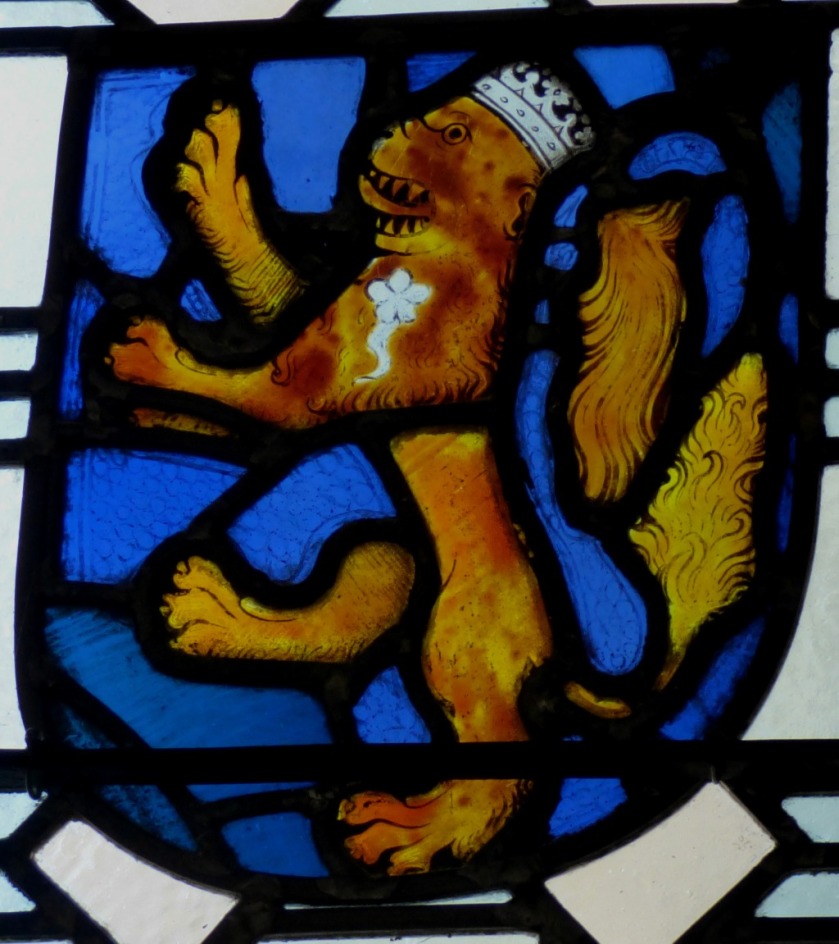
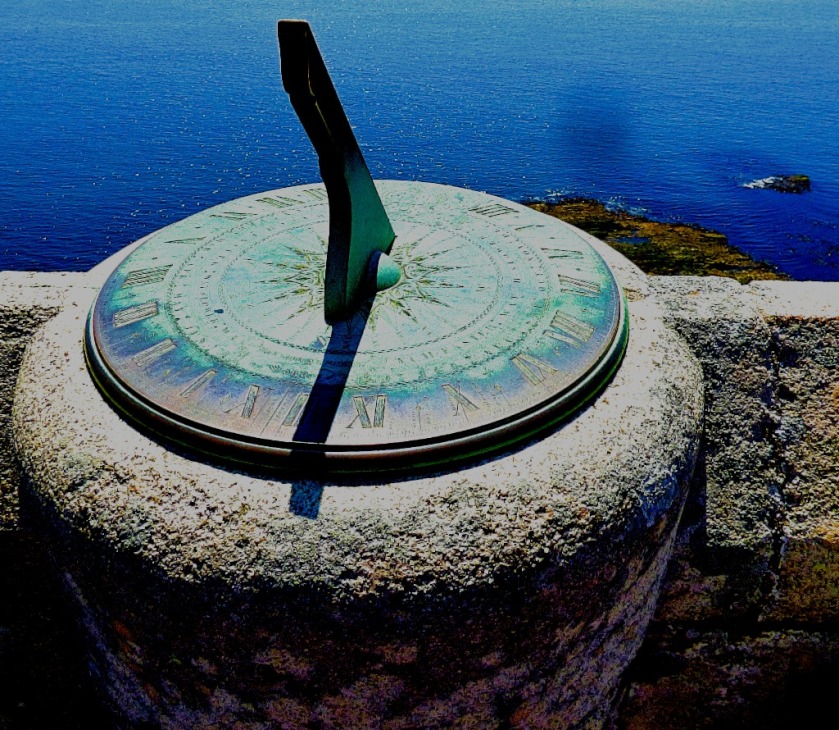
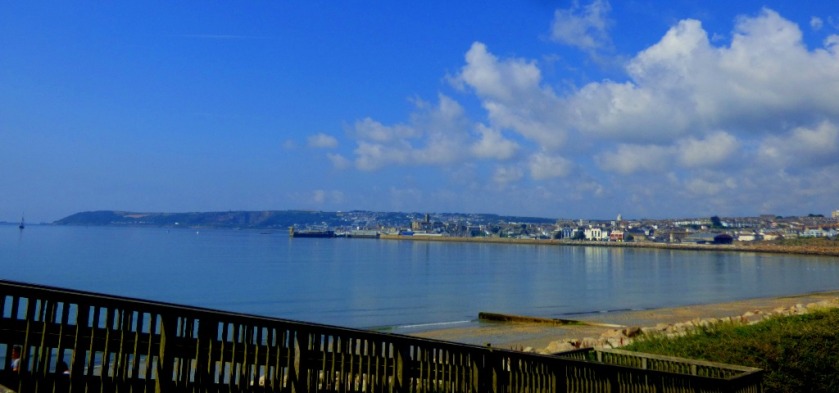
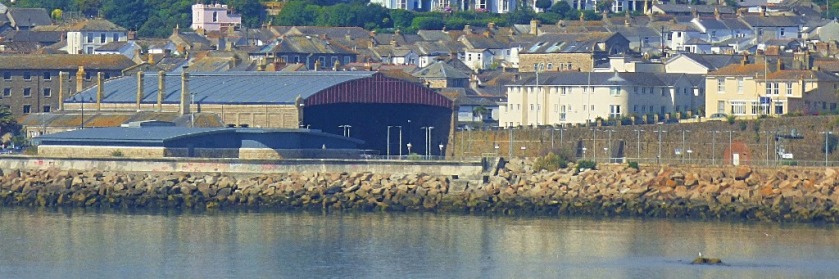
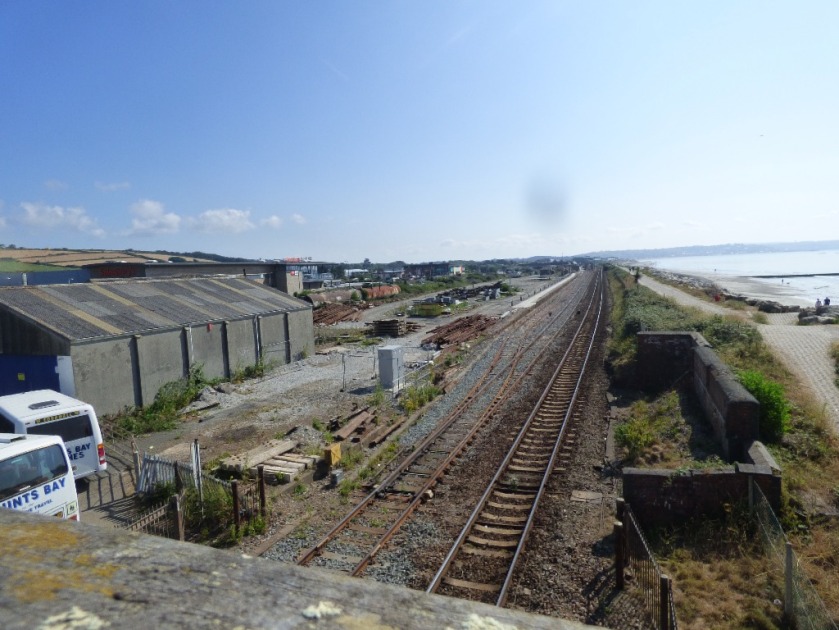
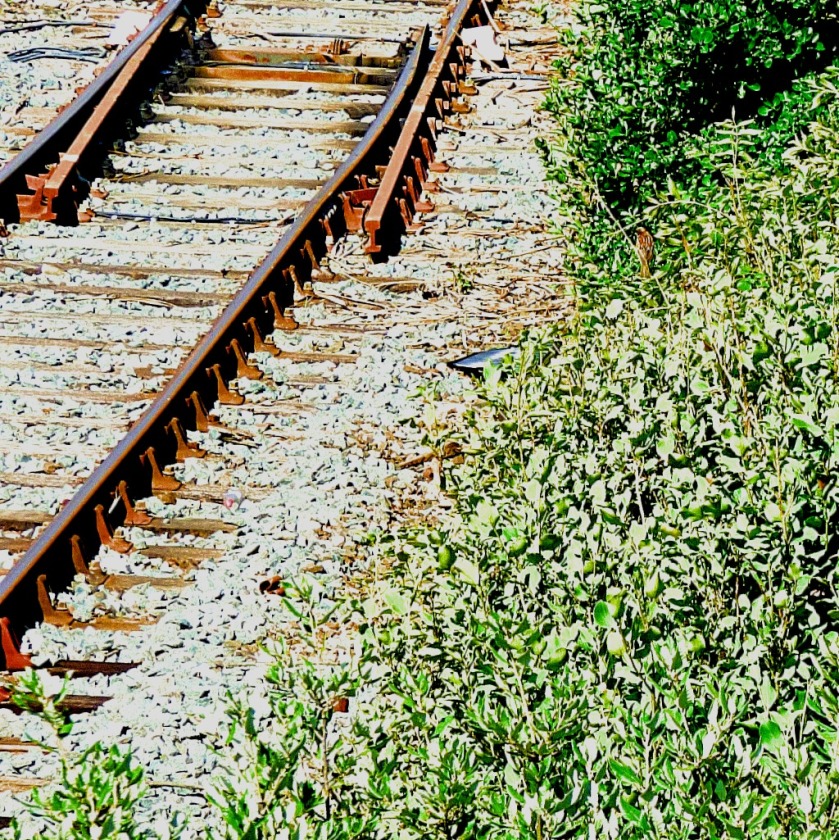
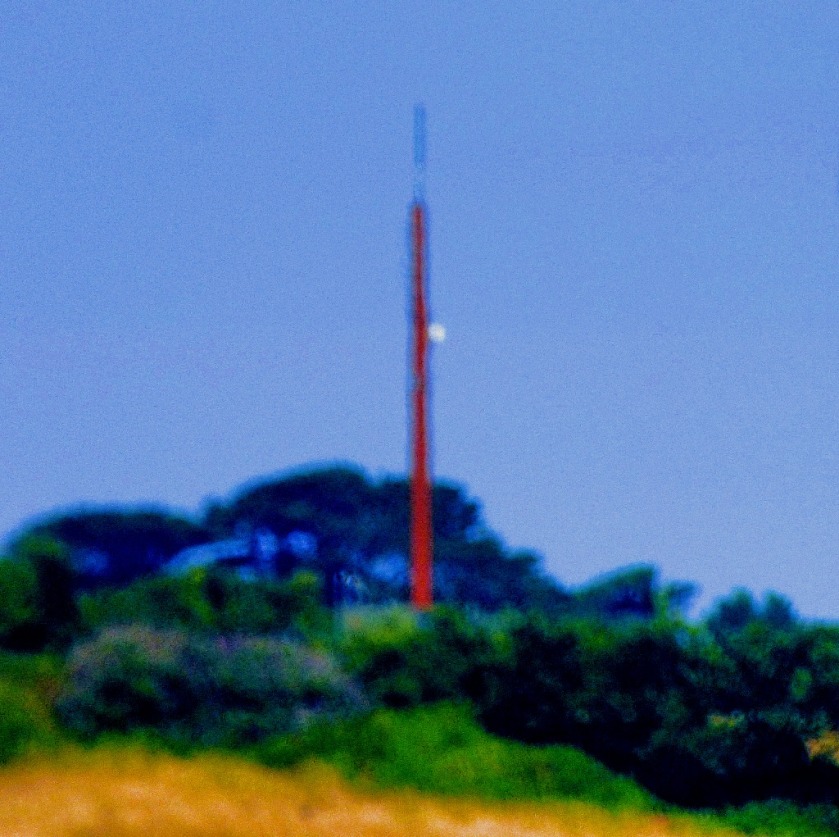
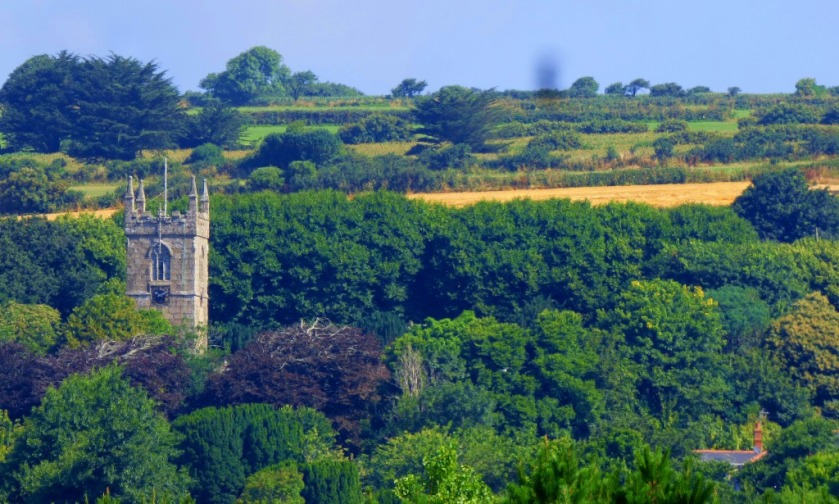
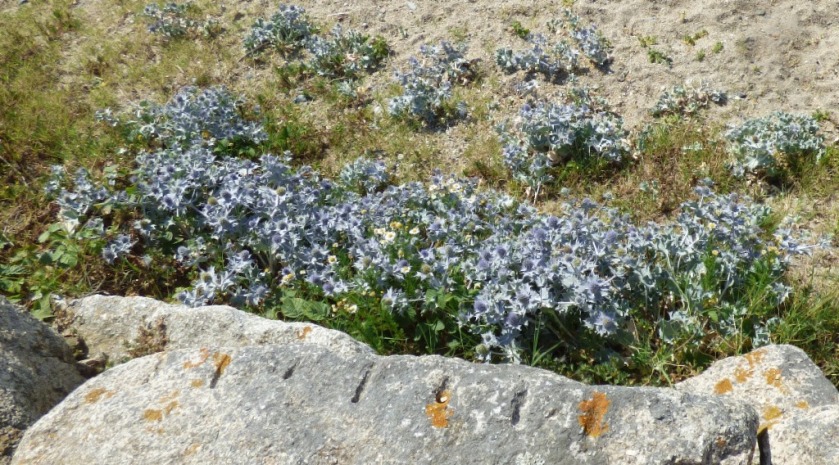
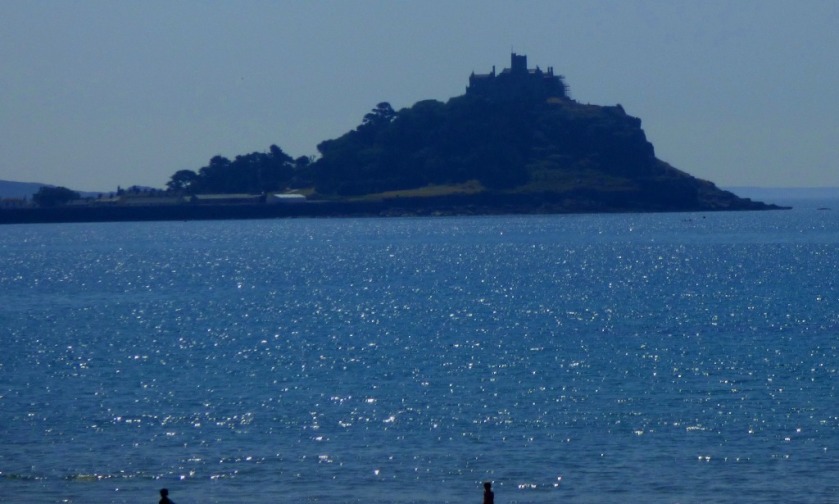
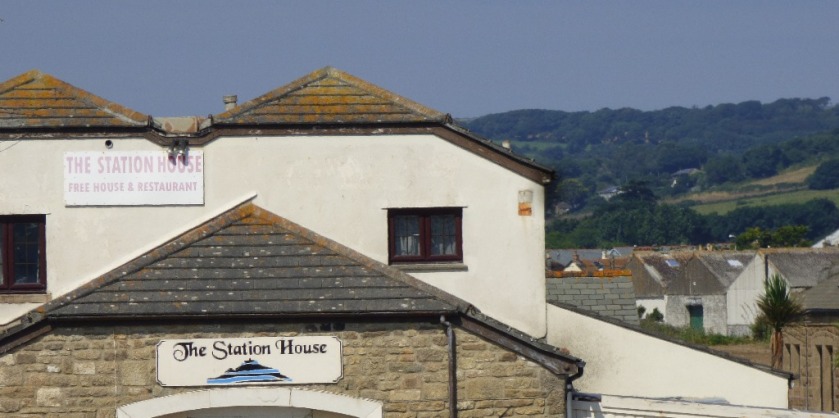
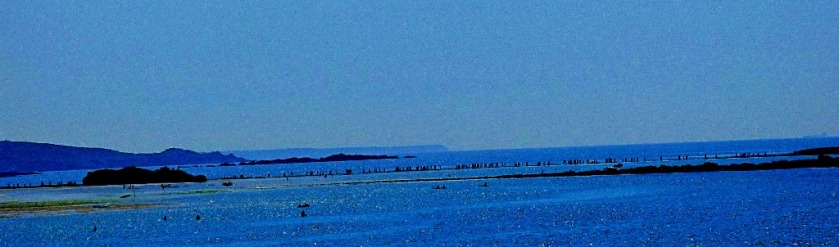
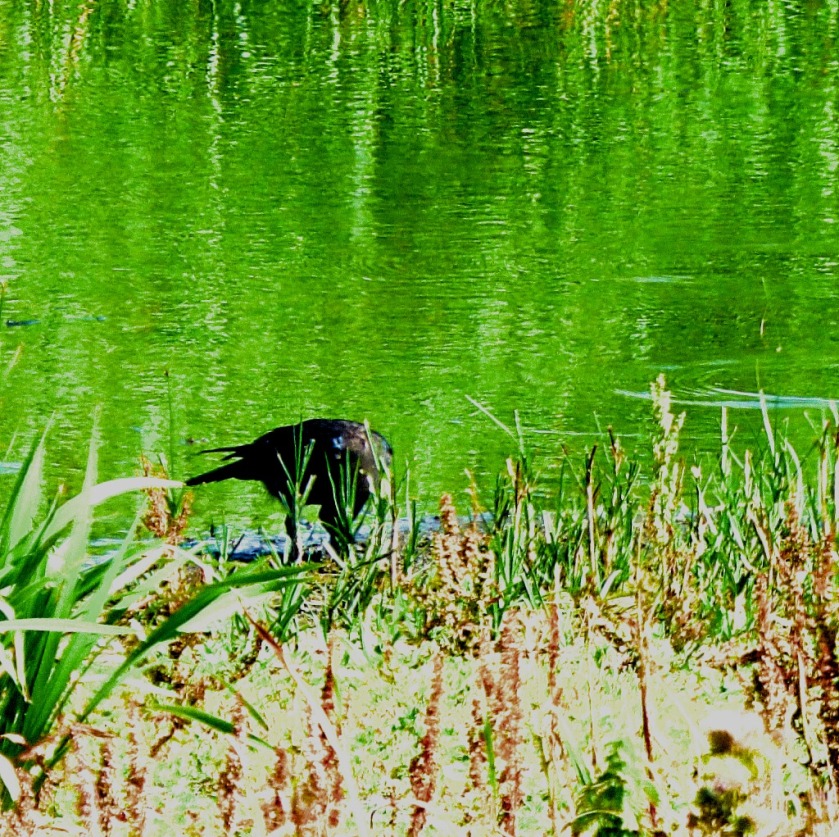
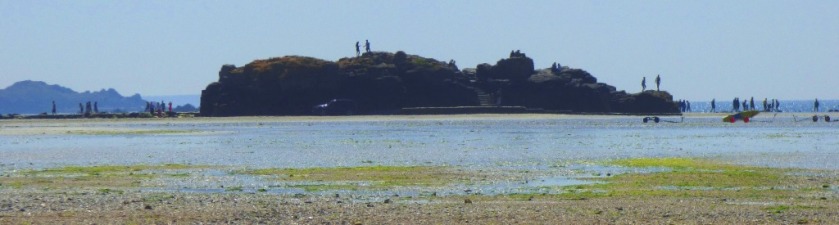
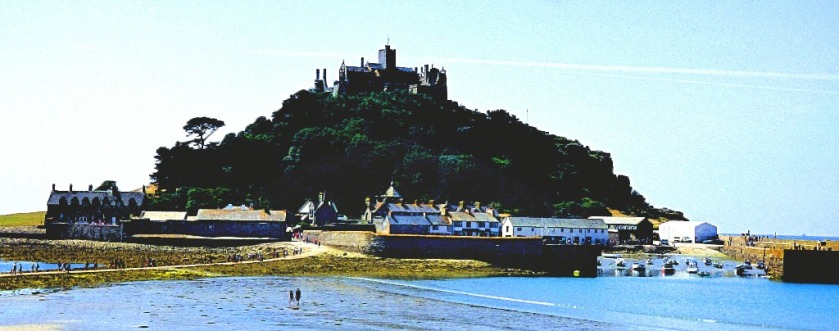
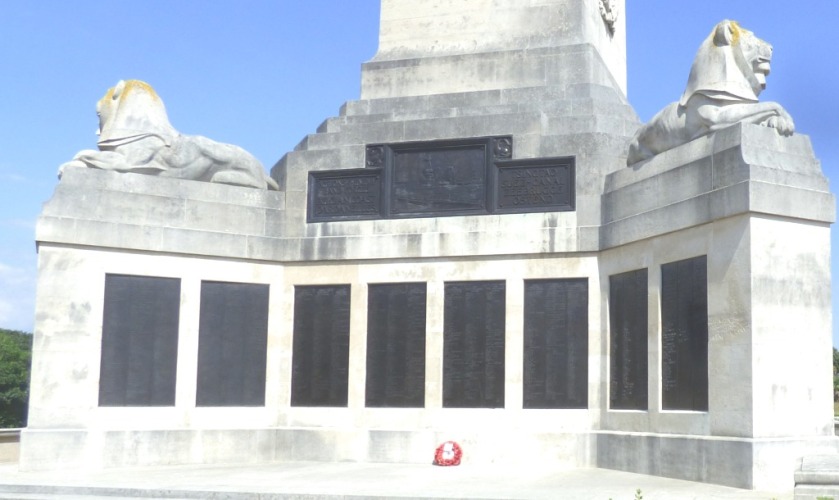
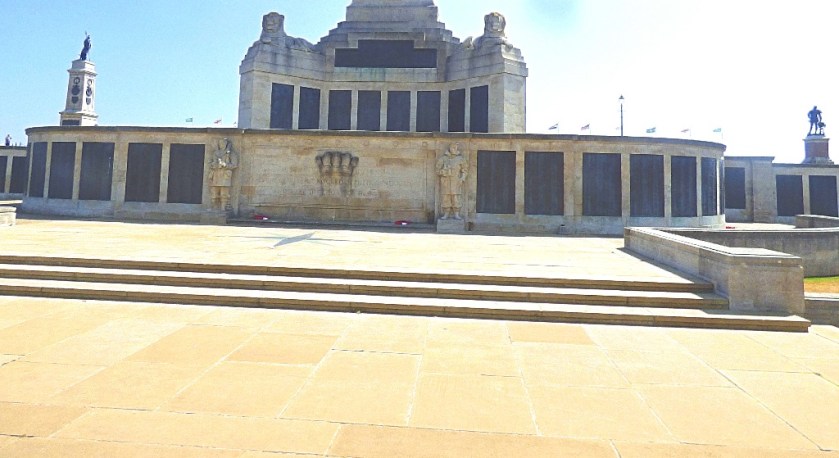
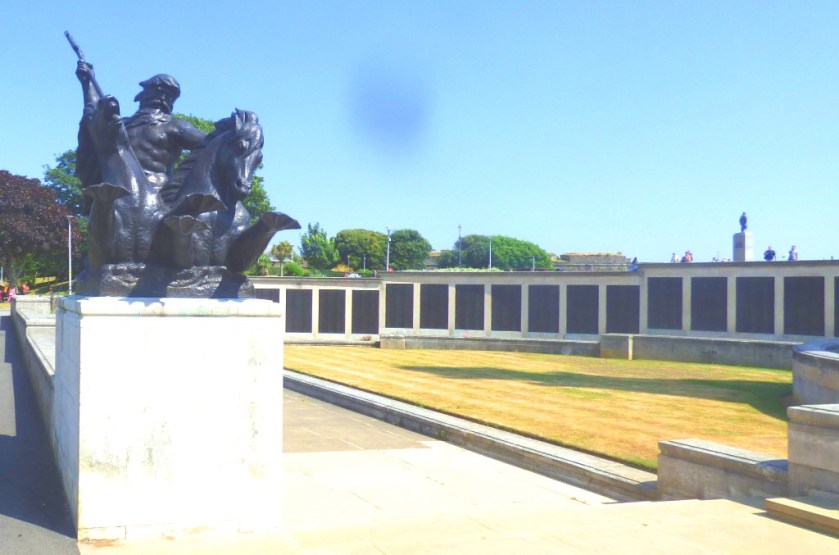
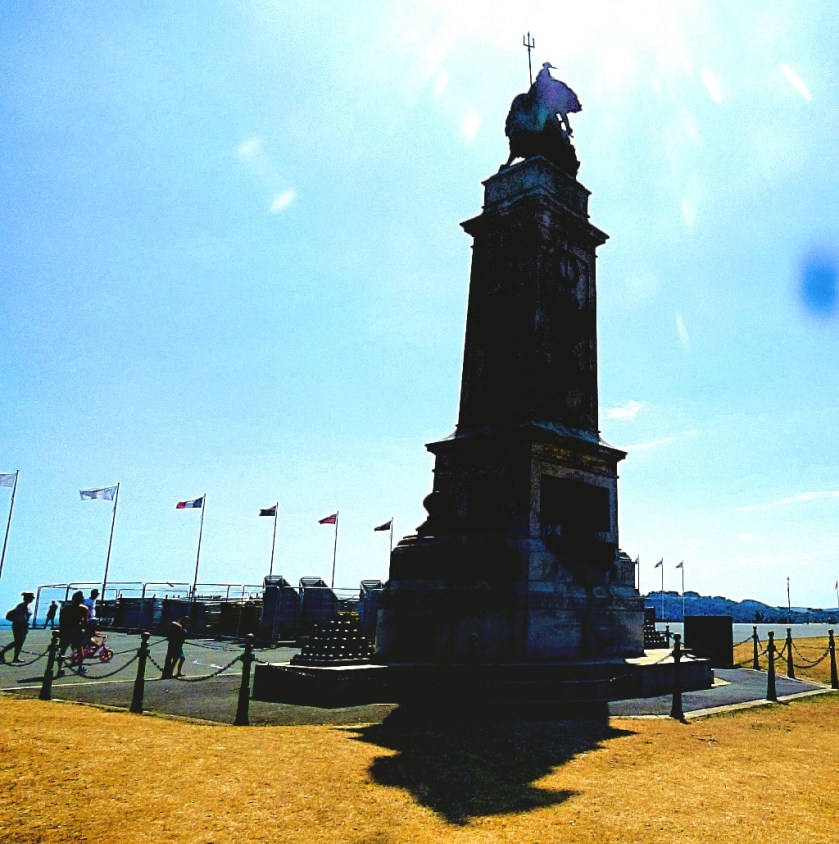
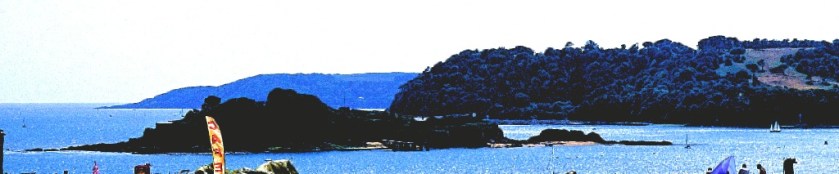
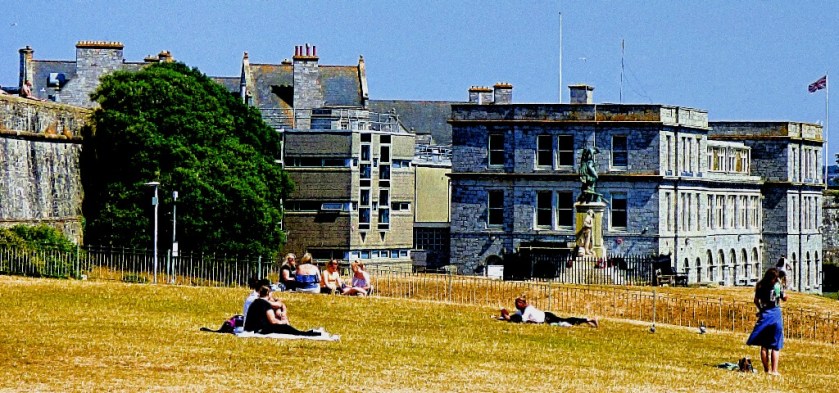
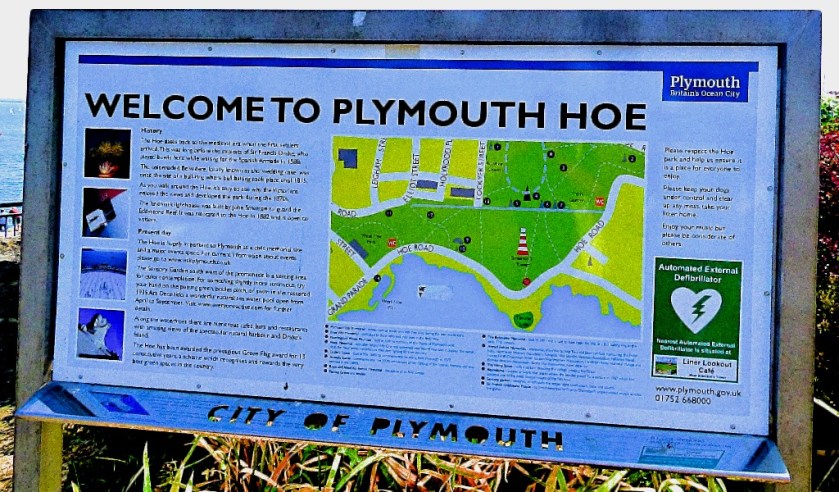
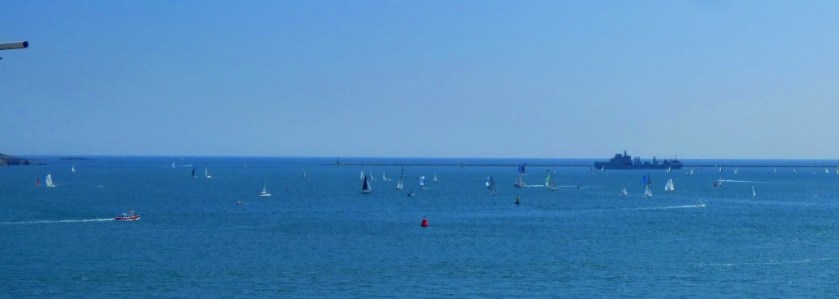
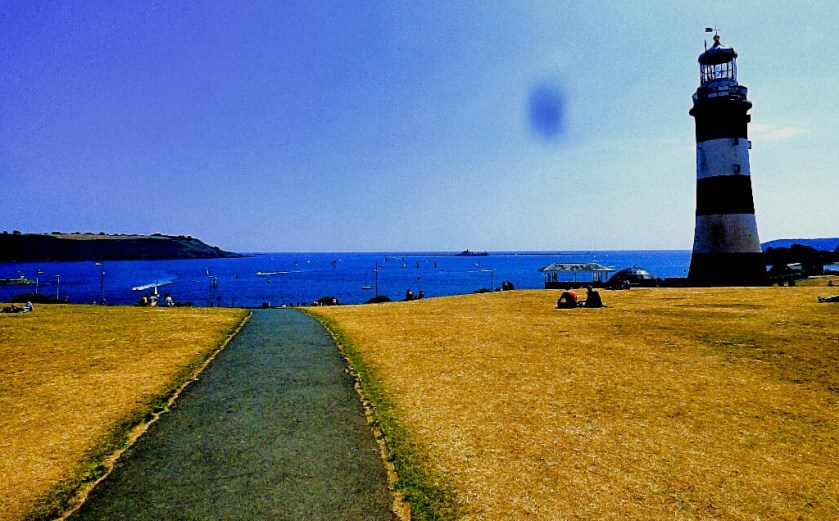
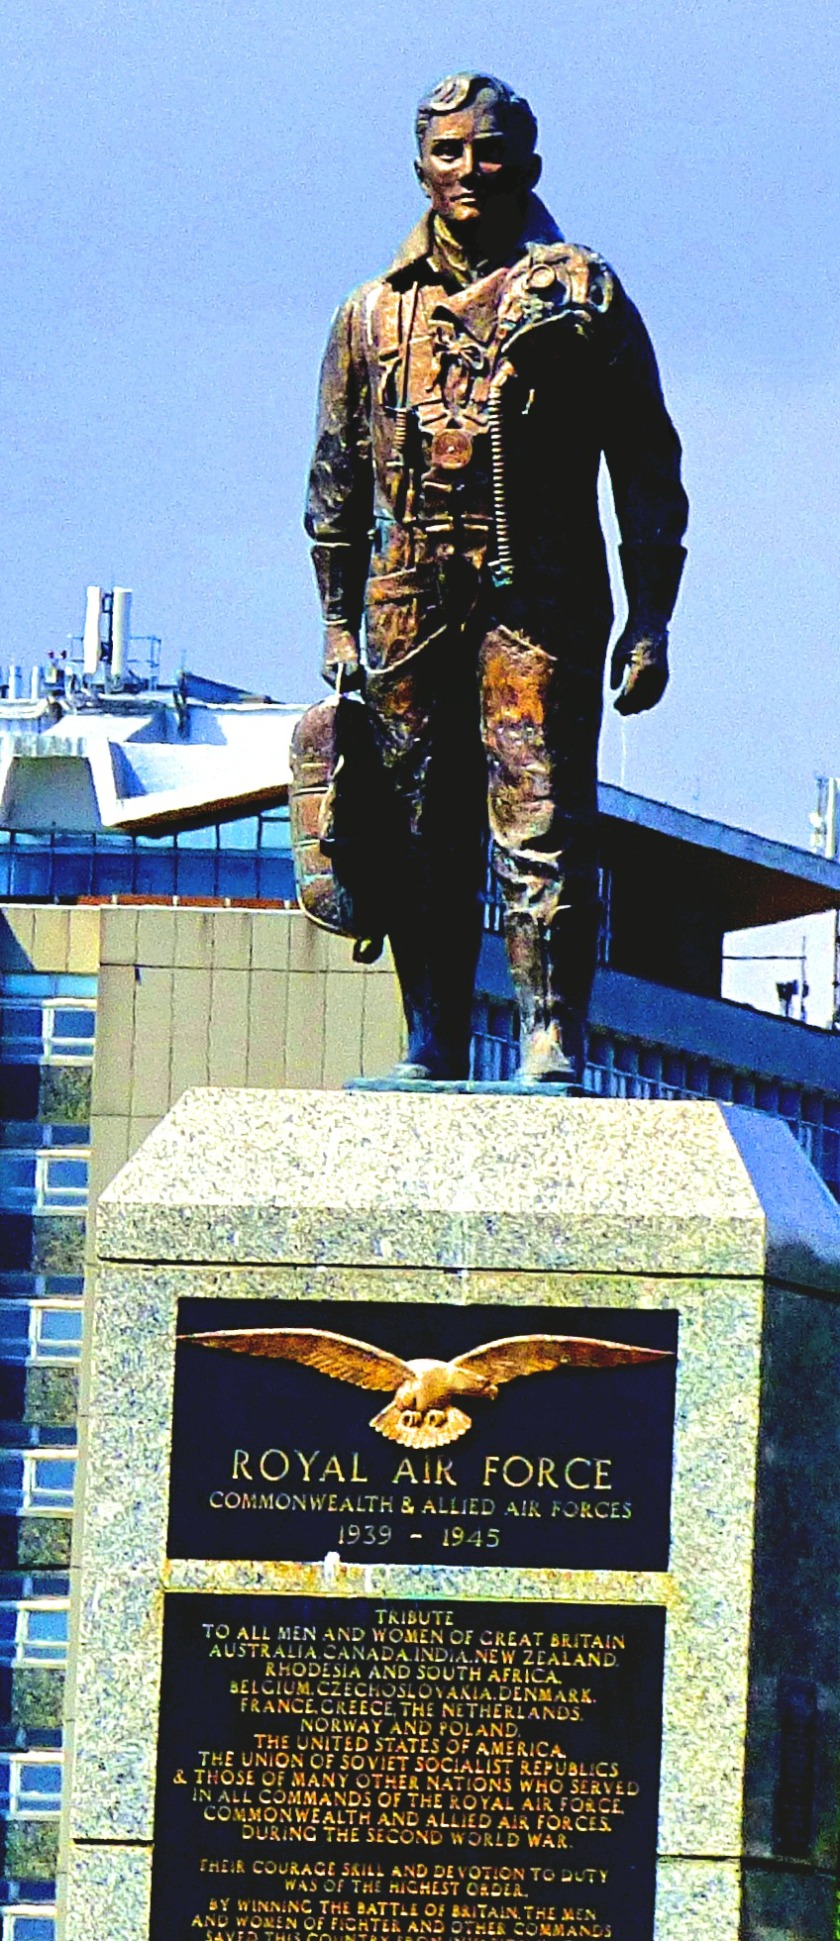
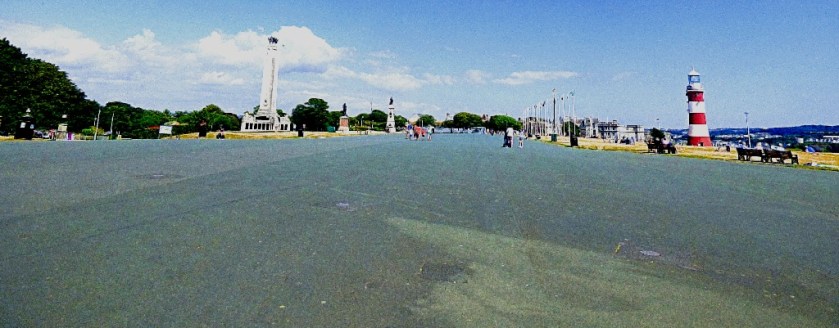
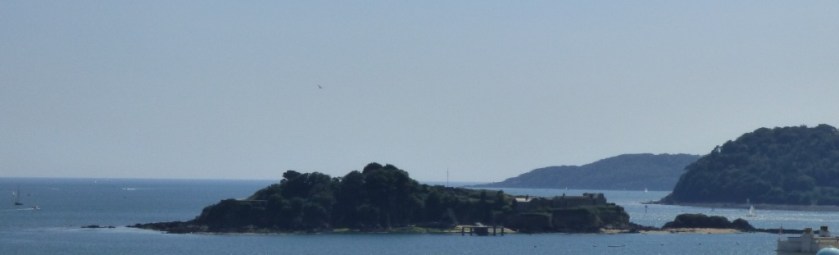
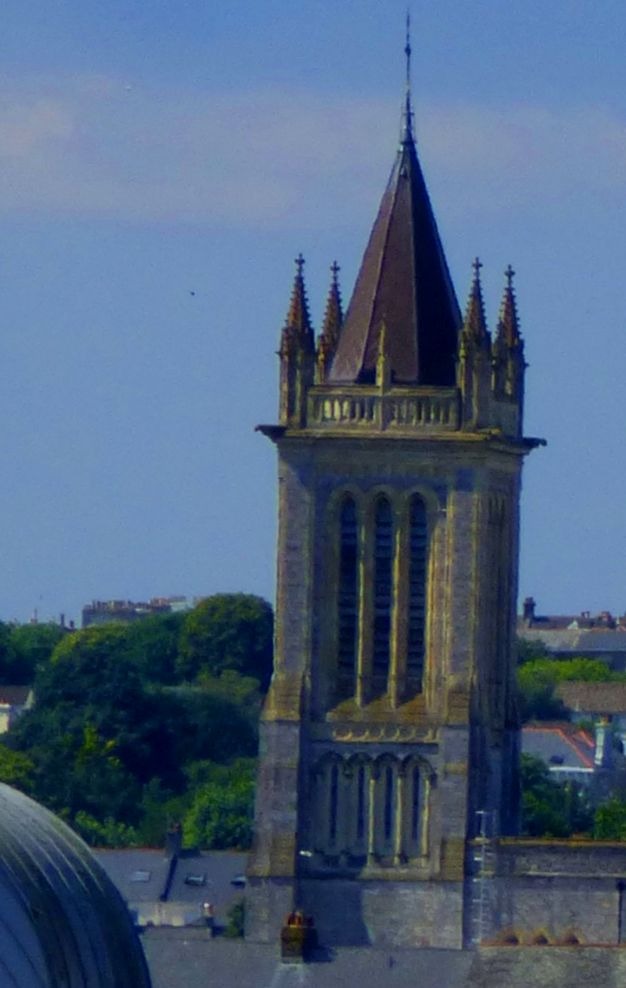
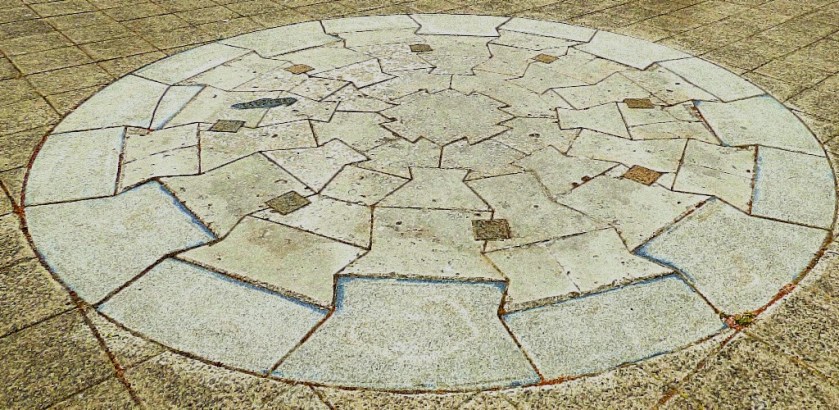
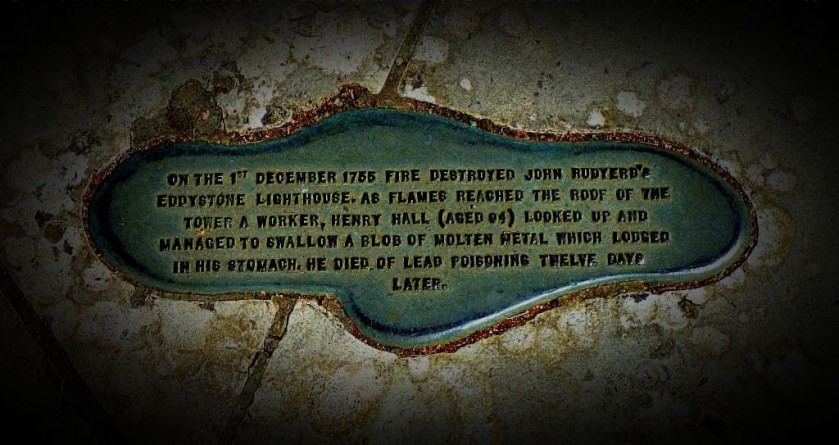
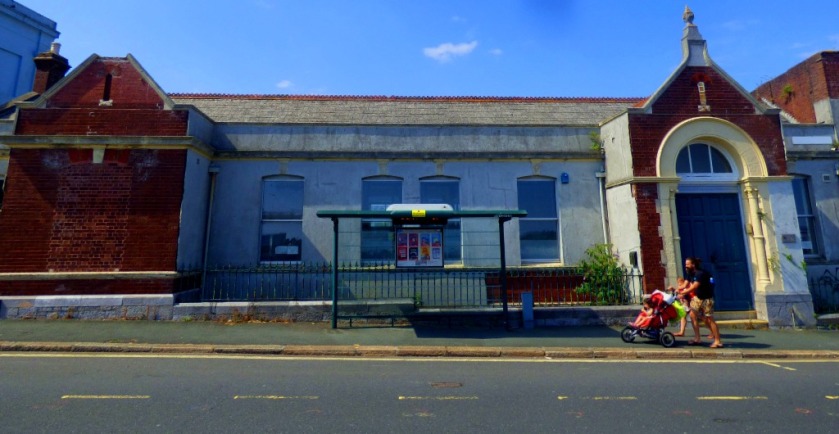
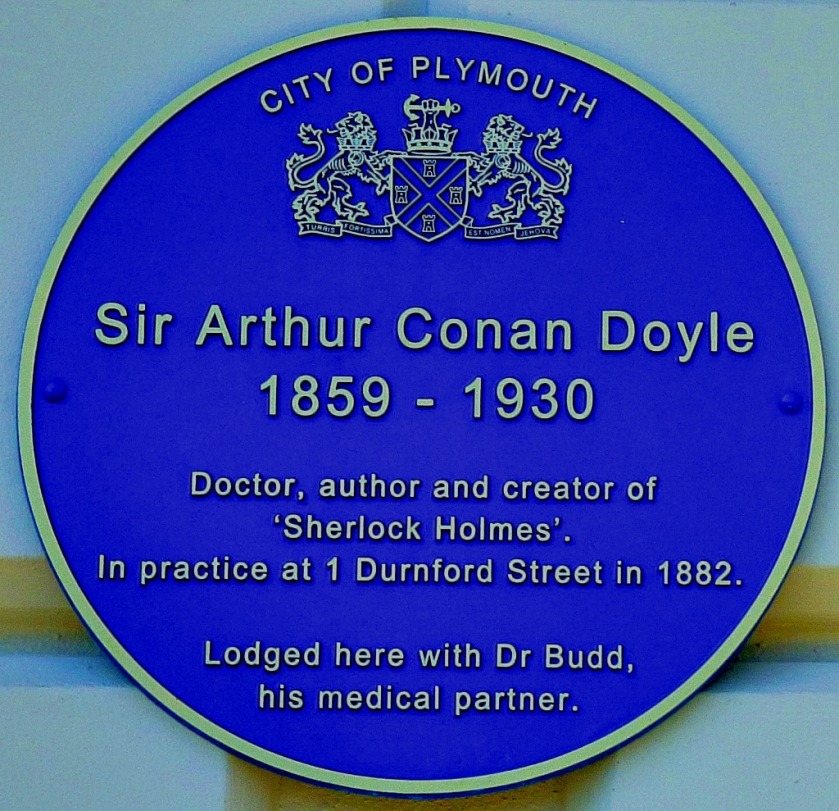
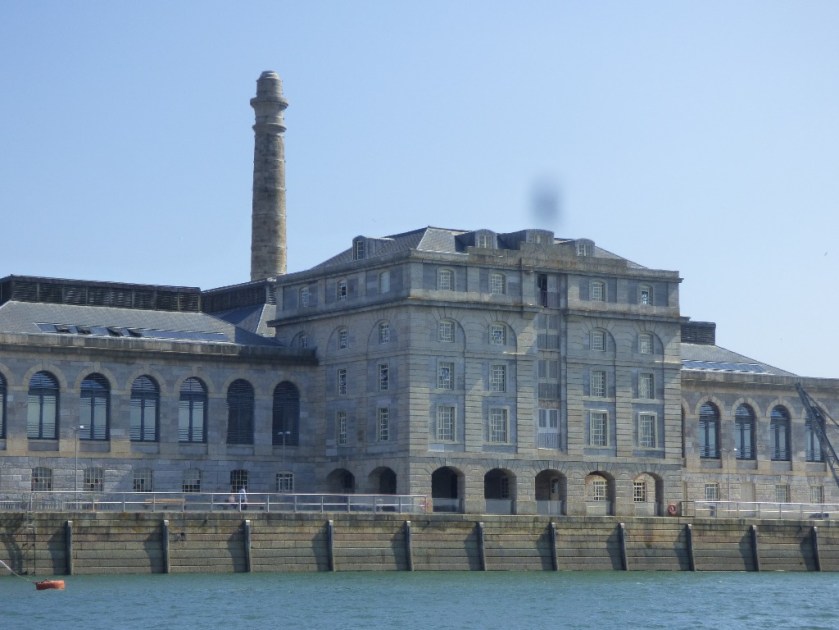
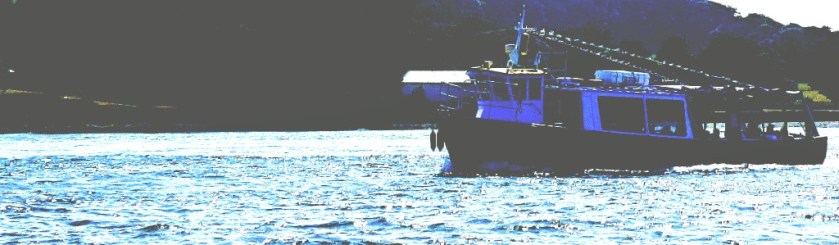
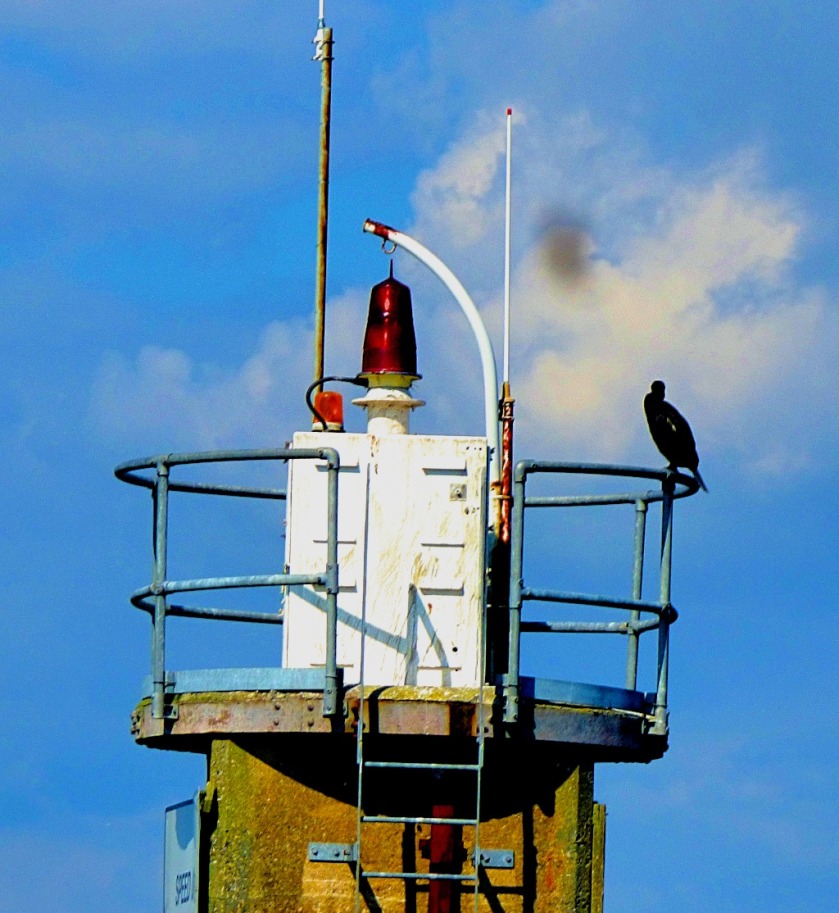
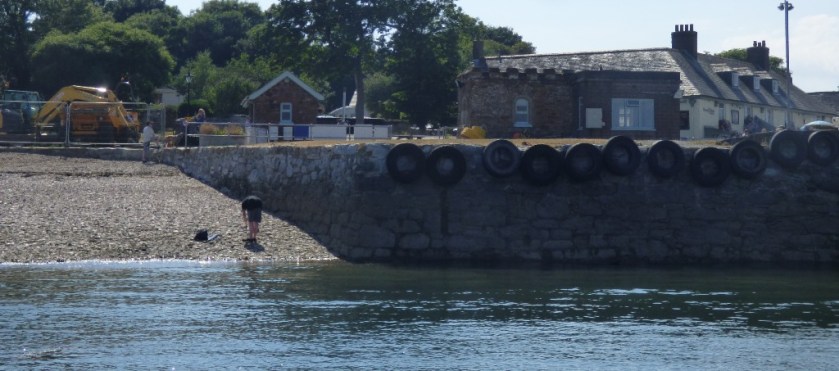
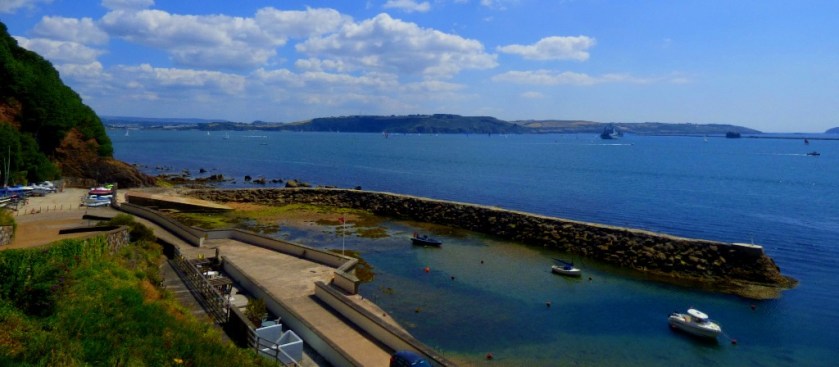
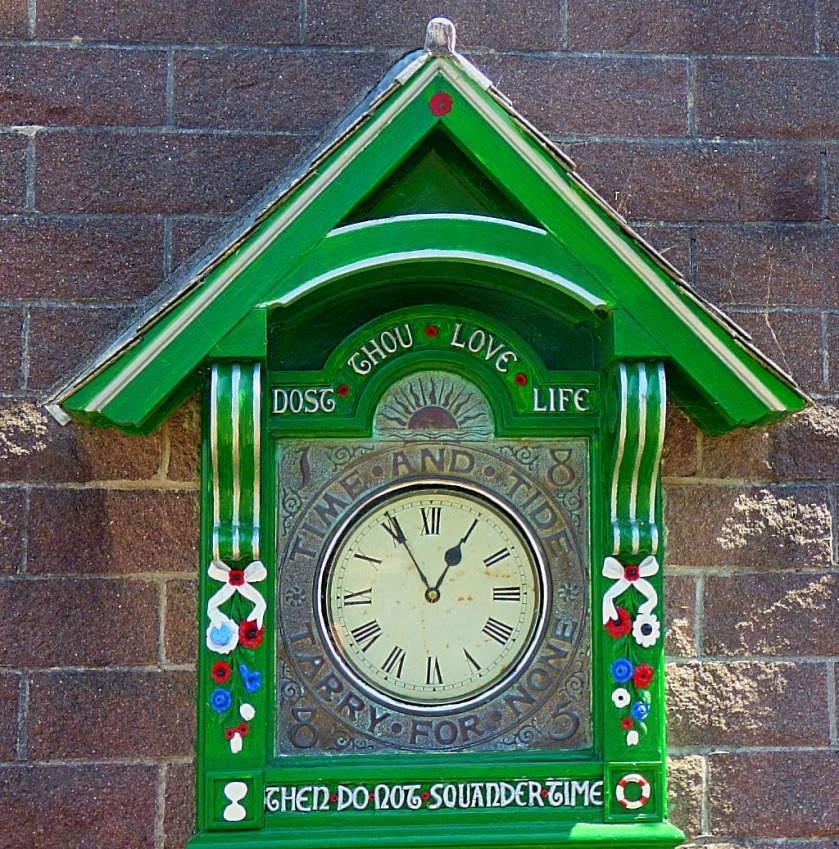
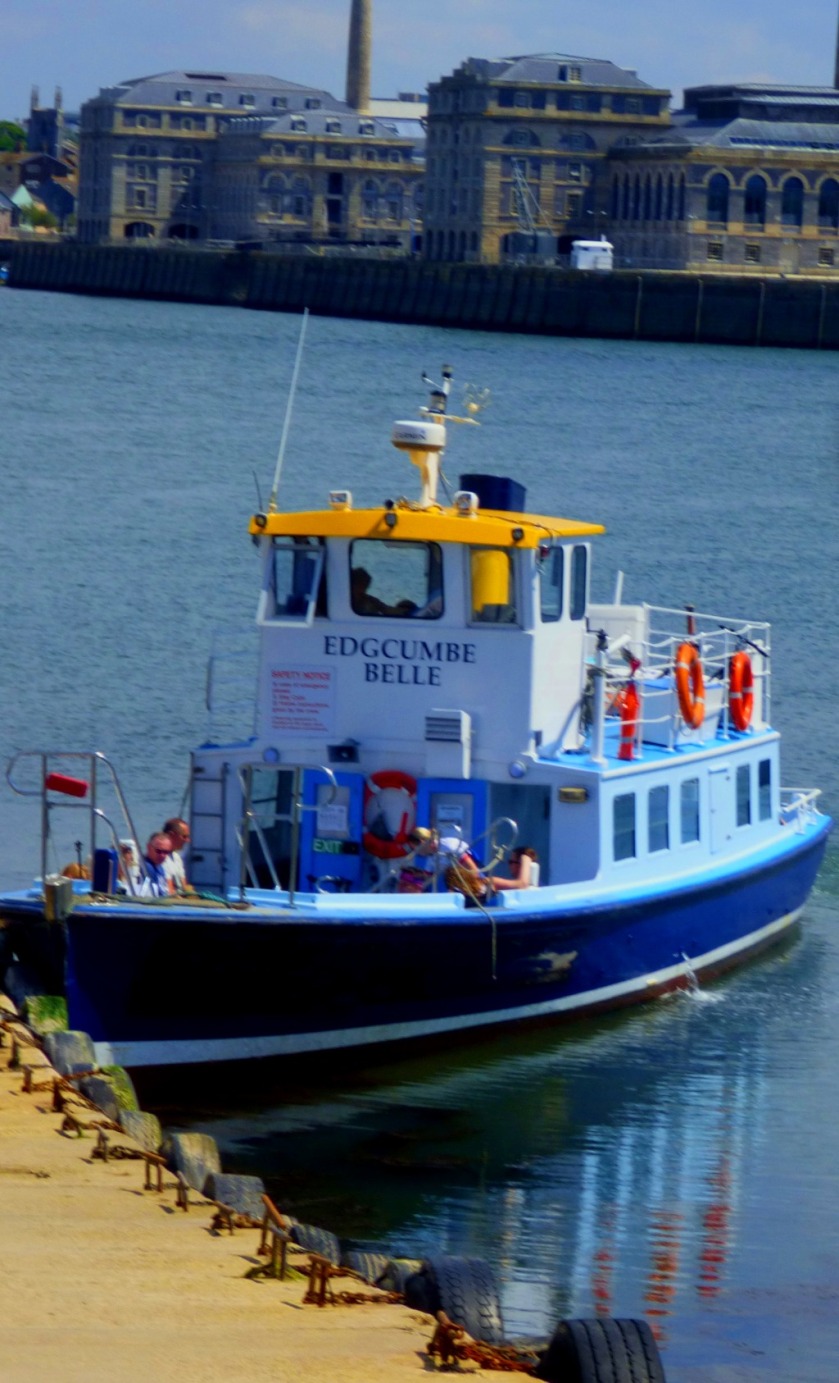
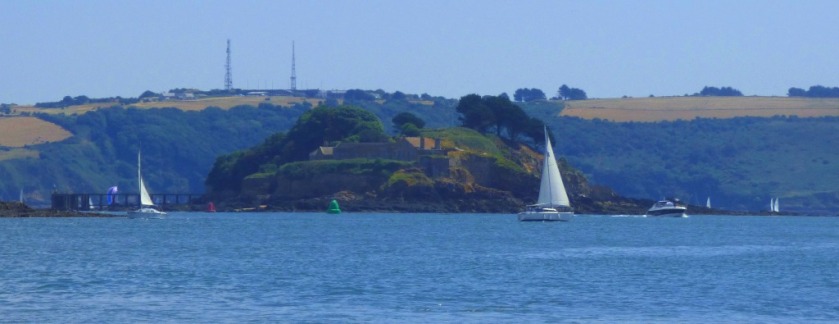
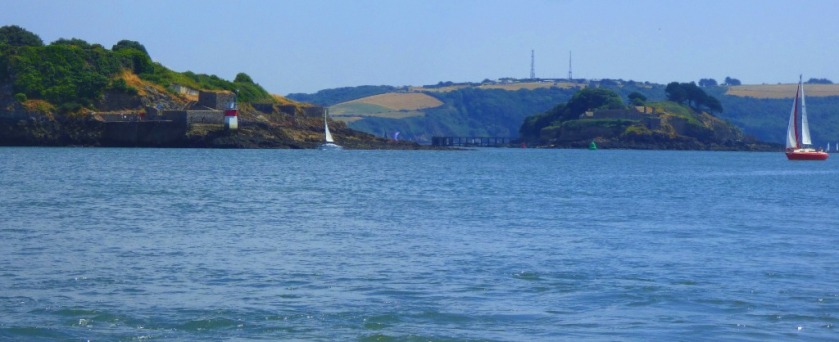
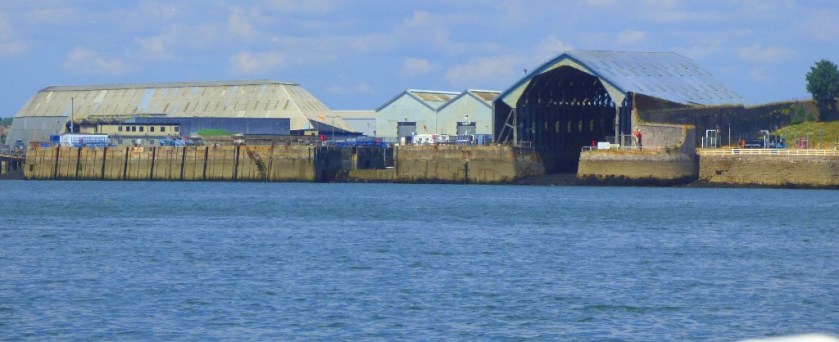
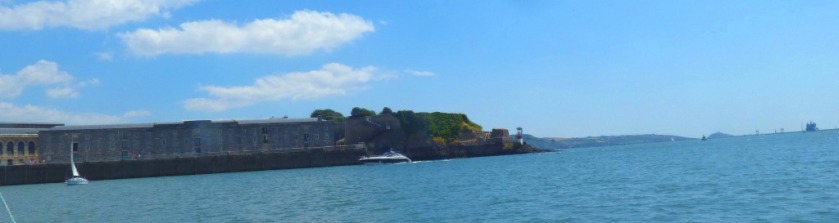
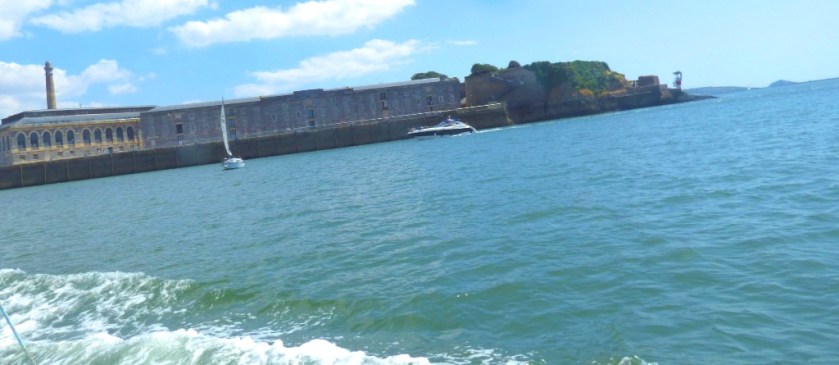
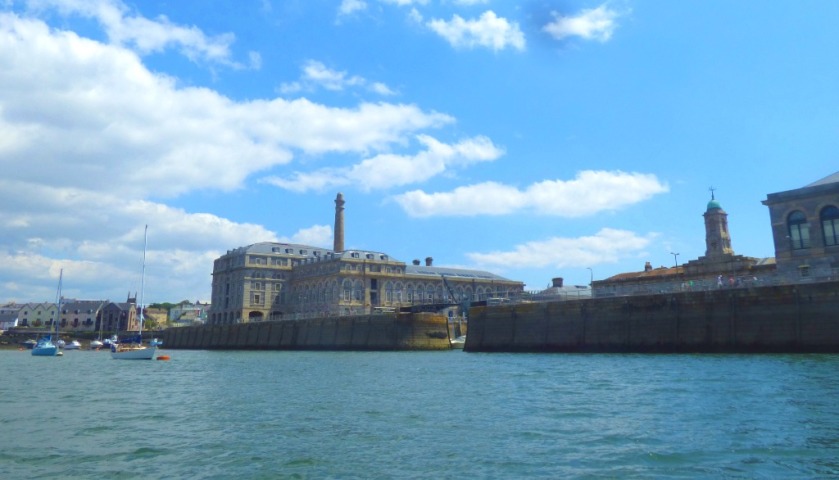
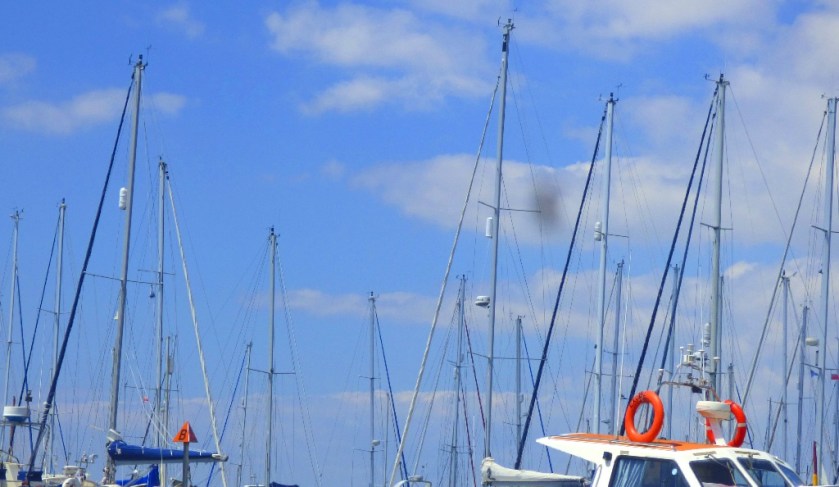
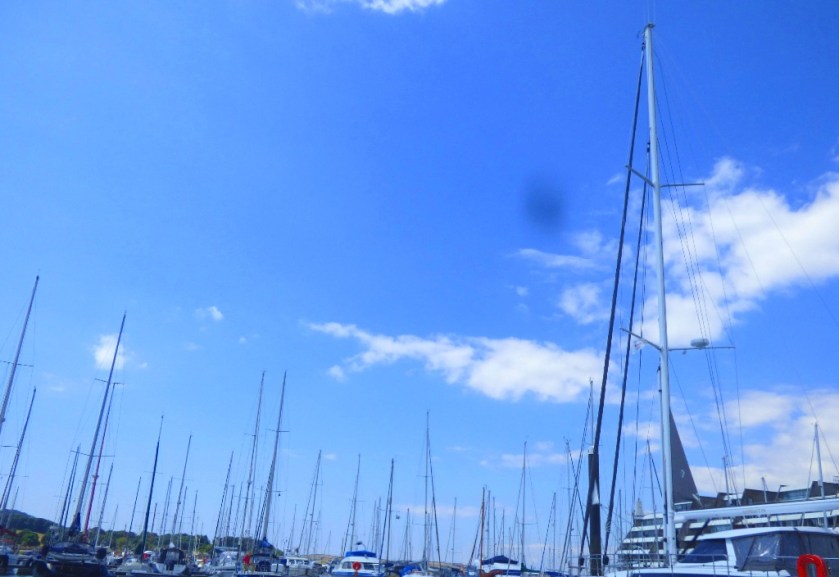
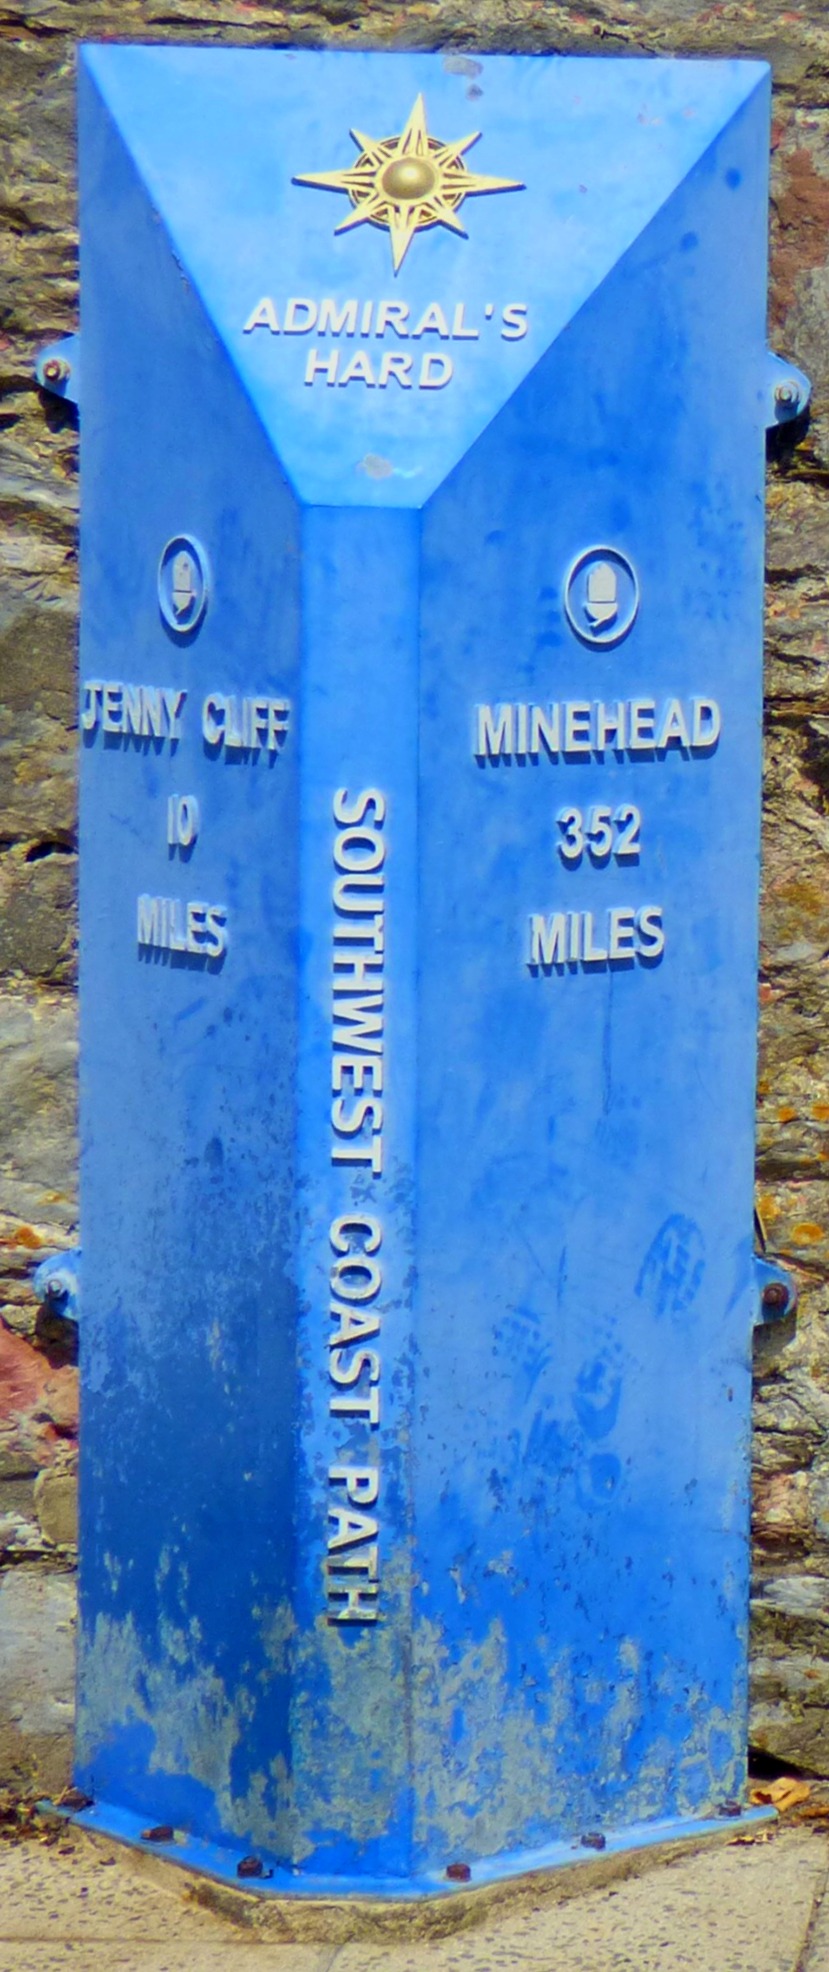
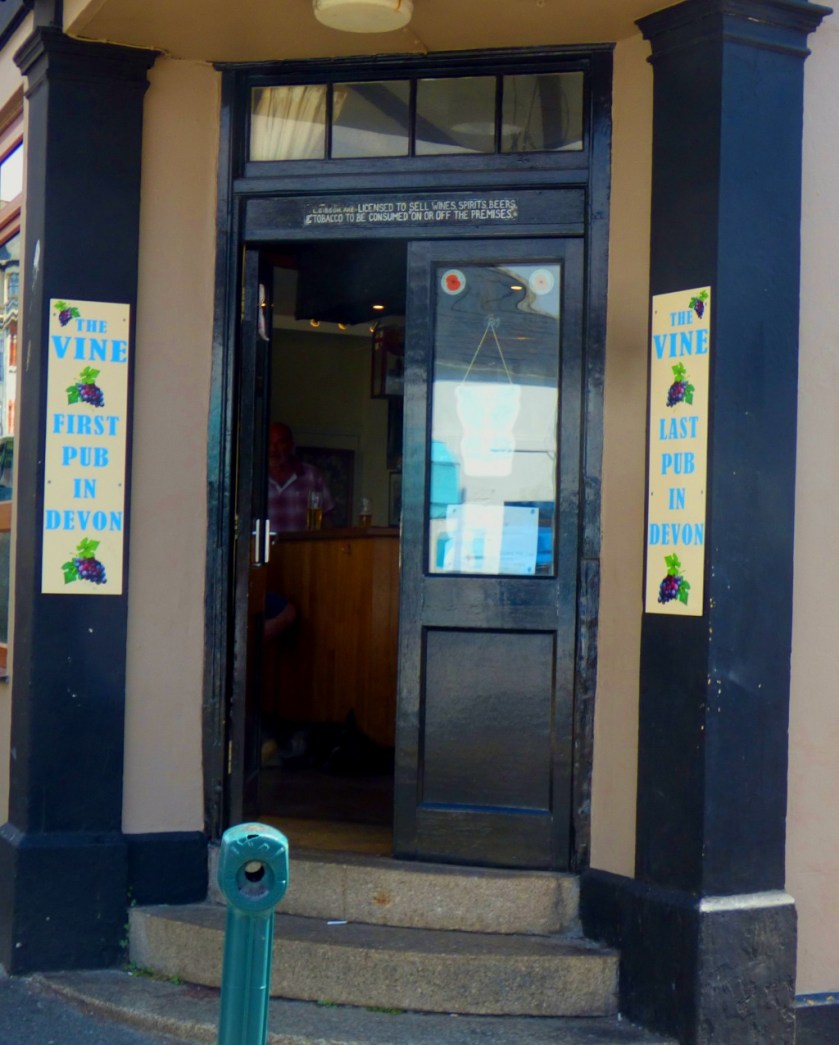
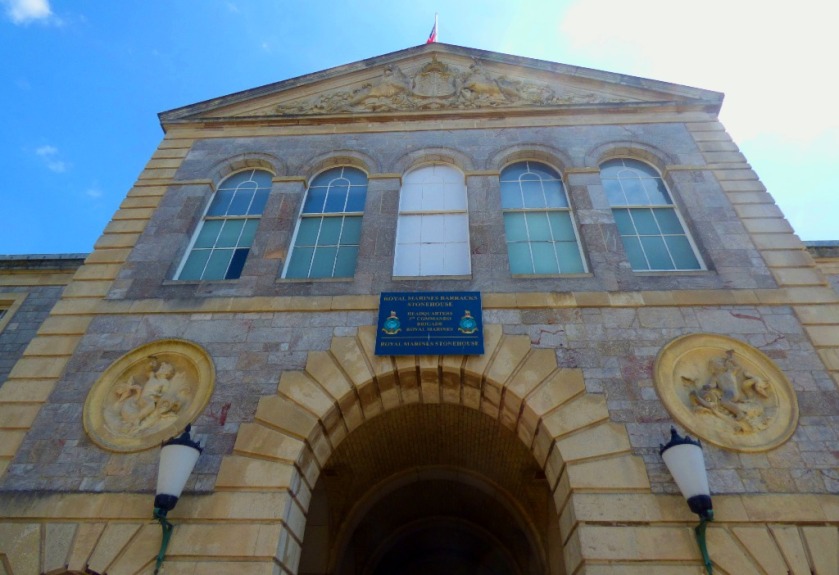
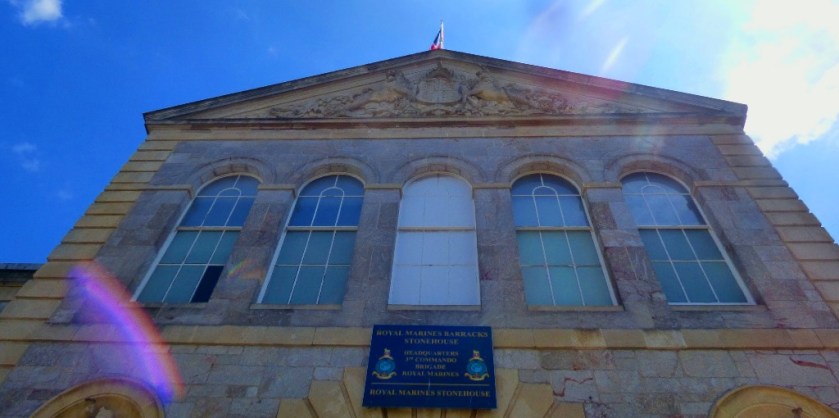
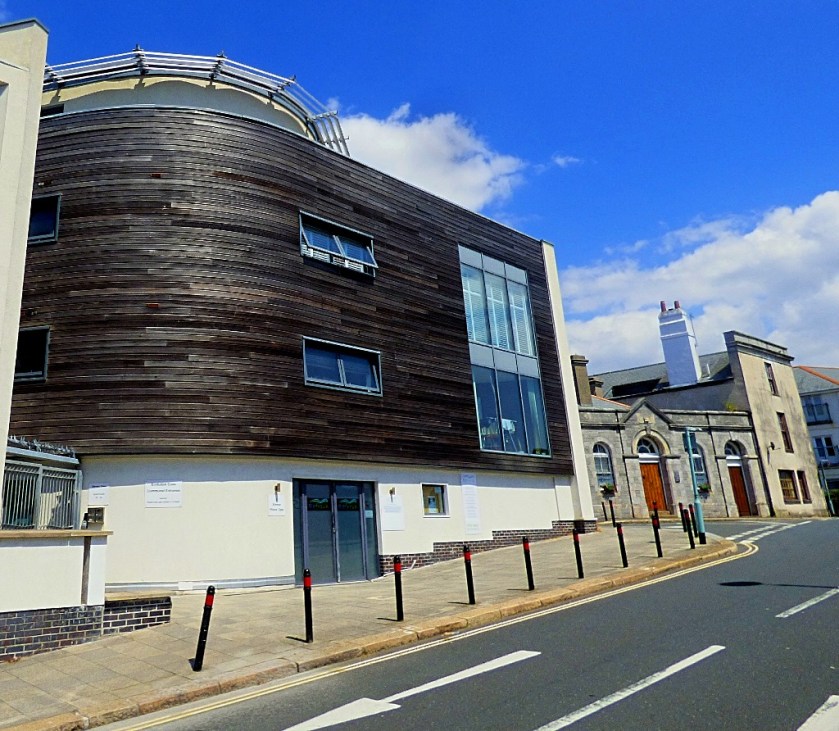
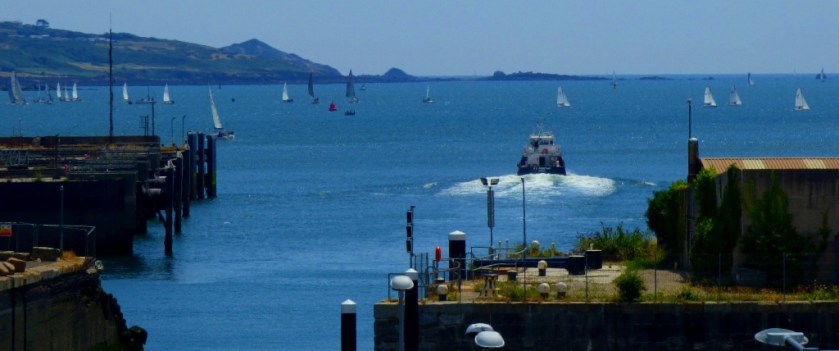
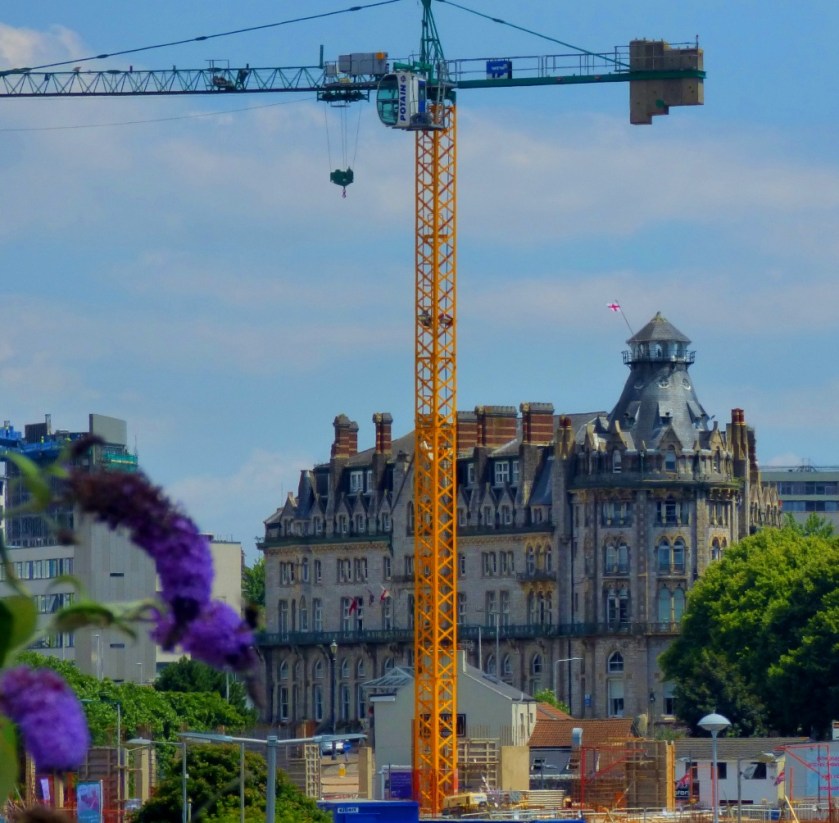
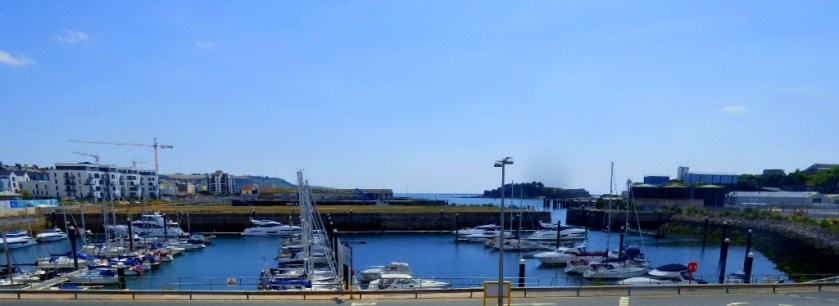
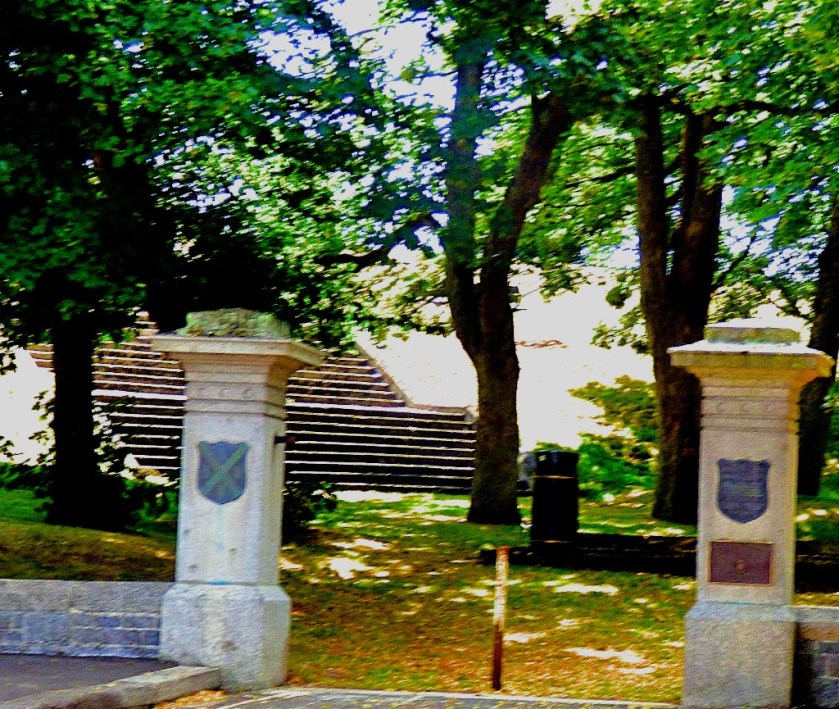
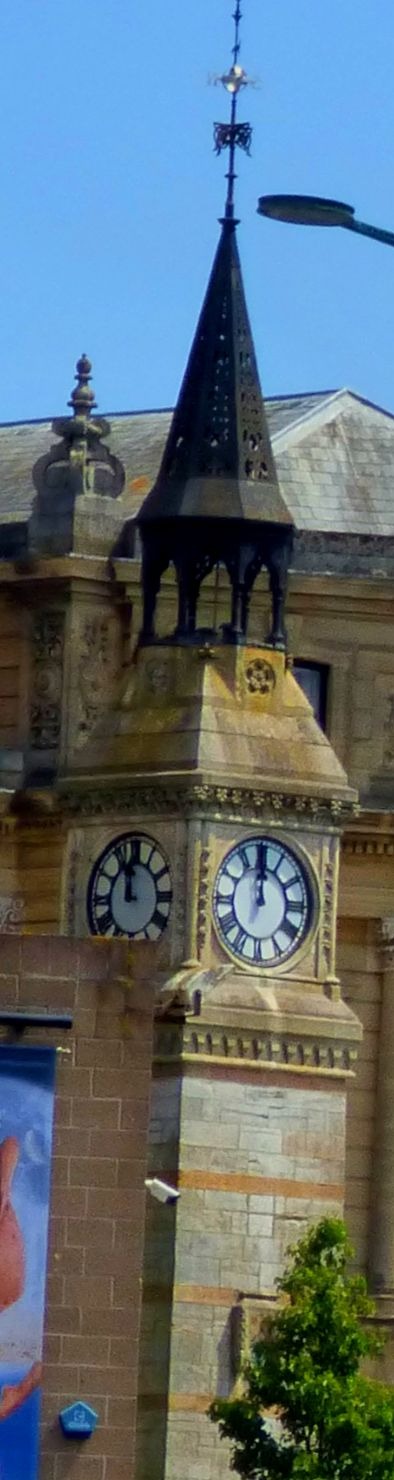
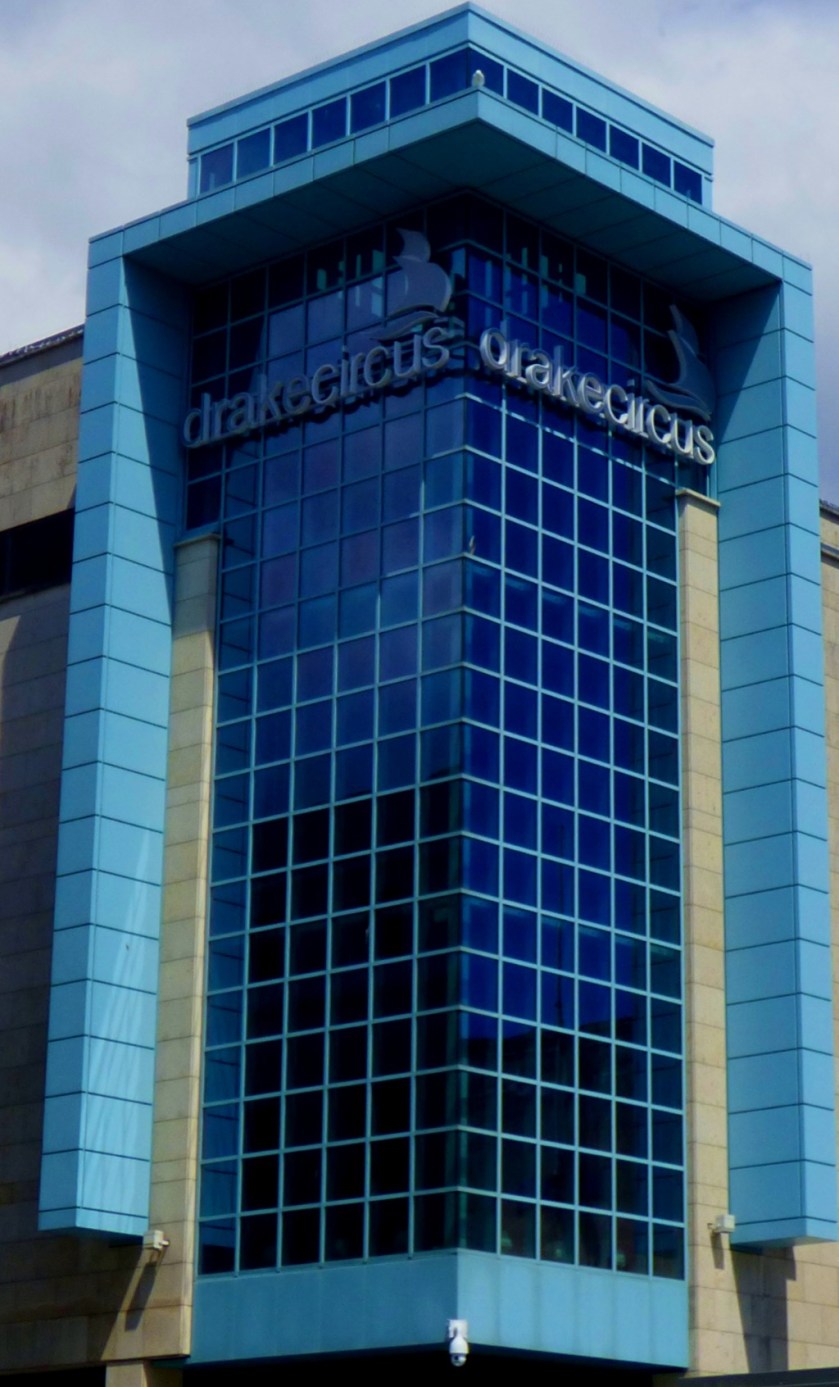
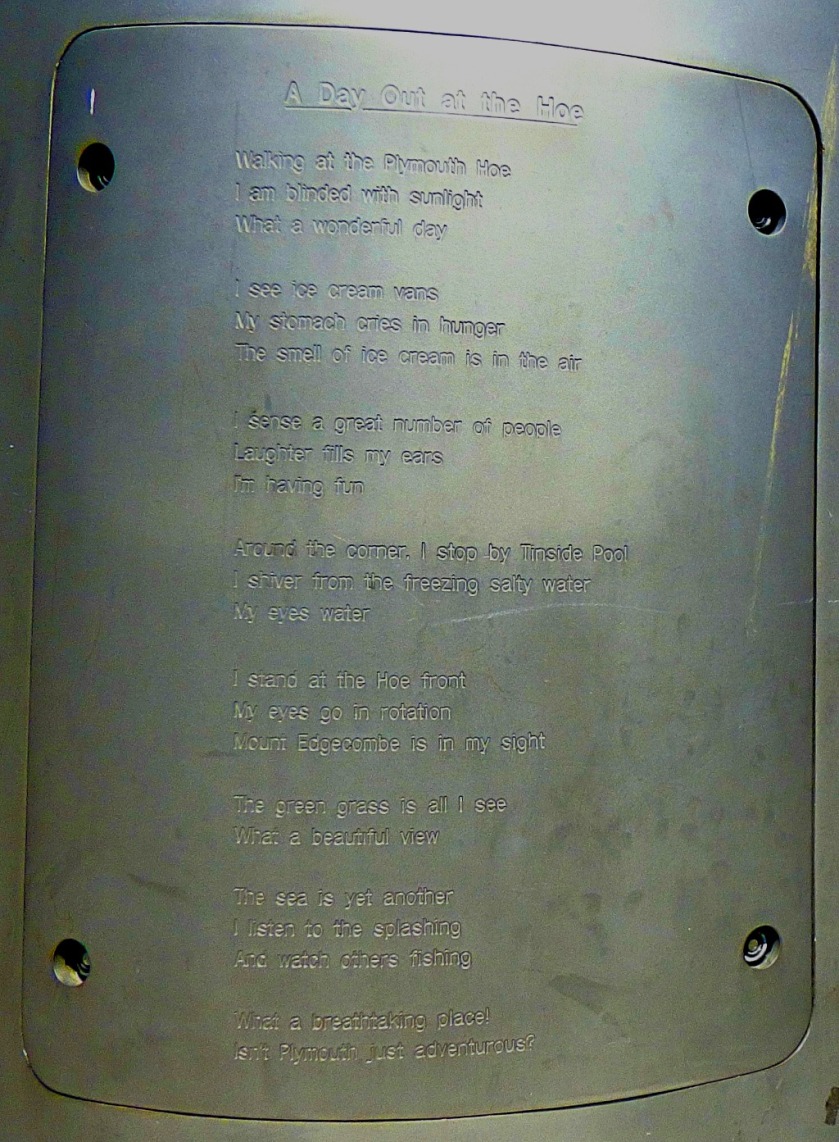
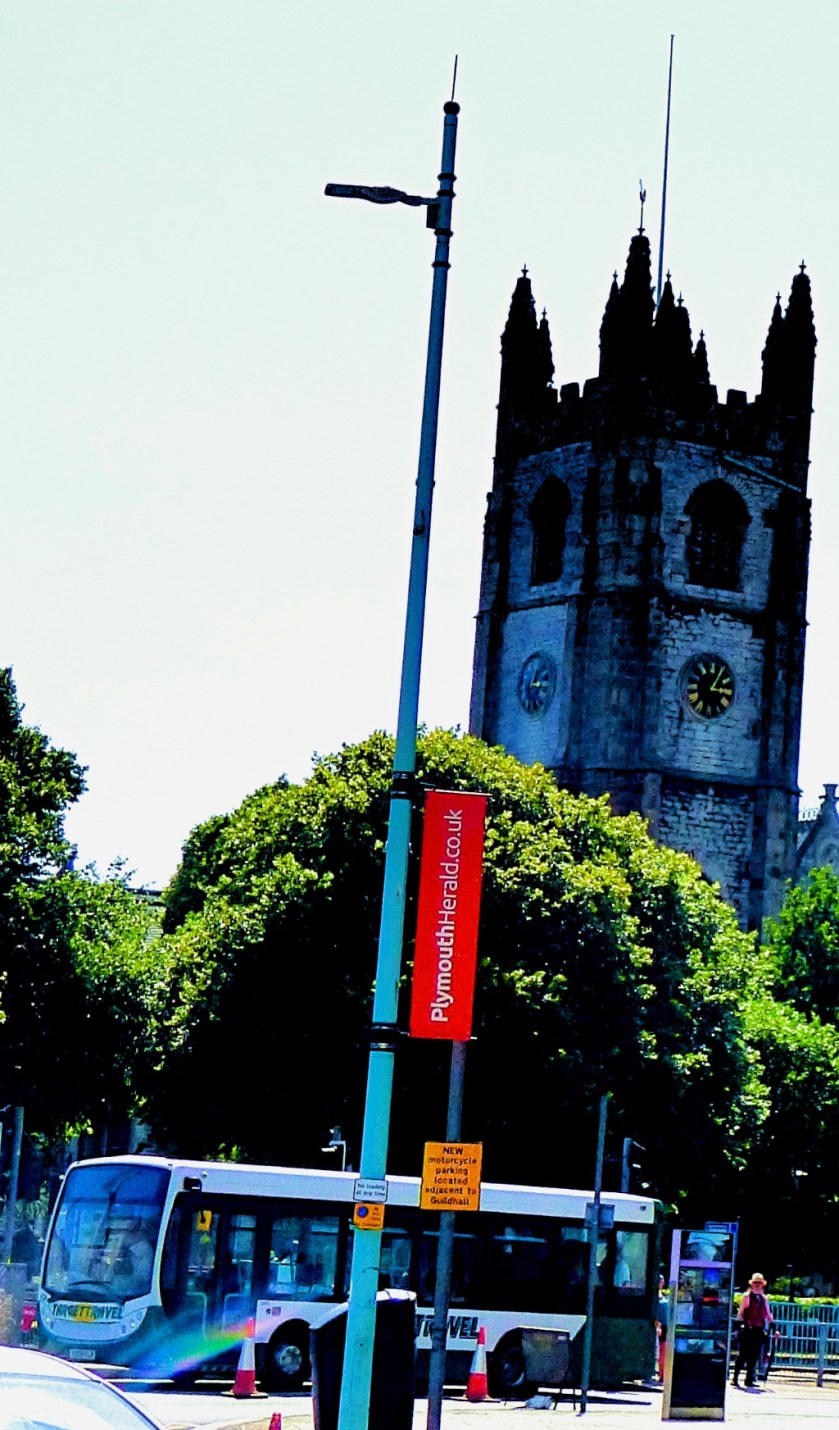
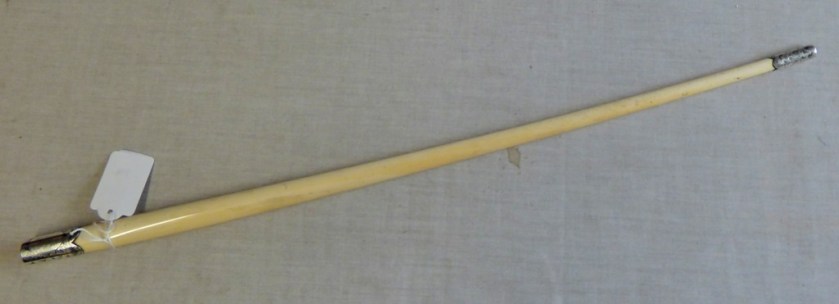
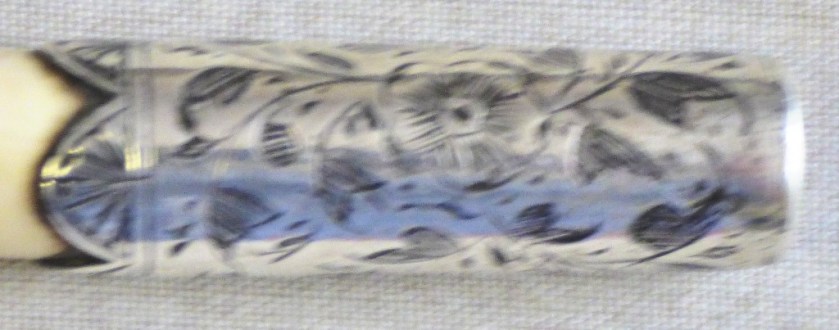
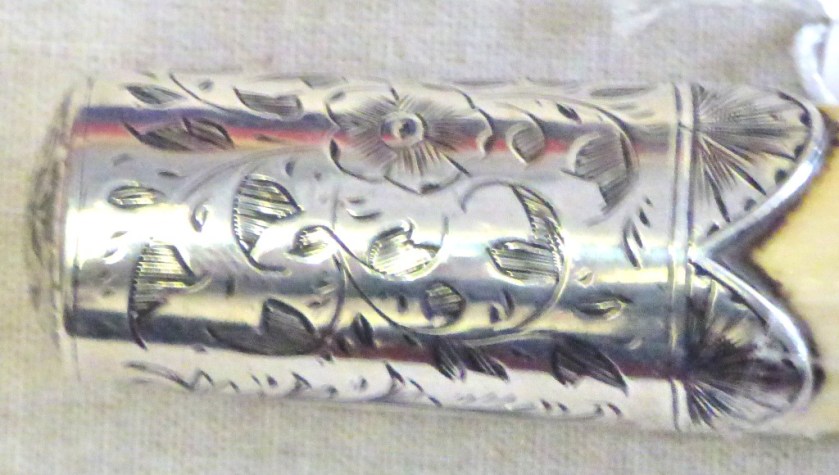
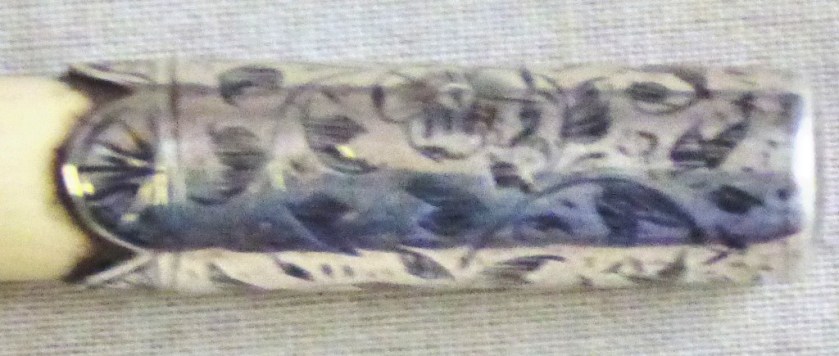
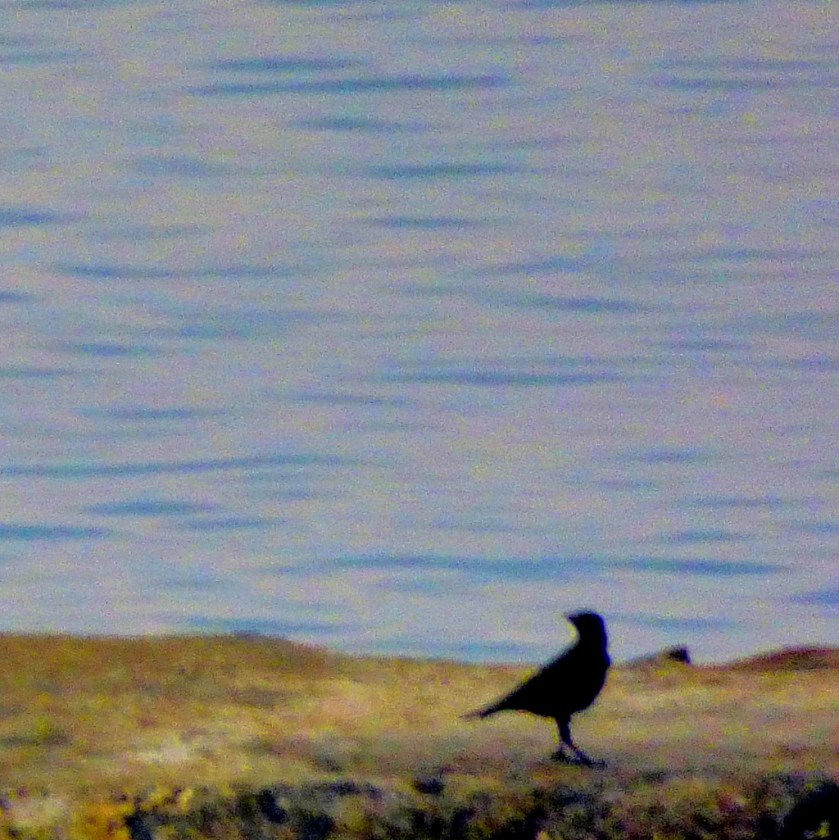
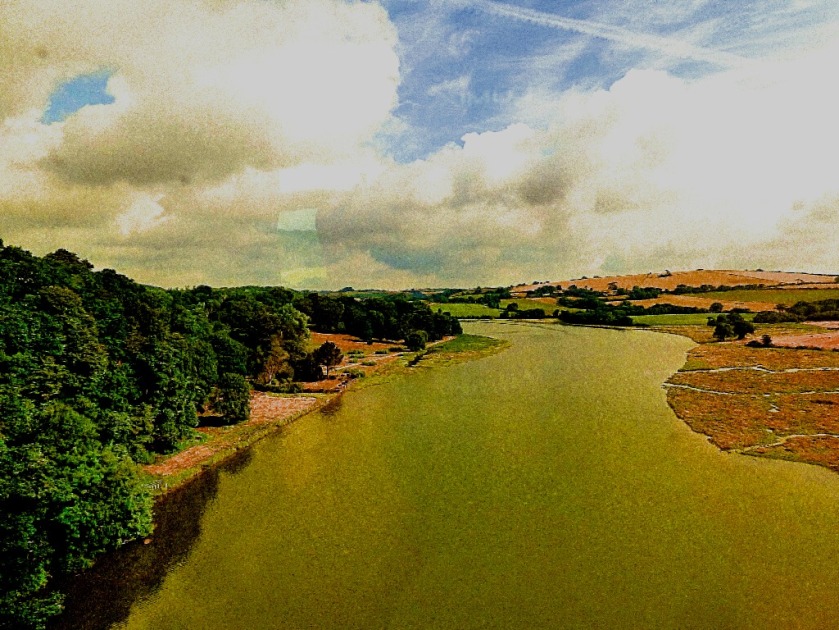
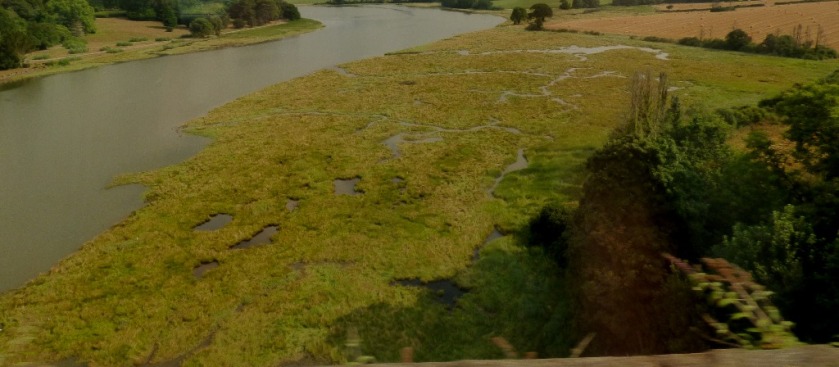
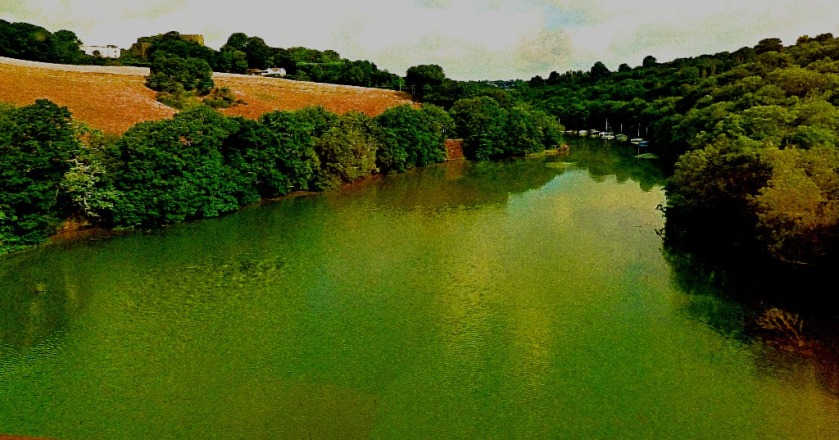
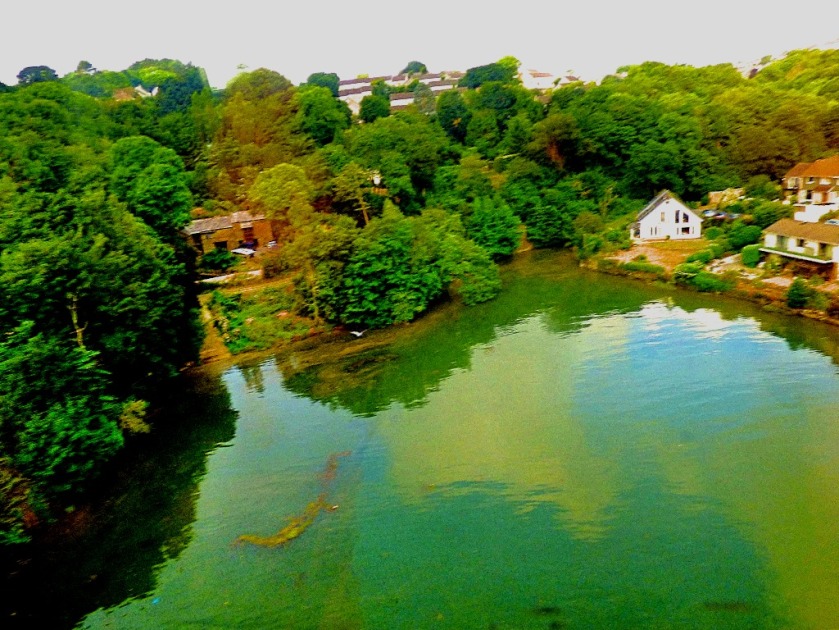
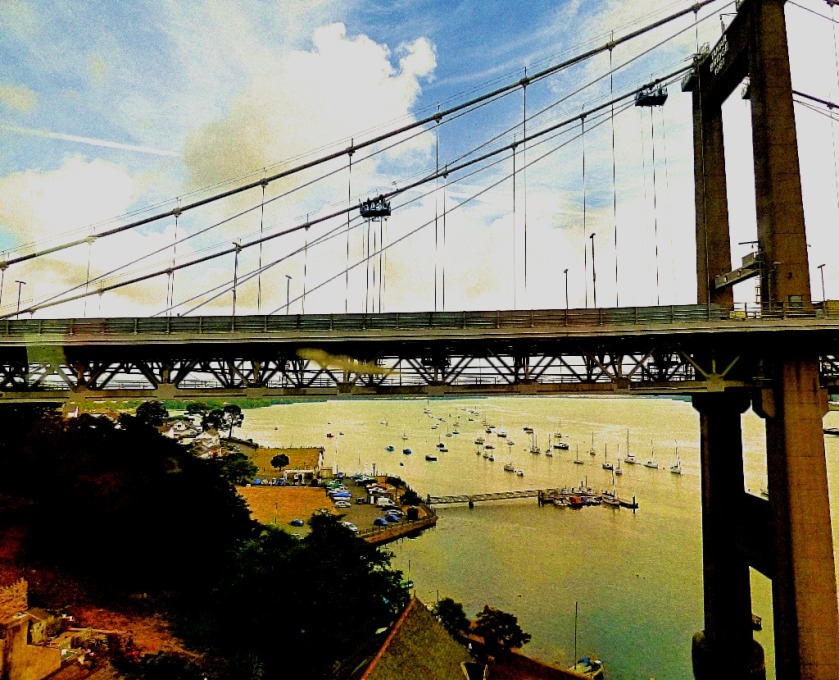
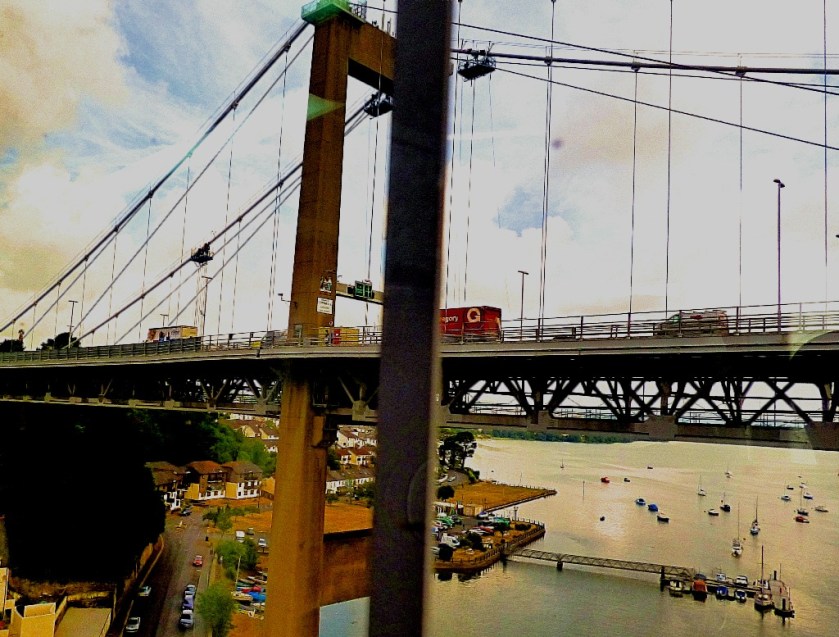
With my train due to leave St Germans at 9:27AM on Monday July 16th we had decided that a departure from Fort Picklecombe at 8:30AM was warranted due to the fact that I had a reserved seat on that train, which was going all the way to London, and would have been in the region of £100 down had I missed it. We arrived early at the station, and once the train arrived I found my seat easily enough, although as had happened on the journey down they had reversed the running order of the train and I was facing against the direction of travel instead of with it (trust me, for a photographer this is quite significant). Here are the last of the Cornish pictures…

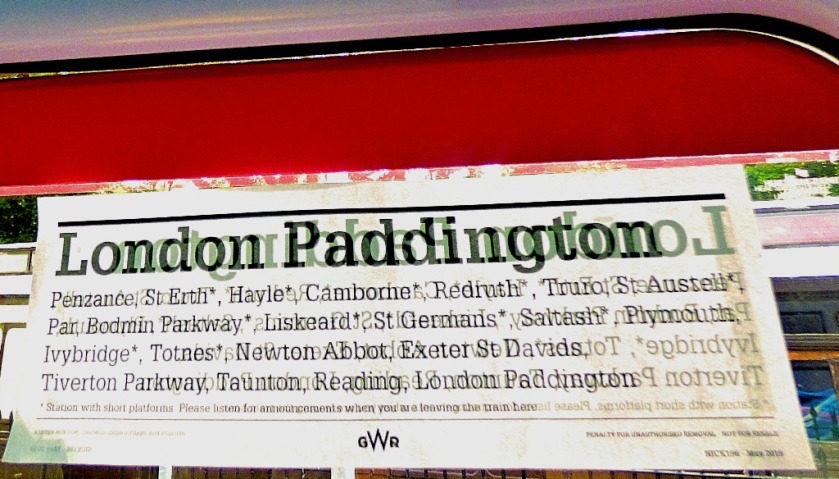


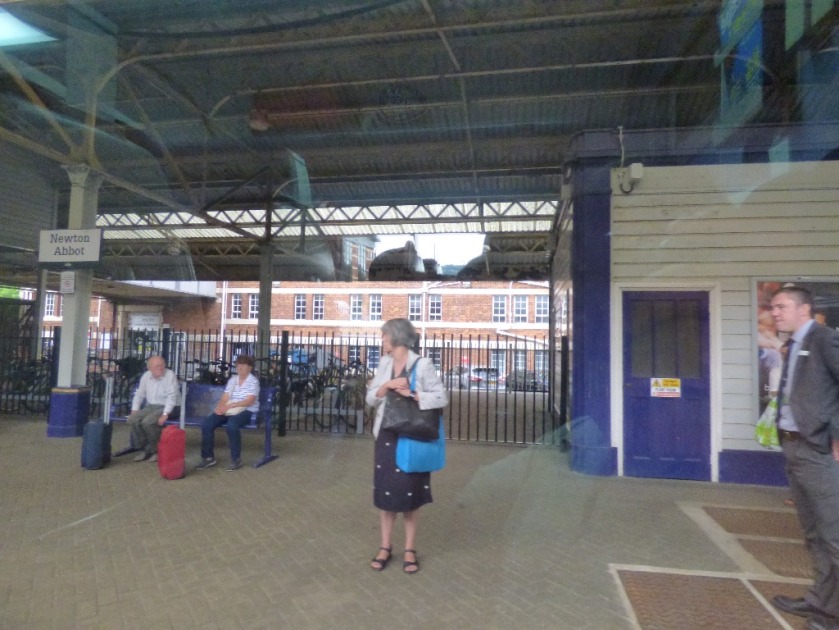
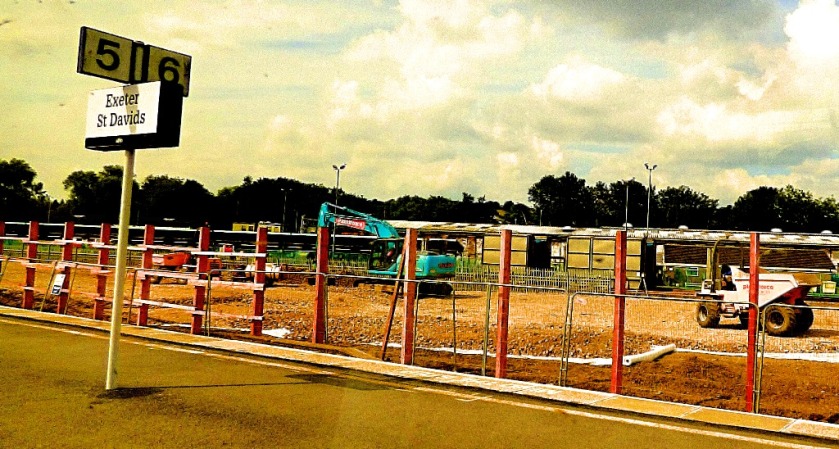
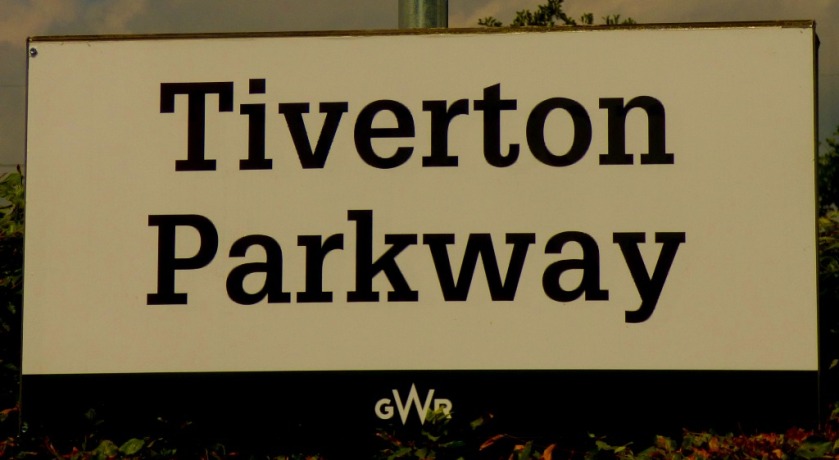
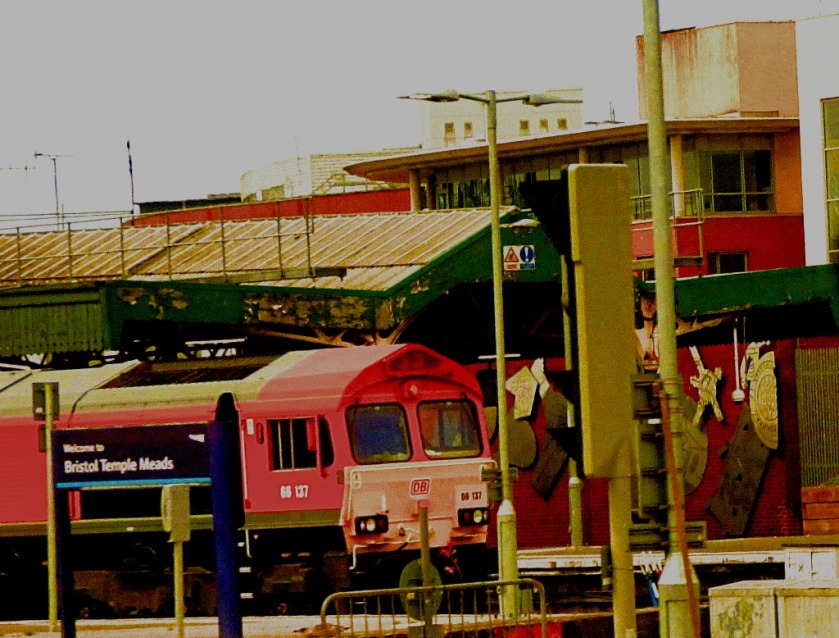
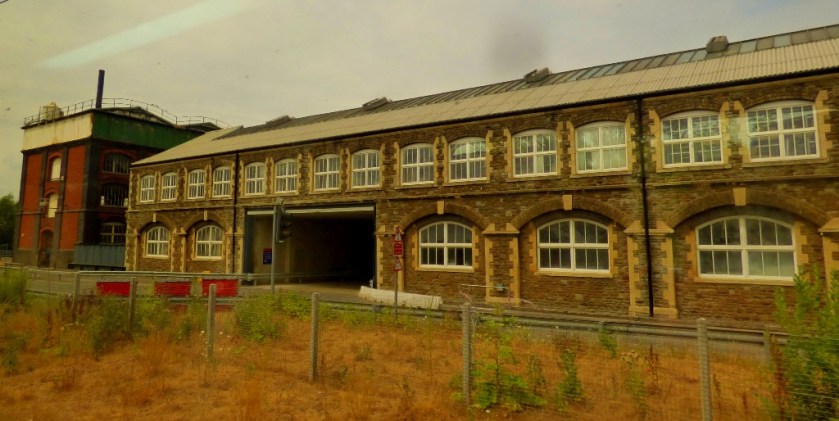
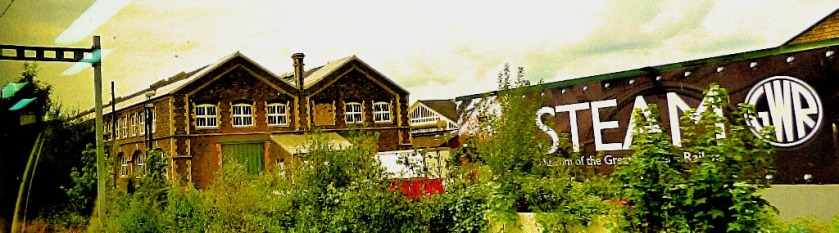
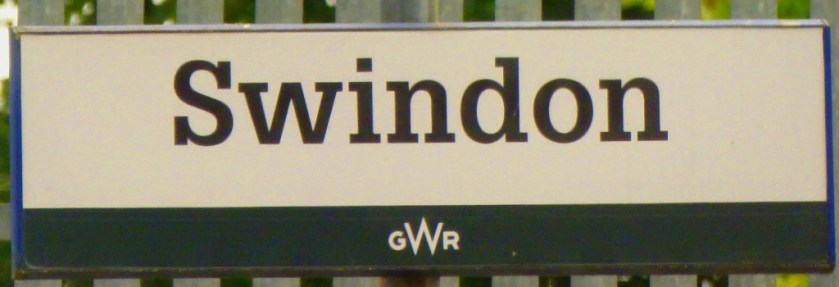
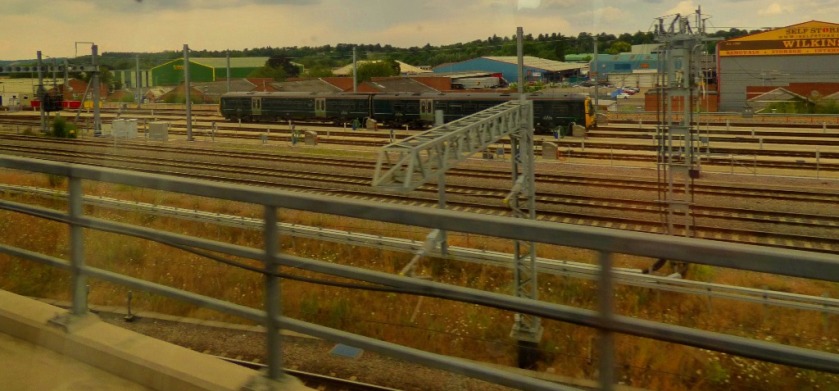
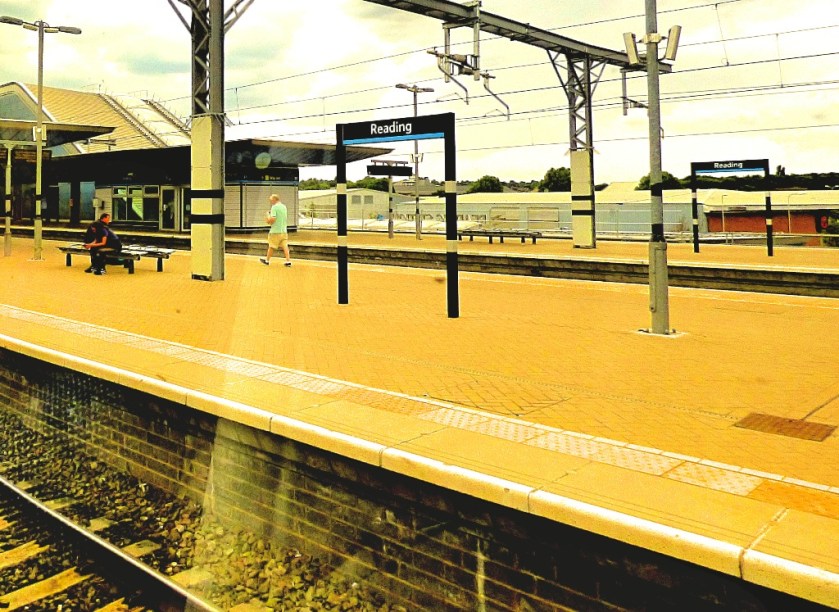
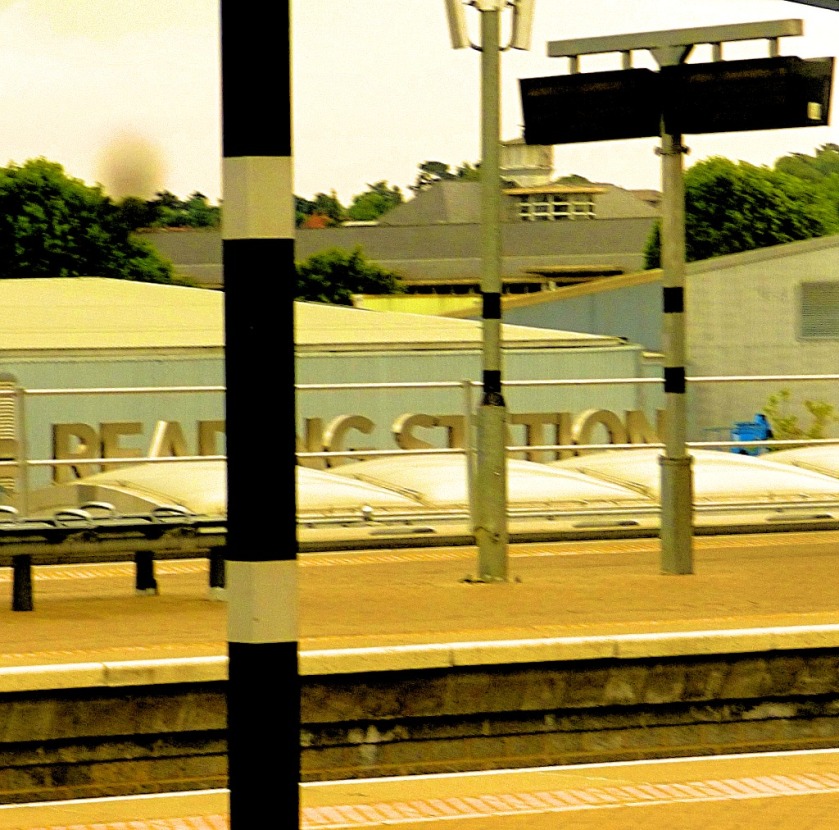
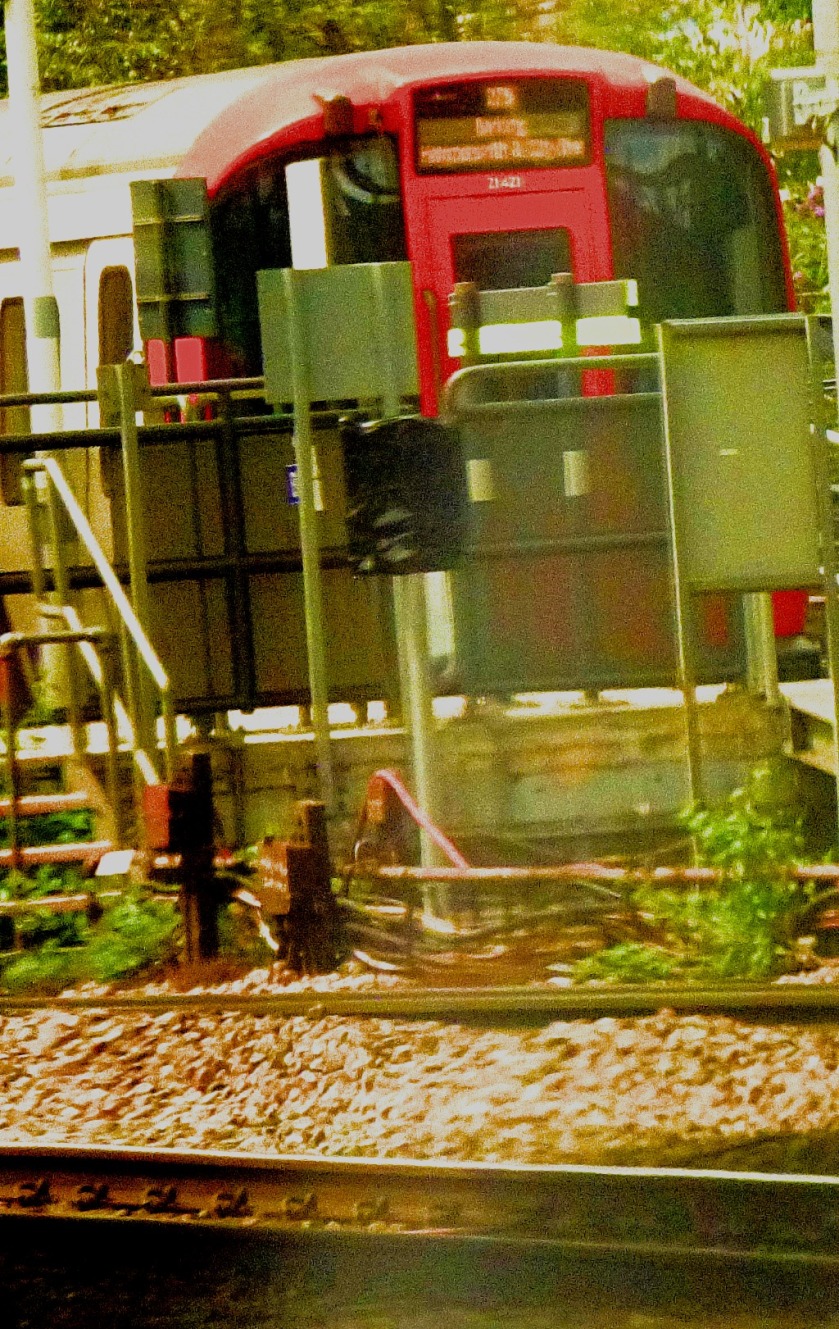
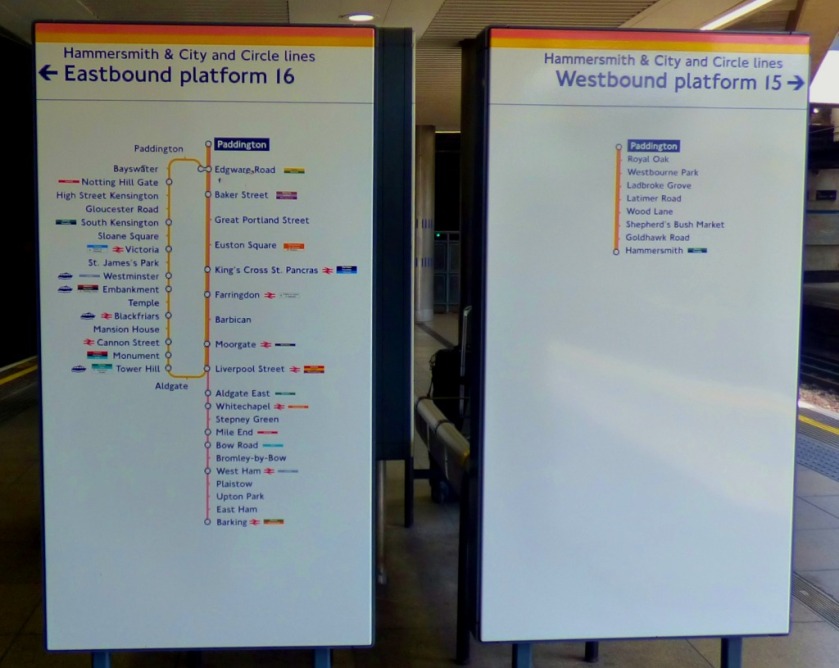
The rest of this post takes place outside Cornwall. The train ran a trifle slow, arriving into Paddington sufficiently late to ensure that I would not make my intended connection at Kings Cross. However, the failings of Great Western were as nothing compared to those of Great Northern. The train arrived at Cambridge where it was supposed to divide in two as usual with four coaches going on to King’s Lynn and the rest going back to London, then a good couple of minutes later we got an announcement telling us that the split was not happening and that we needed to go to Platform 7. As a direct consequence of this mess up we then hit two red signals, at Waterbeach and again at Watlington, arriving into King’s Lynn much later than we should. This made it four successive journeys on Great Northern where the schedule had not been adhered to. Their failures appear to have got worse – just a few days ago I saw a special bus service running between King’s Lynn and Ely.